Street Source is shutting down April 30th, 2026. Read the announcement

Project D350 Build Thread

stlowburban
+1y
I just saw it on there the other night but it didn't click that it as this truck. Congrats on the 1/2 sec. haha. Doors are pretty cool.

D350
+1y
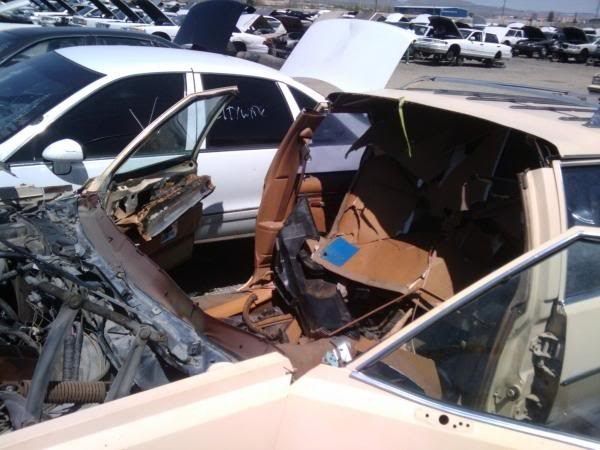
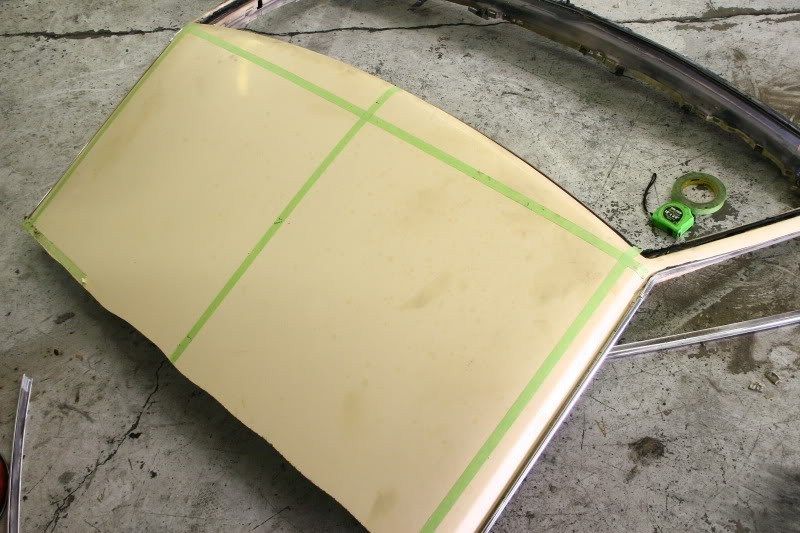
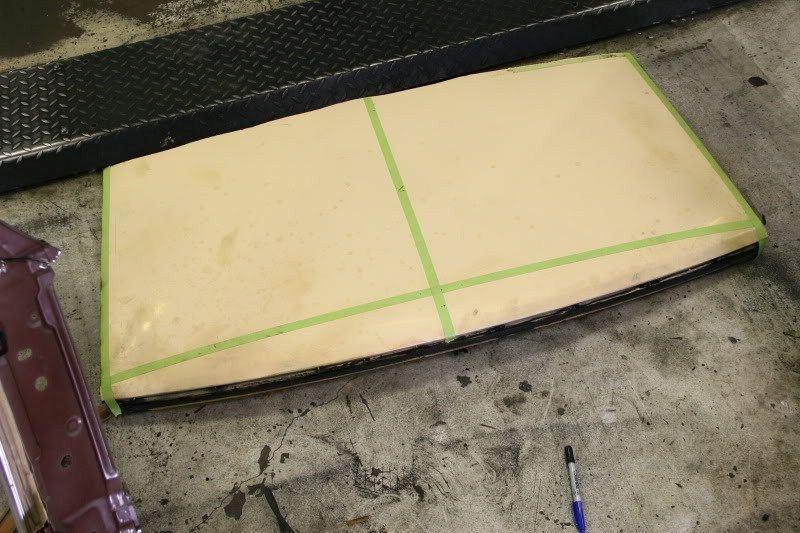
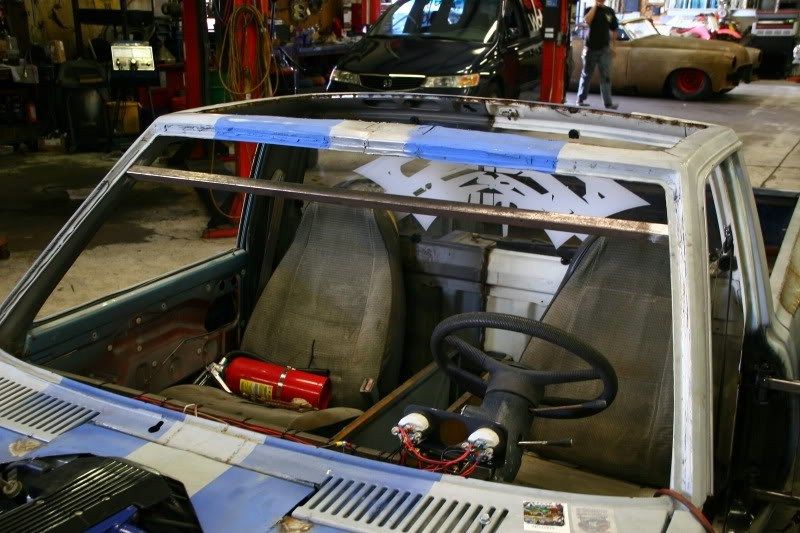
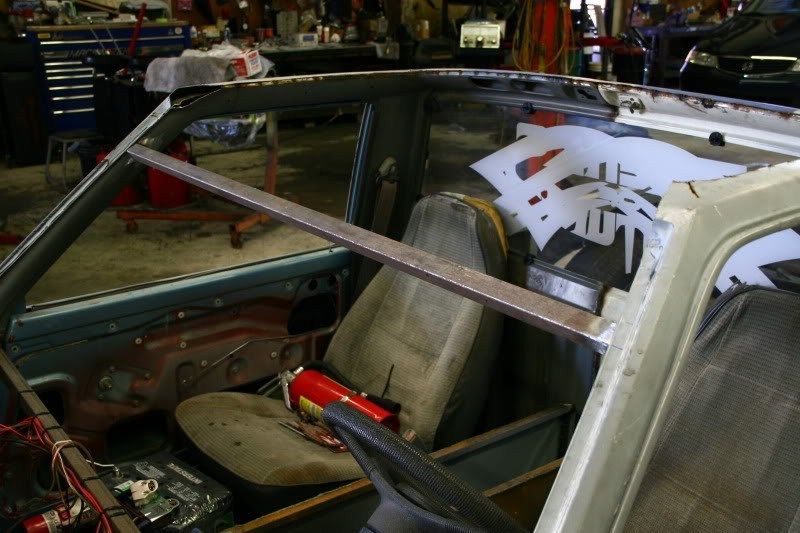
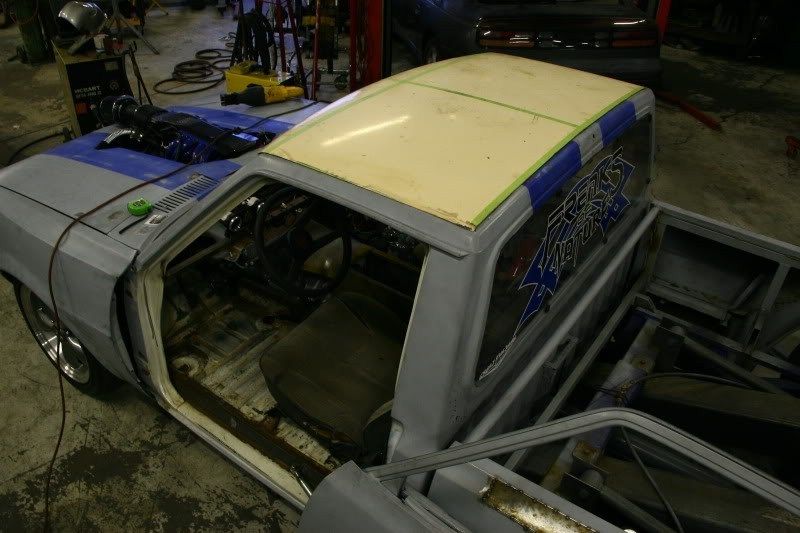
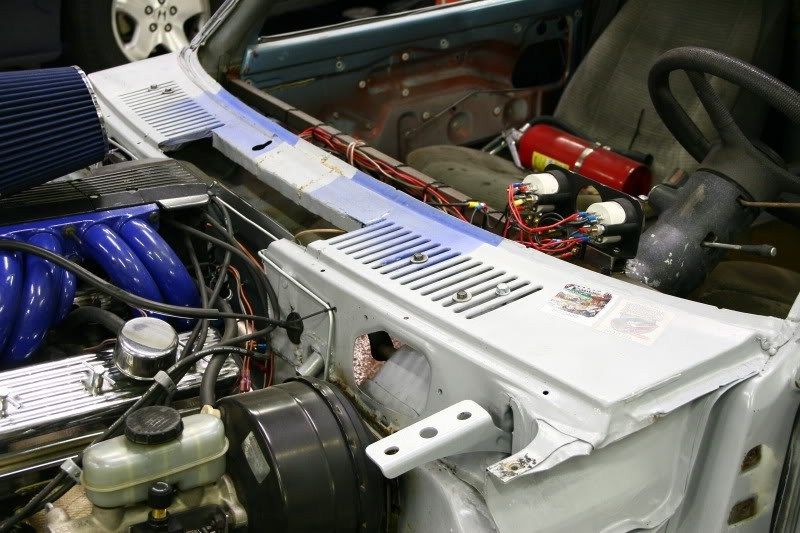
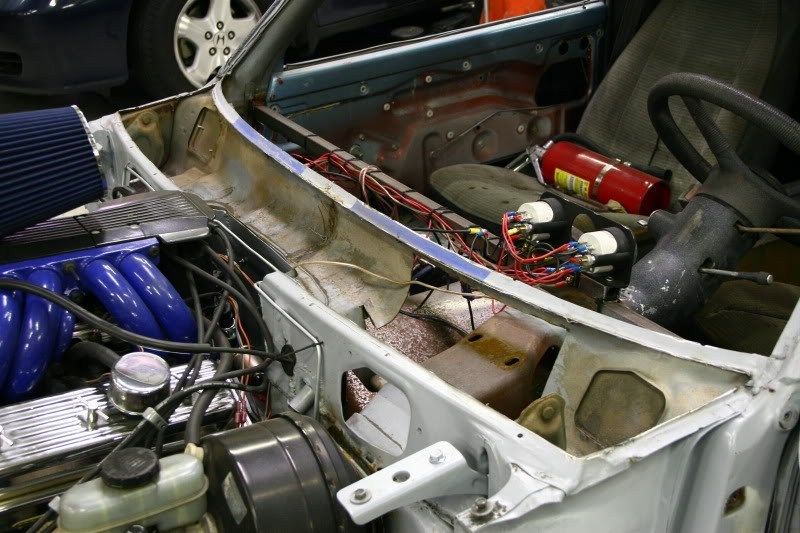
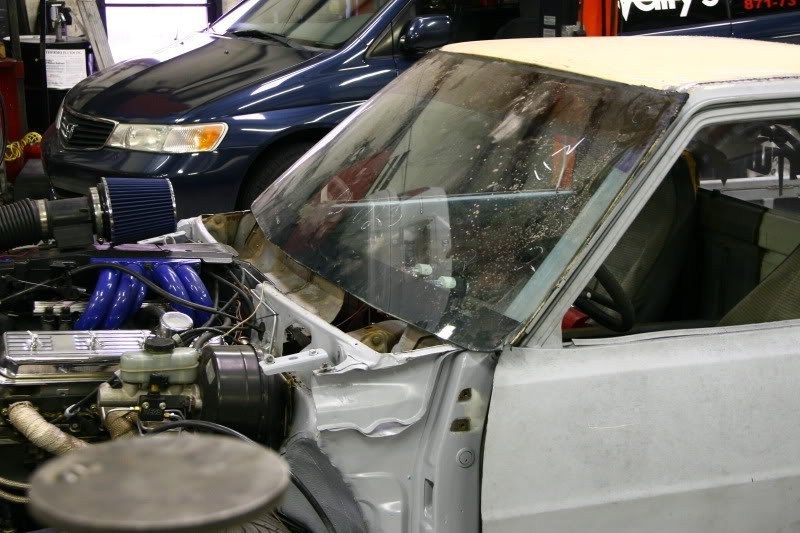
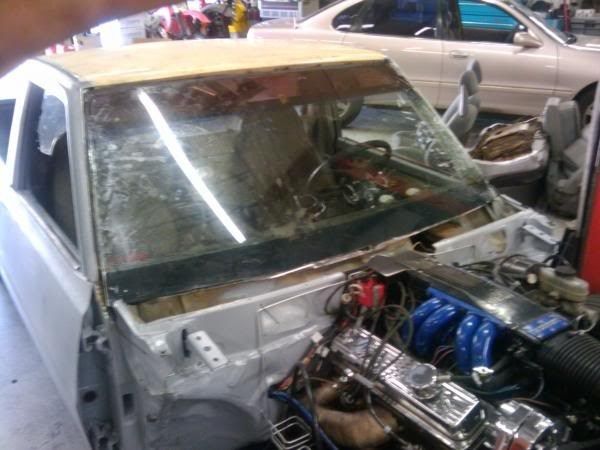
I'm trying to get a lot done before Down to Earth. I'm getting pretty tired. Looking forward to it but can't wait till it's over. Here's an update that answers a question I've been asked repeatedly since I started... "What are you going to do about the windshield?" The plan was to find a car or truck with a large windshield that had similar features in the metal frame work around the glass and transplant it. After a walk in the junk yard with a tape measure I found this beauty! Mid eighties Oldsmobile Custom Classic Wagon. (Also a Caprice Wagon) This car had plenty of glass to fill my truck and the frame above the glass seemed like a really close match to the frame on the truck. So I took the frame and part of the top. I figured now would be a good time to re-skin the truck roof. I took it home, removed the glass and mapped out the material I needed. And cut it out. I braced the windshield pillars to make sure nothing moved once I cut the old upper frame away. I test fitted the new piece. The upper frame matched PERFECTLY! I find that amazing. And so I tacked it all in place. Now that the upper frame matches the curve of the glass, I have to do the same with the bottom. It was a little more challenging and requires a complete redesign of the fresh air vent cowl. Stock cowl. Removed Cowl. I misplaced a photo here... but after removing some material at the bottom of the stock windshield frame, I was able to graft in the lower frame from the Caprice Wagon. I then set the glass in place to find where the glass needed to be cut to fit inside the trucks stock windshield pillars. I cut the glass with a miniature glass cutting band saw. I'm really unhappy with how it turned out so I'm going to have a new piece cut professionally. This one will do for mocking up the new Lincoln dash I plan to install. The hood will be stretched to meet the windshield with no fresh air vents.

D350
+1y
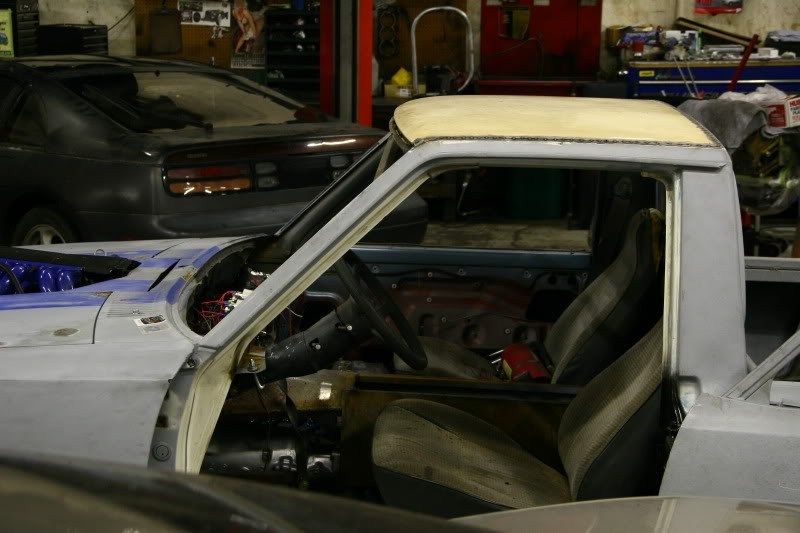
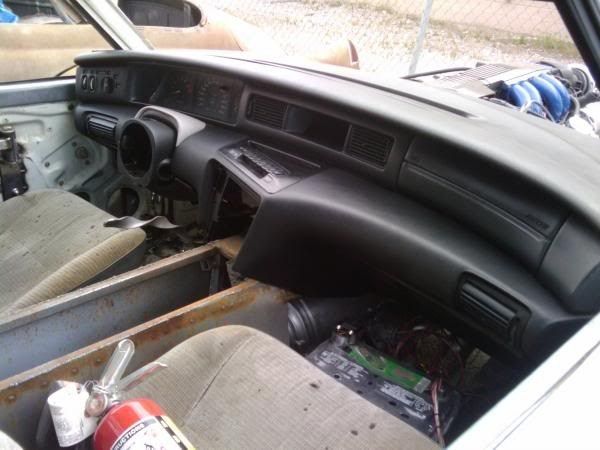
Here's a sneak peak at the Lincoln Mark VIII dash install. Pay no attention to the lack of leg room in this photo. I snapped this shot as I was mocking up the sides of the dash to fit snugly inside the truck. The dash has since been trimmed and pushed forward 8 inches. The seats will also be modified to nearly rest on the cab floor.

onelowmini
+1y
I was actually at the President of our nor cal chapters house we were watchin it and we all yelled at once...MINI TRUCK..haha..he knew exactly what truck it was right away...
D350
+1y
Here's a quick video of my brother driving D350 so I could try out my new camera. He said he's scared to gas it. Mission accomplished. Project D350

jimmy726
+1y
sickkkkkk

smctoy
+1y
very cool!!
D350
+1y
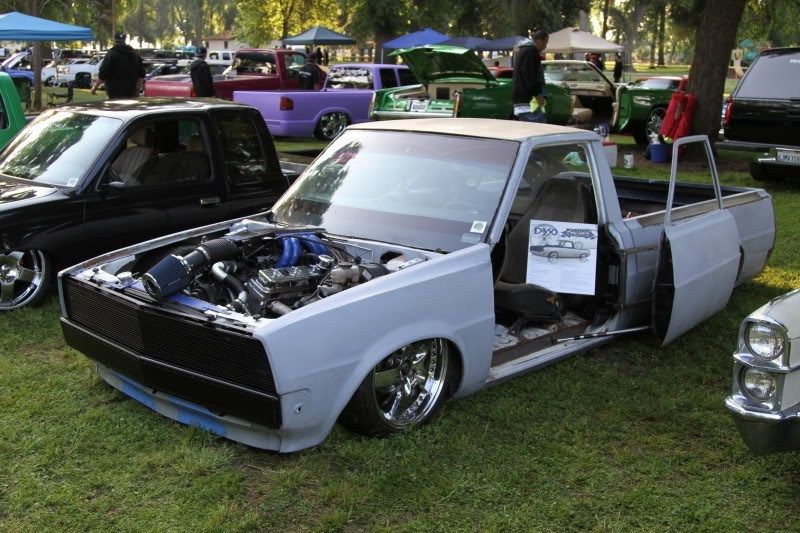
Just got home from Down to Earth Day in Visalia California. It was a really impressive show at a gorgeous venue. Lots of green, lots of shade, and great weather. Other than towing D350 for 6 hours... I had a damn good time.
D350
+1y
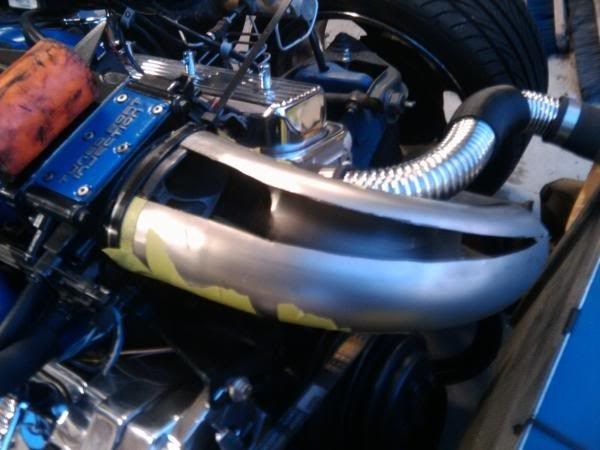
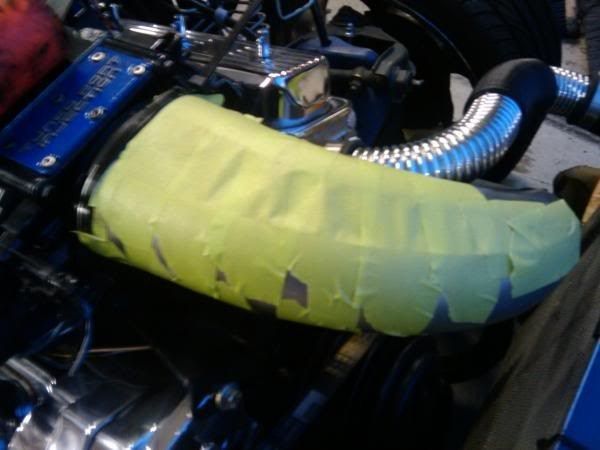
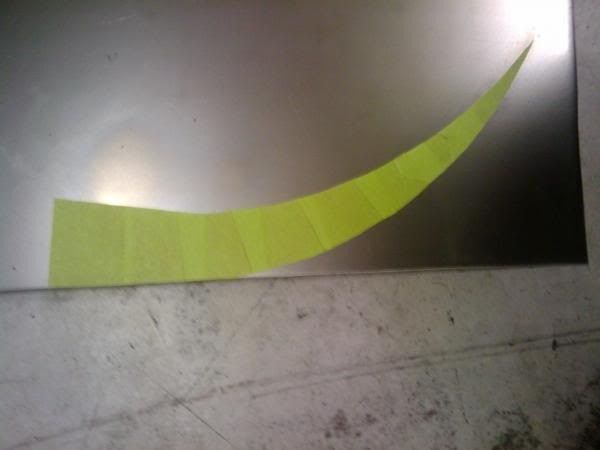
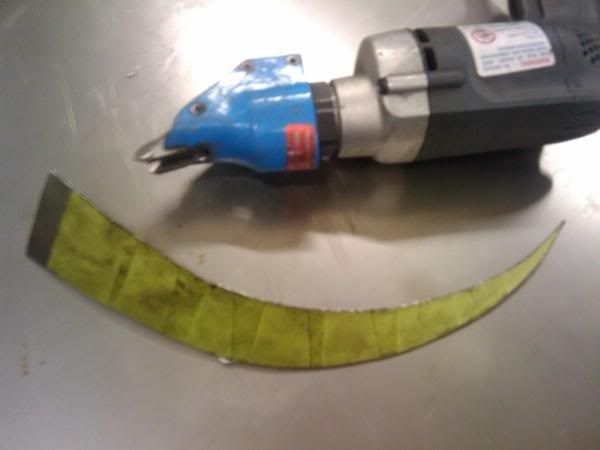
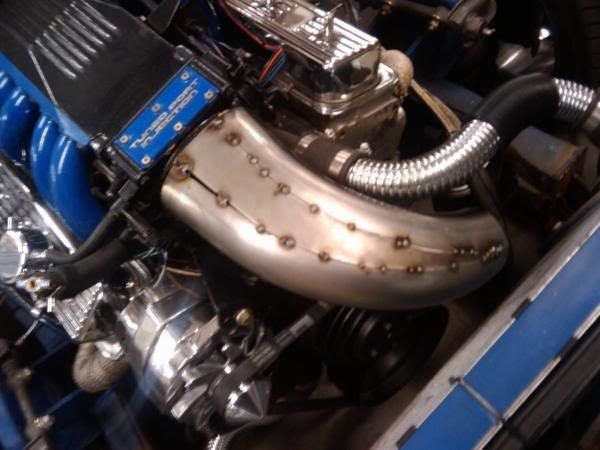
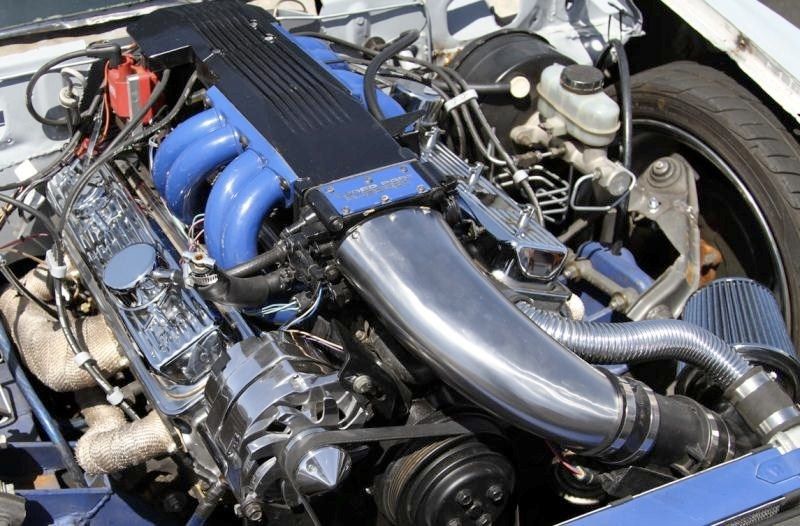
Here's a quick "How-To" for a hand made Tuned Port intake. They don't make them for after market applications that are this cramped, so I had to get creative. If you noticed in the last video and photos... my intake was less than attractive. Like a phallus resting on my hood. It was time to tuck it back in. I started with a mandrel bent 3" inch exhaust elbow. I aimed the bend in the direction I wanted, marked what was now the "top", split the pipe down the center and stretched it over the throttle body opening... I needed an accurate pattern for a filler piece... So I covered the opening in masking tape... I cut the tape along the edges to form an exact pattern and stuck it to some sheet steel. I cut out the shape, removed the tape... And tacked it in place. After doing the same for the bottom, I welded it up fully. I then spent some time perfecting the oval opening using an anvil and a rubber mallet. The most time consuming part was grinding the welds flat followed by shining the steel with some metal finishing discs. It'll rust so I'll likely have it chromed or powder coated sometime in the near future.


waynehammer
+1y
intake tube looks great. and aweome job on the windshield/roof.
Related Discussions in Minitruckin' Magazine
Thread
Posts
Last Post
29

last post by
e10pvmt +1y
Any Tri City, Wa Mini Truckers on here and want to hang out/ go to a show?

last post by
tacomatoy2001 +1y
0
0
last post by
tacomatoy2001 +1y
