Street Source is shutting down April 30th, 2026. Read the announcement
Z
Project: Doo-lay

john jones
+1y
Man that looks awesome... Great progress!! Whats the plasti dip? paint?
Z
zakmann
+1y
yeah its a rubberized paint, requires no prep besides cleaning, wont harm a brand new paint job, and peels off like vinyl wrap, cheap too,
M
mdub4life29
+1y
where do you get it
Z
zakmann
+1y
dipyourcar.com

luifer76
+1y
nice work bro, very nice!
RR
rick ross
+1y
You can get rattle cans too. Pep Boys has the most colors here. I bought a white replacement rear fender so I did a little tribal design on the back door and left side of the tailgate to kinda make it look good if you are going the other way on the interstate. hahahahahaha Its kinda fun.
Z
zakmann
+1y
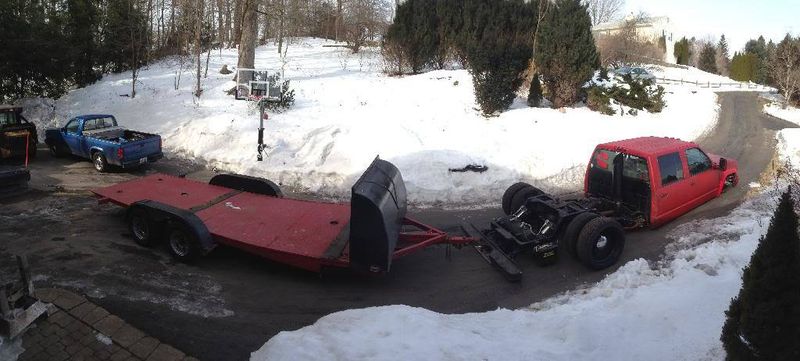
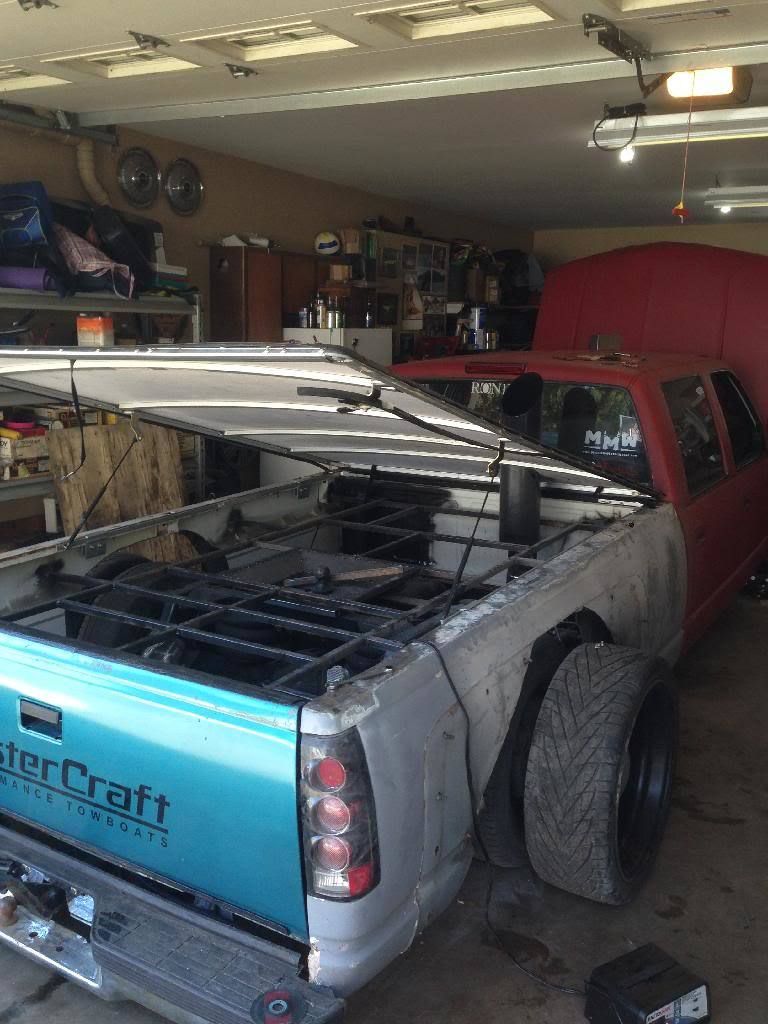
got a lot more done in the last few weeks
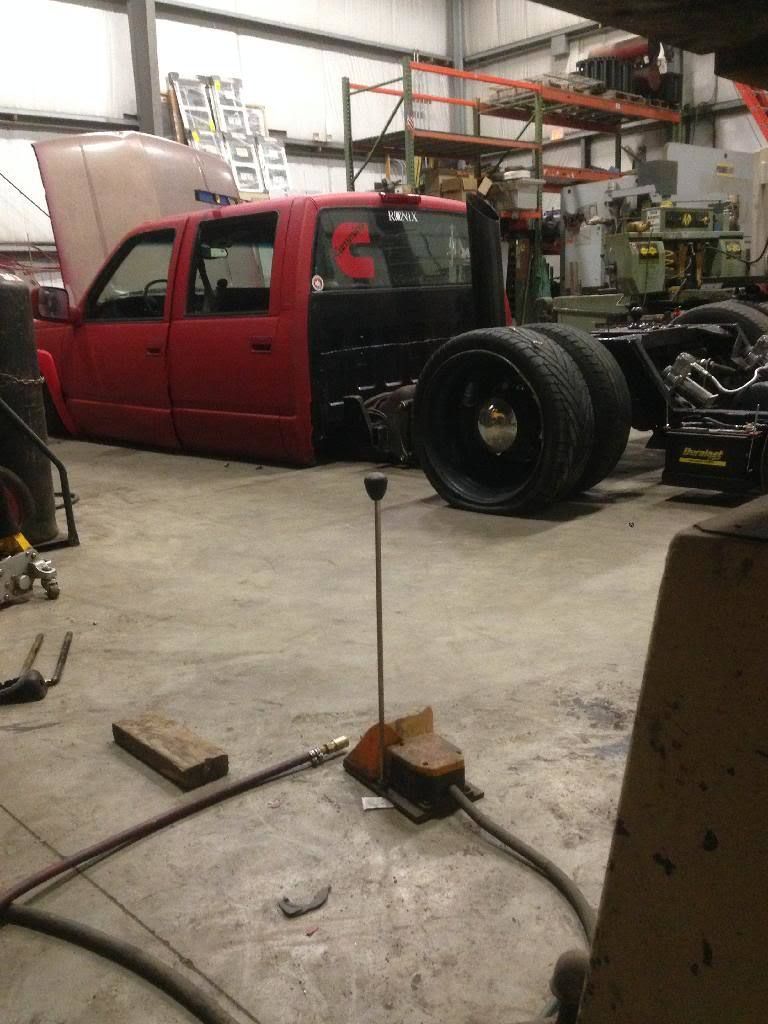
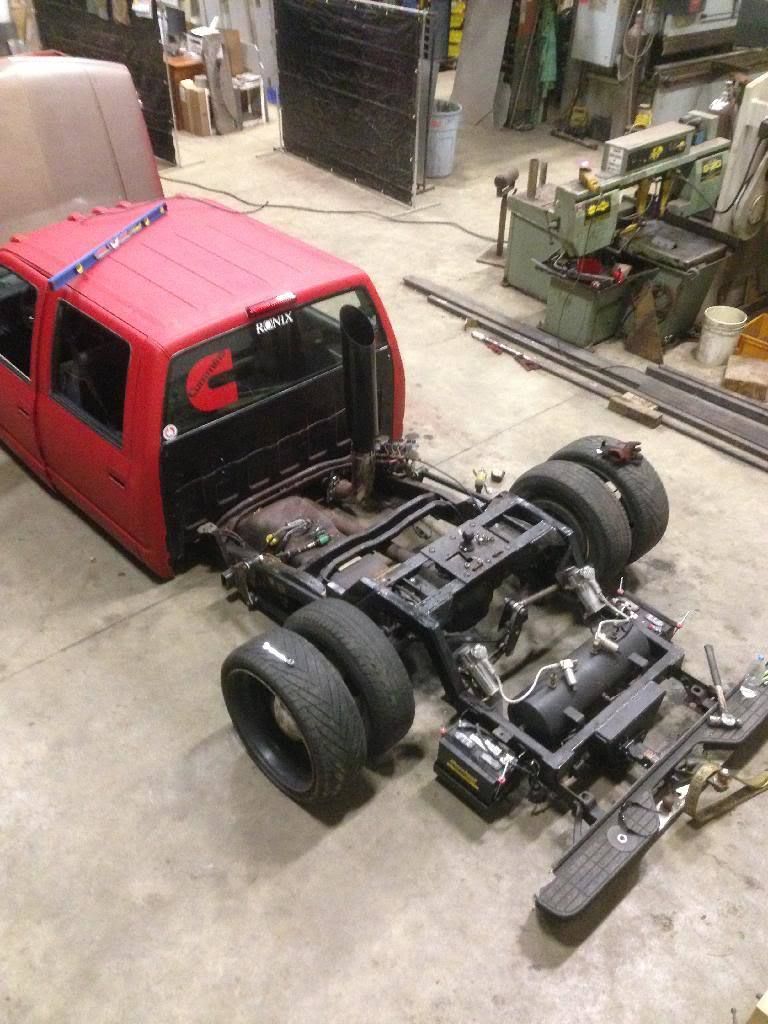
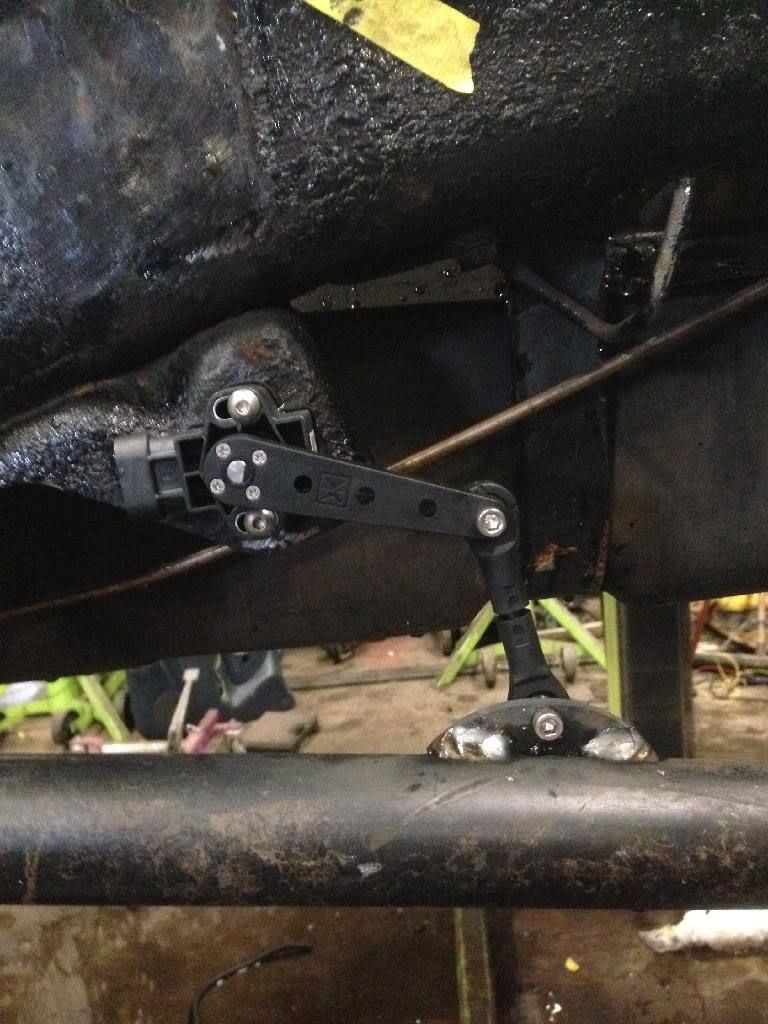
made a new bracket for my valves
wilwood pedal didnt work worth a damn, so in the trash it went, took a piece of 2"x2" 2-1/4" long, cut a hole in the firewall and frenched the master in, clutch works great, drove it out of the shop
also got my alternator back and hooked up, now works like a gm one wire
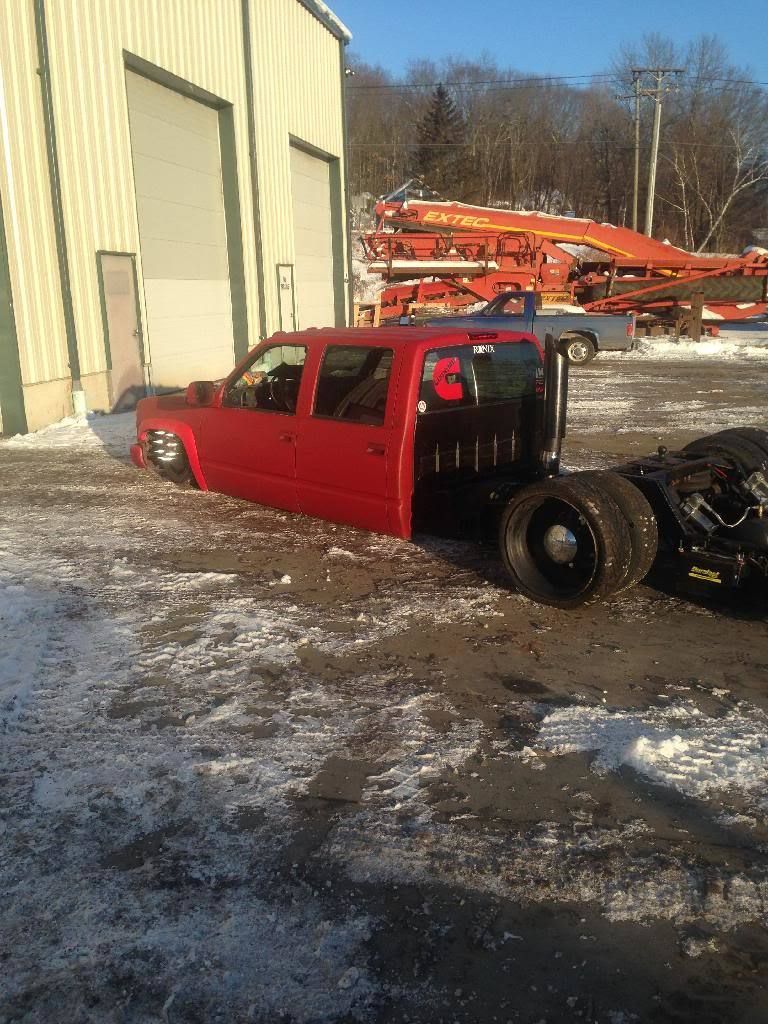
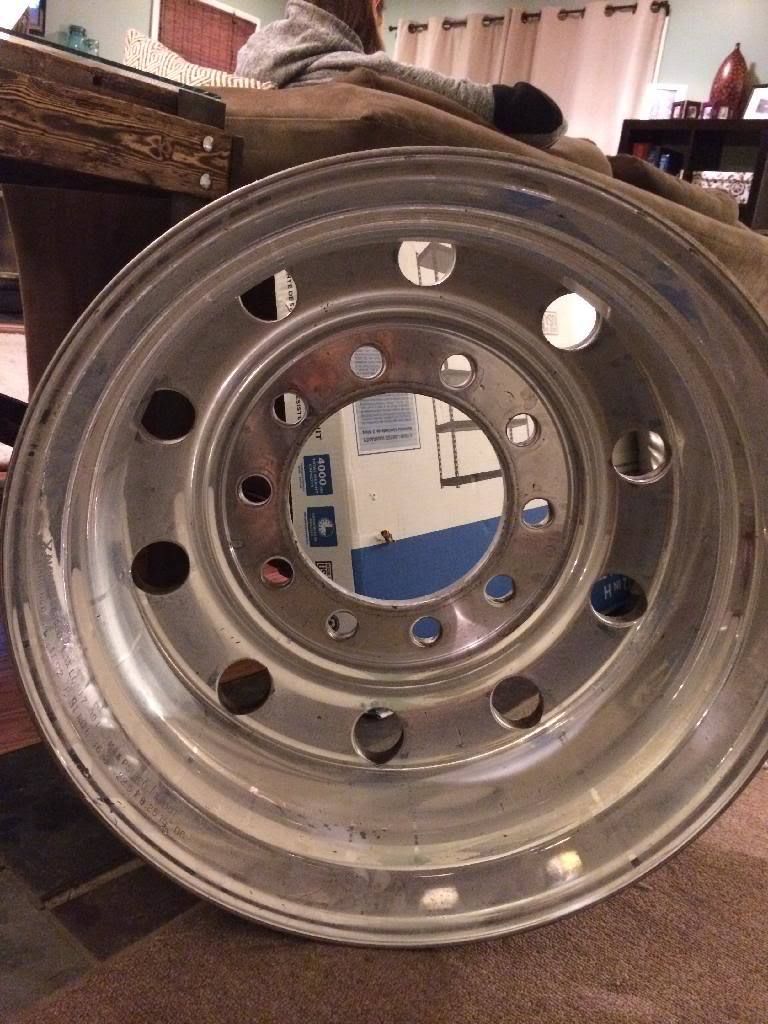
picking up these soon, only one side of the lip is milled tho, but for 300 for all 4 ill have the other side milled
elevel came in, all hooked up now, shit is amazing, well worth it
all my gauges came in, cut out a quick piece on the water jet
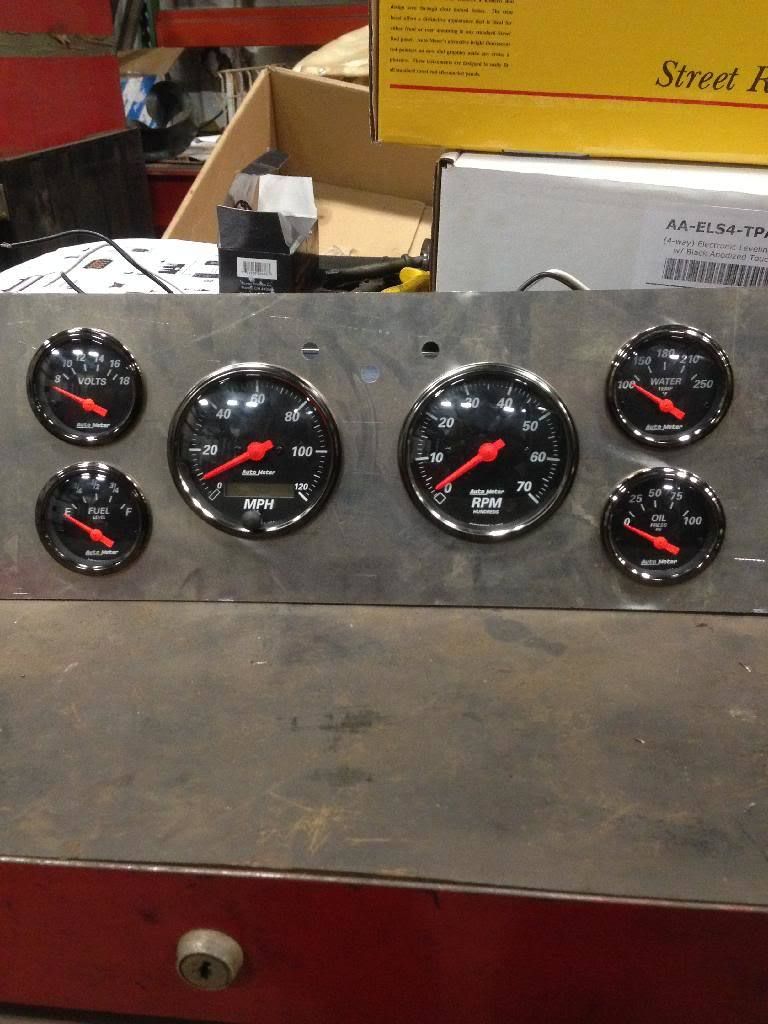
fits behing the stock bezel
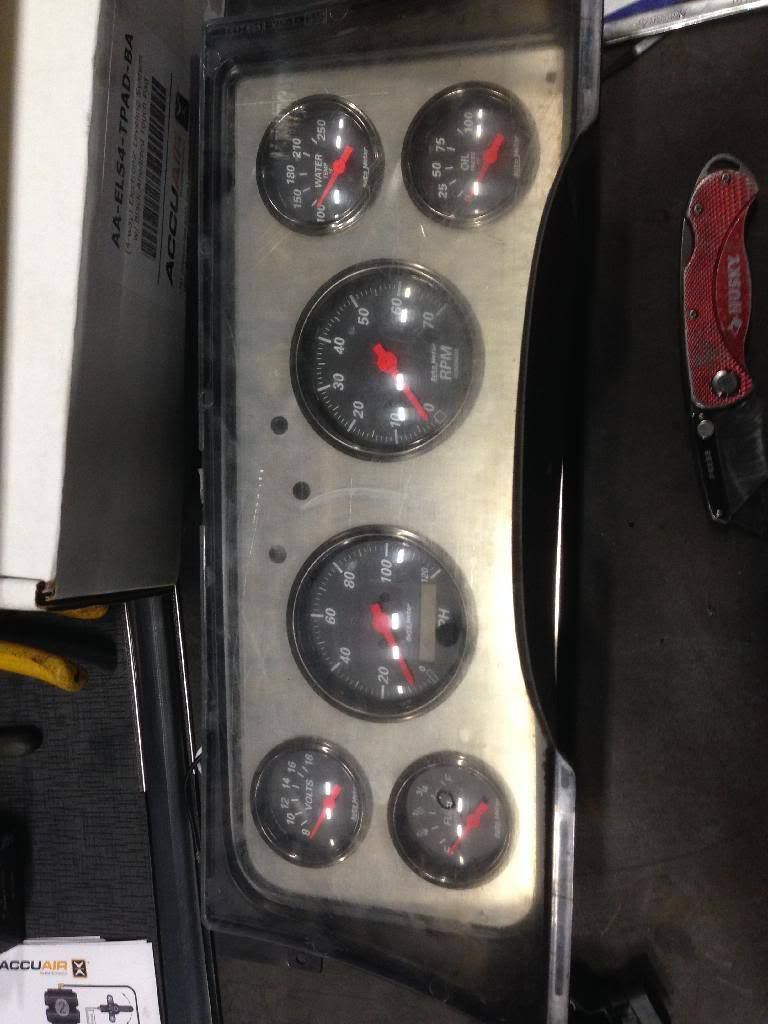
elevel sensors
ill be making new adapters soon
i also ordered 6 tires
debating on one of these
carpet is done and both seats are in
[url=ard367/media/Mobile%20Uploads/403AE41E-4D9D-4E06-972E-7AF29550024D_zpsvcznf4xs.jpg.html:2wnhsjz6" target="_blank" rel="nofollow">html:2wnhsjz6" target="_blank" rel="nofollow">html:2wnhsjz6" target="_blank" rel="nofollow">html:2wnhsjz6]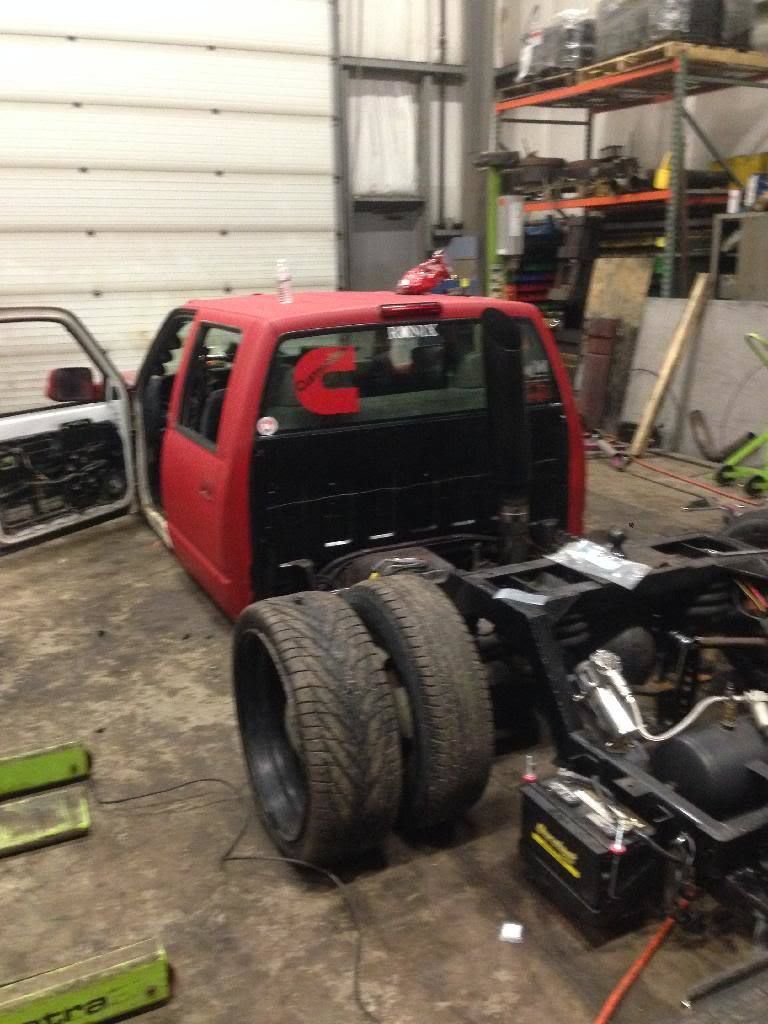
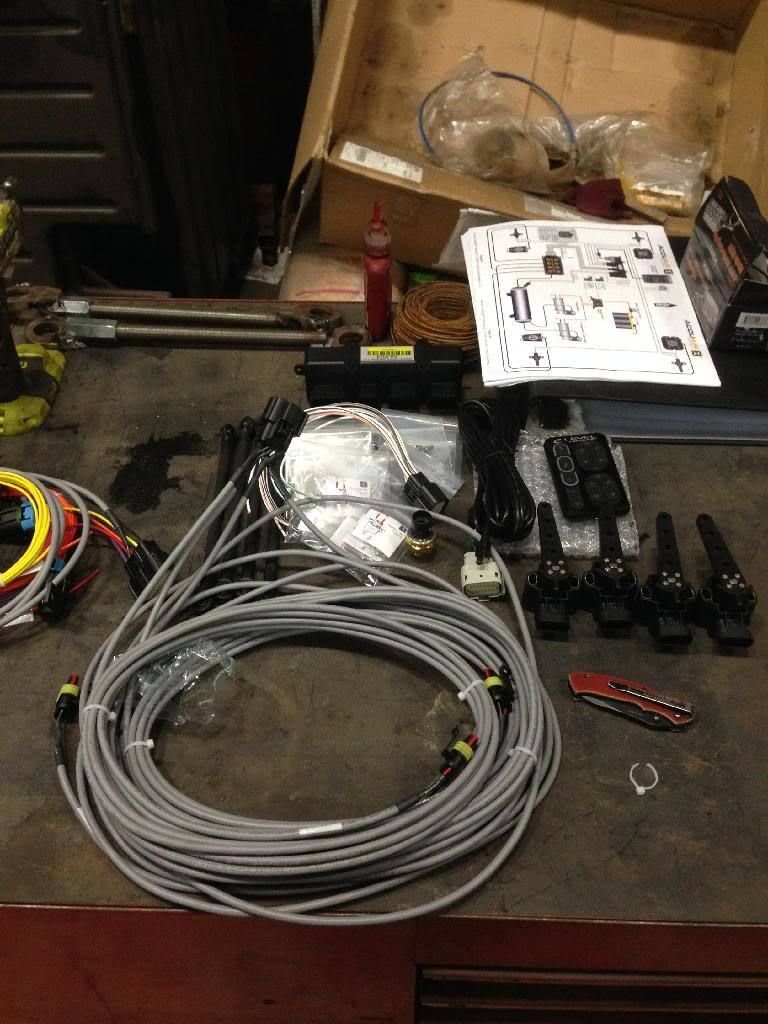
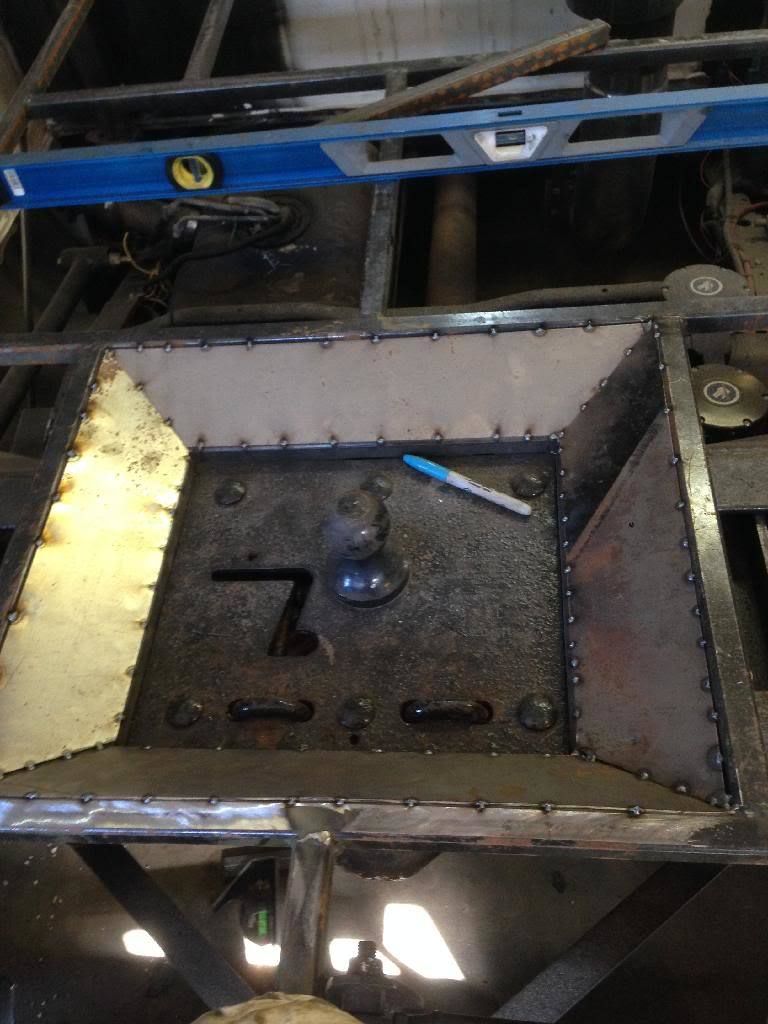
gauges wired and working
[url=ard367/media/Mobile%20Uploads/C8D6A00E-7F19-4141-9988-39816F3C0A79_zps3wp3w8sj.jpg.html:2wnhsjz6" target="_blank" rel="nofollow">html:2wnhsjz6" target="_blank" rel="nofollow">html:2wnhsjz6" target="_blank" rel="nofollow">html:2wnhsjz6]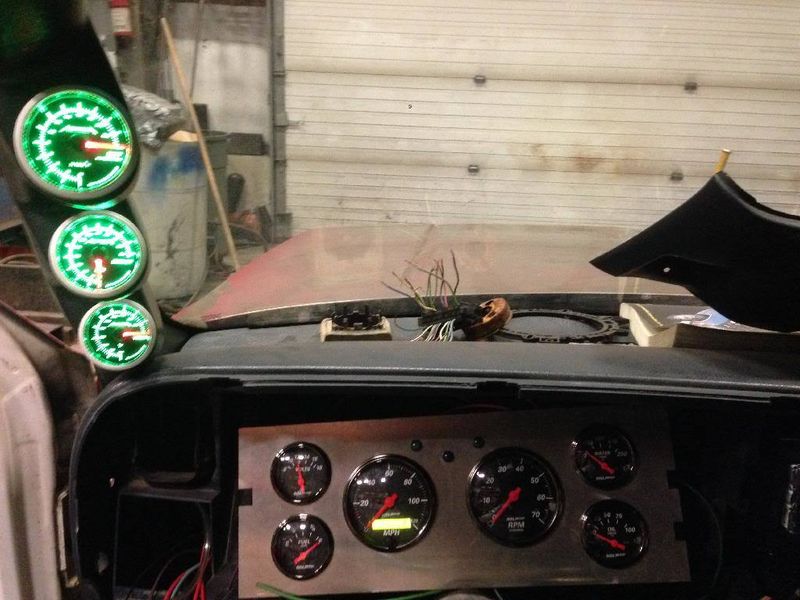
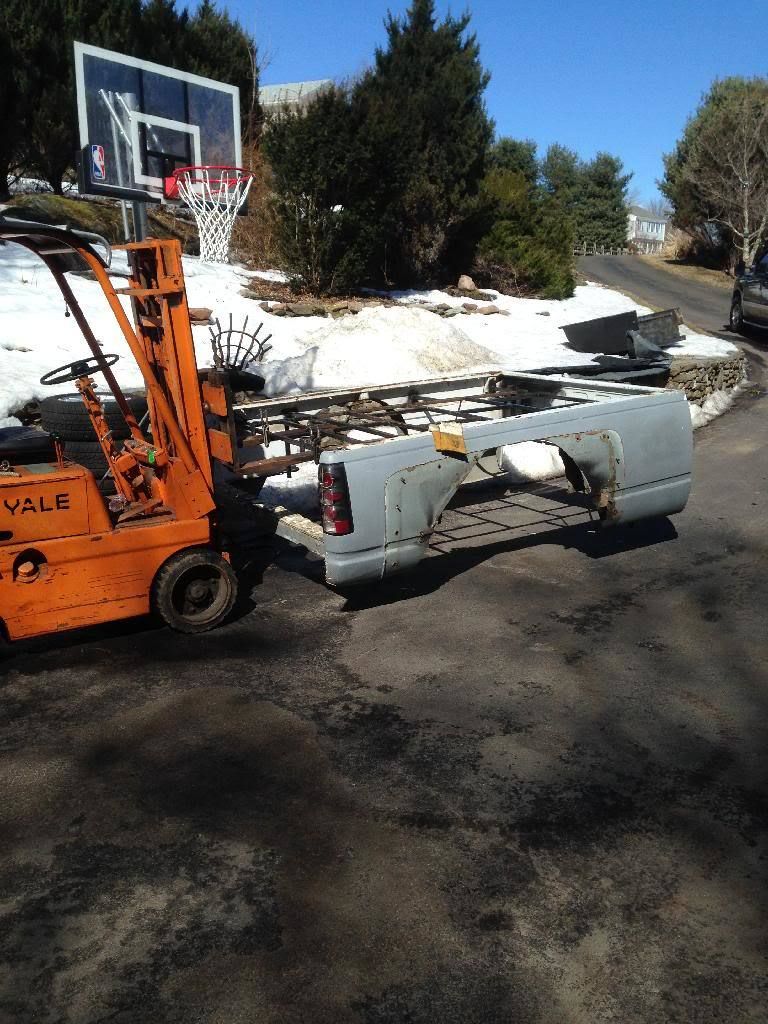
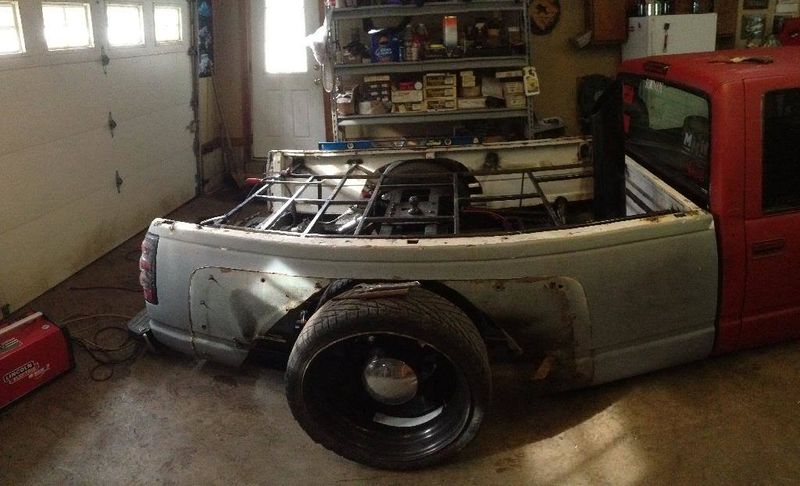
on my way out
[url=ard367/media/Mobile%20Uploads/B8CFC9A1-A5B2-4468-B8AB-CB232D4EC82A_zpsexlshvp0.jpg.html:2wnhsjz6" target="_blank" rel="nofollow">html:2wnhsjz6" target="_blank" rel="nofollow">html:2wnhsjz6" target="_blank" rel="nofollow">html:2wnhsjz6]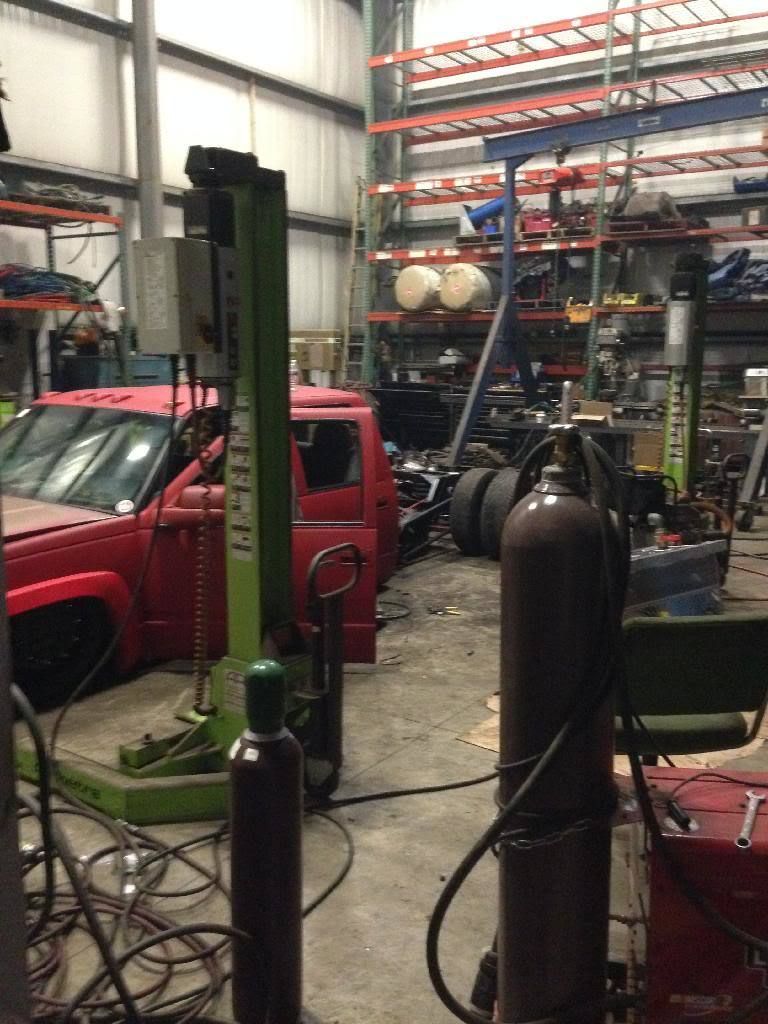
made a new bracket for my valves
wilwood pedal didnt work worth a damn, so in the trash it went, took a piece of 2"x2" 2-1/4" long, cut a hole in the firewall and frenched the master in, clutch works great, drove it out of the shop
also got my alternator back and hooked up, now works like a gm one wire
picking up these soon, only one side of the lip is milled tho, but for 300 for all 4 ill have the other side milled
elevel came in, all hooked up now, shit is amazing, well worth it
all my gauges came in, cut out a quick piece on the water jet
fits behing the stock bezel
elevel sensors
ill be making new adapters soon
i also ordered 6 tires
debating on one of these
carpet is done and both seats are in
[url=ard367/media/Mobile%20Uploads/403AE41E-4D9D-4E06-972E-7AF29550024D_zpsvcznf4xs.jpg.html:2wnhsjz6" target="_blank" rel="nofollow">html:2wnhsjz6" target="_blank" rel="nofollow">html:2wnhsjz6" target="_blank" rel="nofollow">html:2wnhsjz6]
gauges wired and working
[url=ard367/media/Mobile%20Uploads/C8D6A00E-7F19-4141-9988-39816F3C0A79_zps3wp3w8sj.jpg.html:2wnhsjz6" target="_blank" rel="nofollow">html:2wnhsjz6" target="_blank" rel="nofollow">html:2wnhsjz6" target="_blank" rel="nofollow">html:2wnhsjz6]
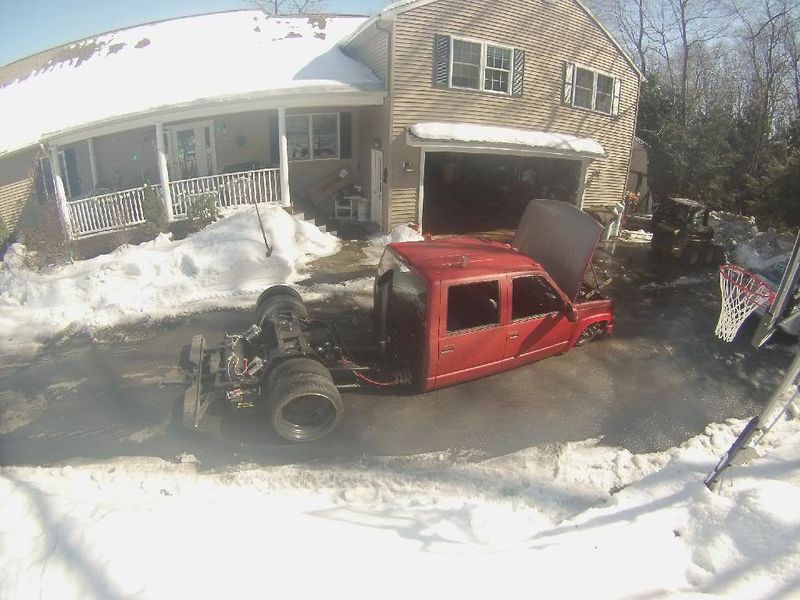
on my way out
[url=ard367/media/Mobile%20Uploads/B8CFC9A1-A5B2-4468-B8AB-CB232D4EC82A_zpsexlshvp0.jpg.html:2wnhsjz6" target="_blank" rel="nofollow">html:2wnhsjz6" target="_blank" rel="nofollow">html:2wnhsjz6" target="_blank" rel="nofollow">html:2wnhsjz6]
Z
zakmann
+1y
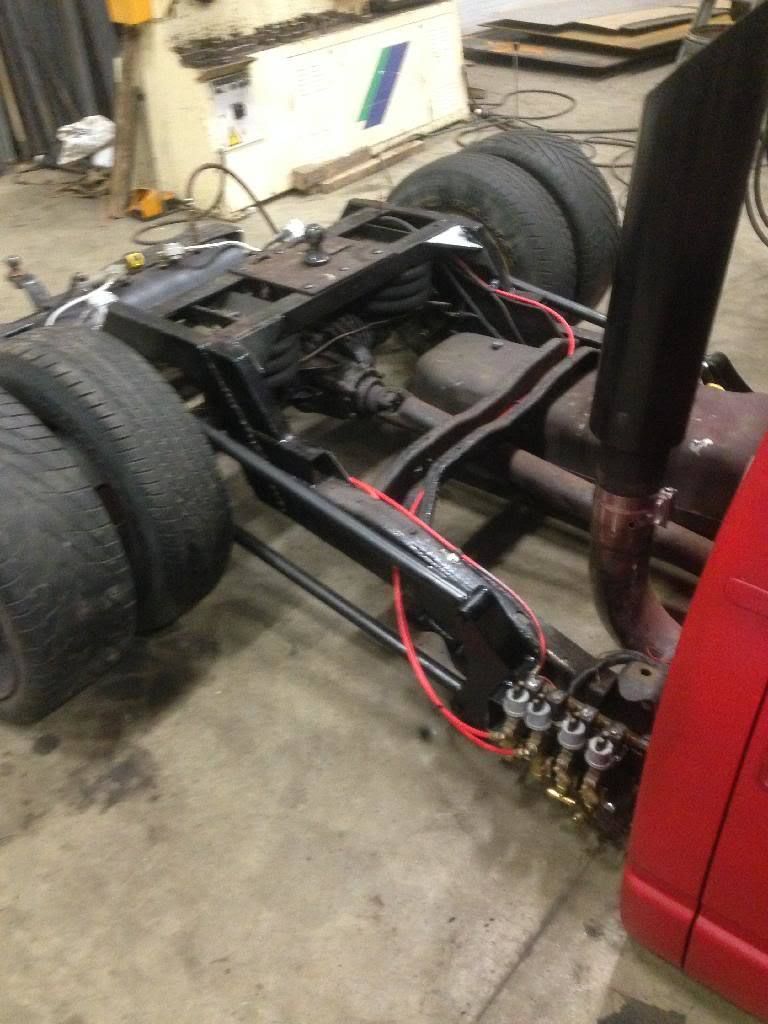
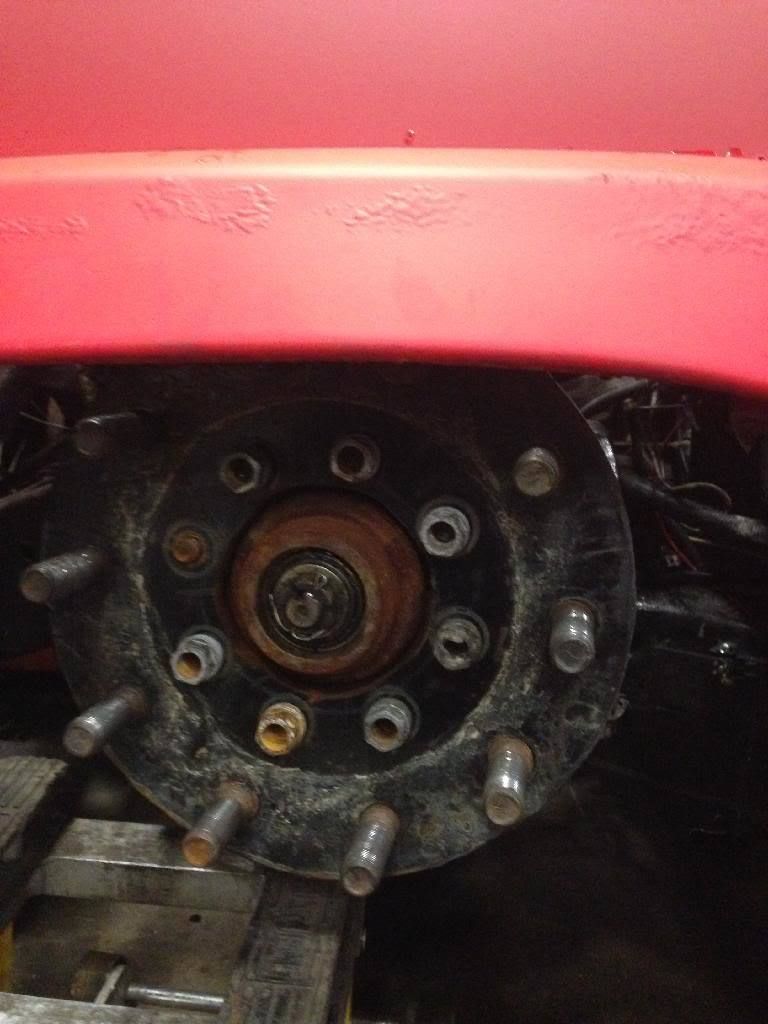
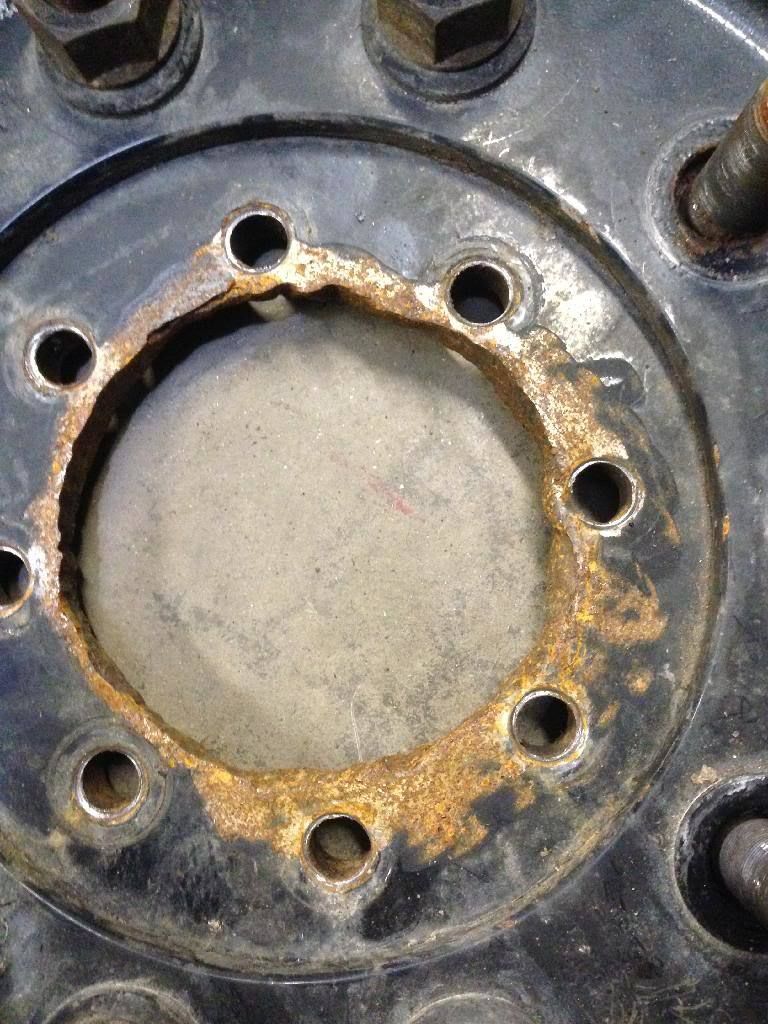
some more work, made some new adapters old ones were little sketchy, don't know who in there right mind would drive on these

Z
zakmann
+1y

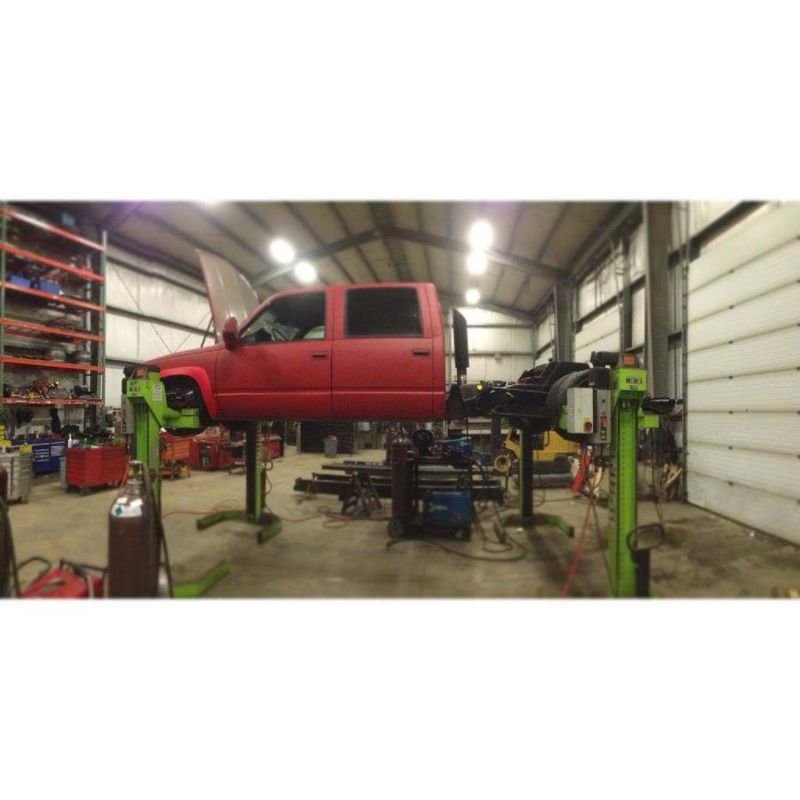
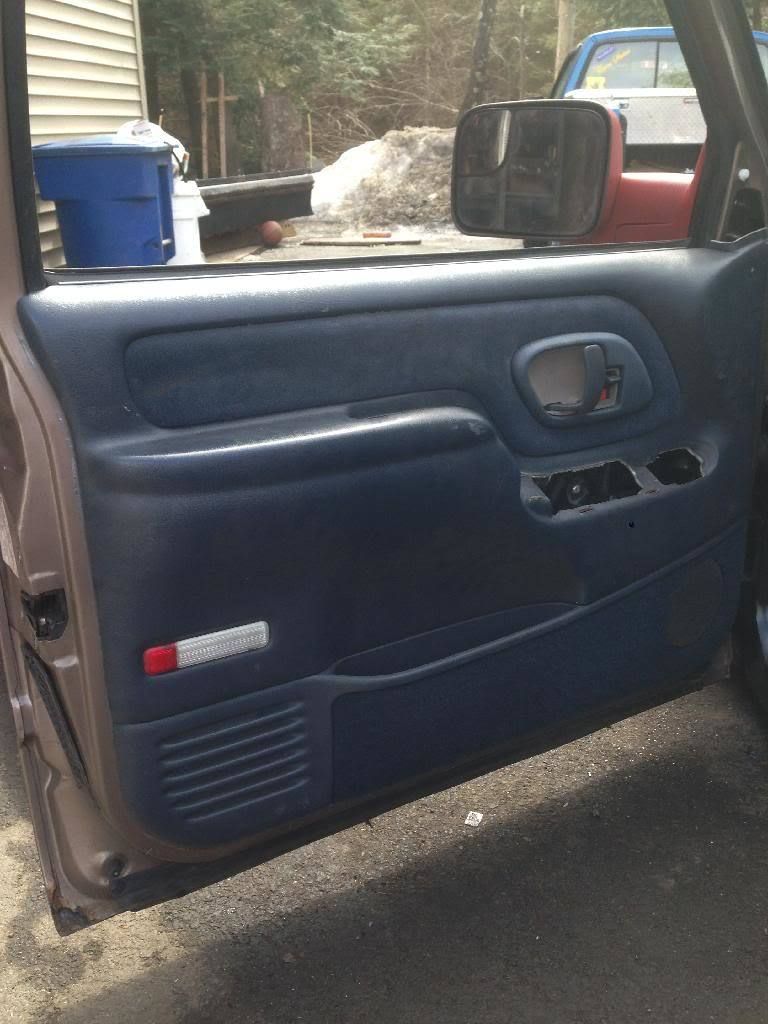
had this layin around
driver door never lined up and wouldnt close, so i got a new one
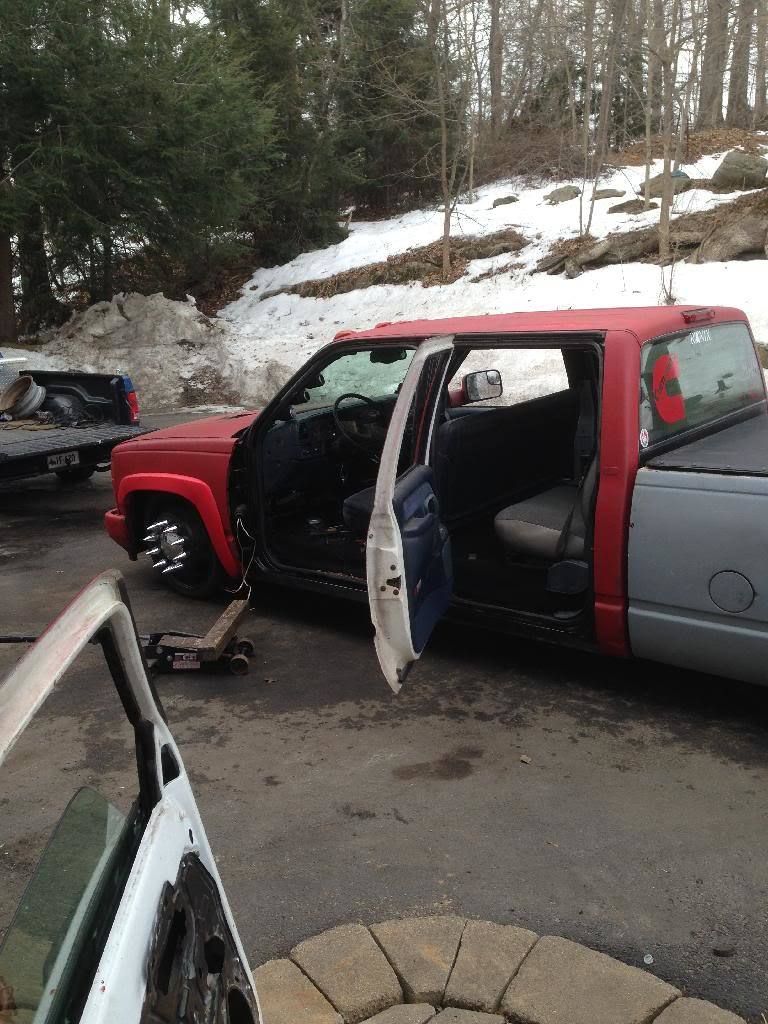
converted it to power

comegetsome
+1y
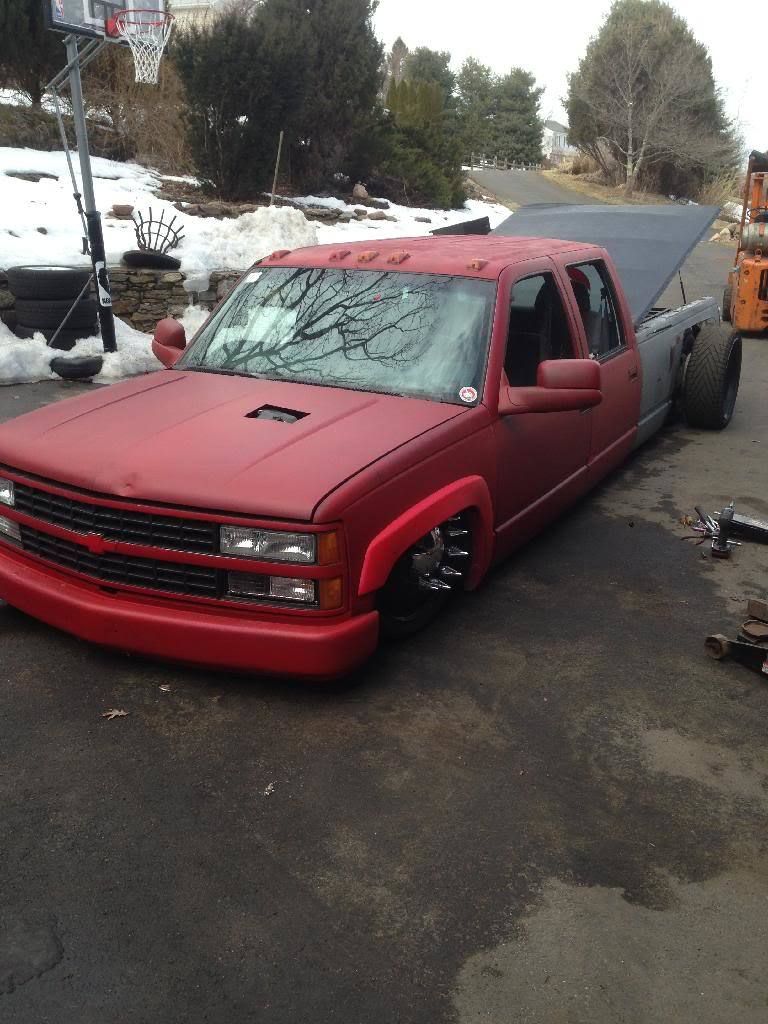
man when you first started this build i was thinking about how bad that cab was beat up.....windshield busted and all.....but you took it and turned it into pure badass....good job boss
Related Discussions in Dually Projects
Thread
Posts
Last Post
546
A
last post by
Airnewb91 +1y
193

last post by
Airnewb91 +1y