Street Source is shutting down April 30th, 2026. Read the announcement

Project D350 Build Thread
9
92zuzuman
+1y
Ive been lookin at your build up for a while now. keep it up its sick man, your frame z and body drop methods really made me think too.

Don Shagwell
+1y
Classic D-50, very nice

D350
+1y
Edited: 12/1/2009 2:22:27 AM by D350
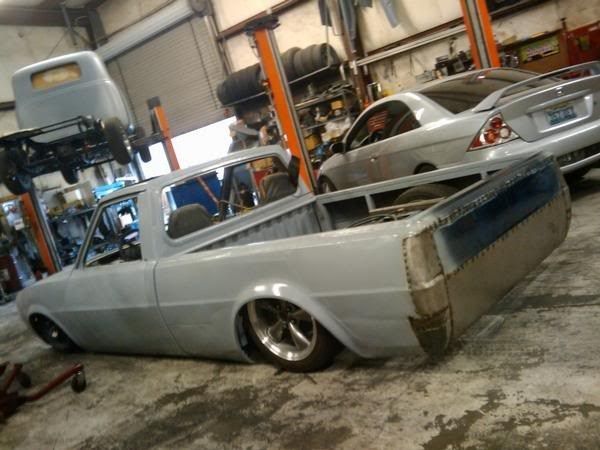
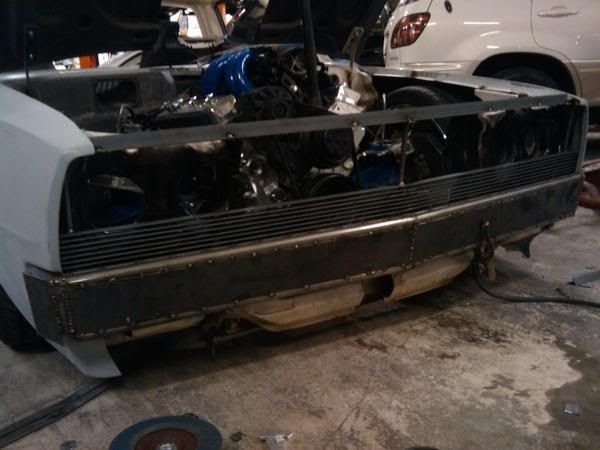
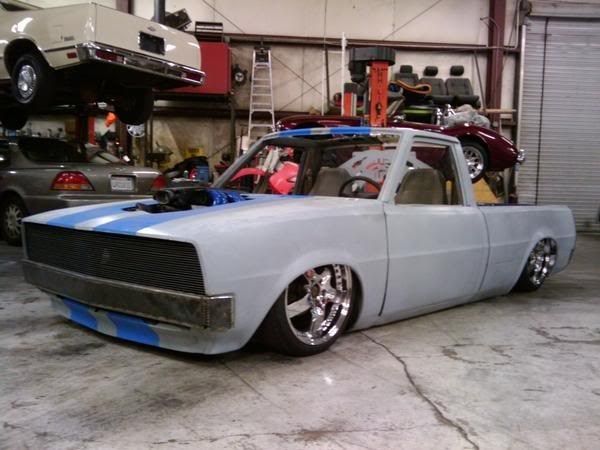
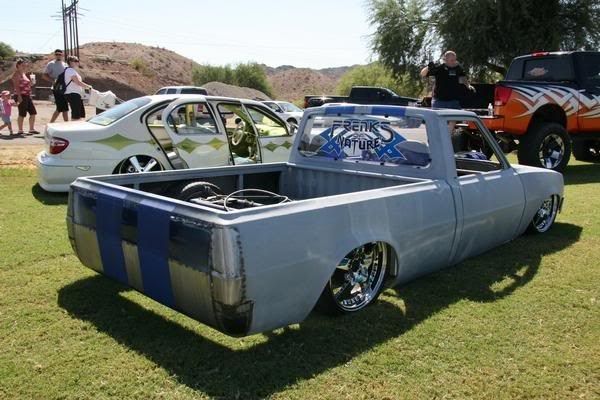
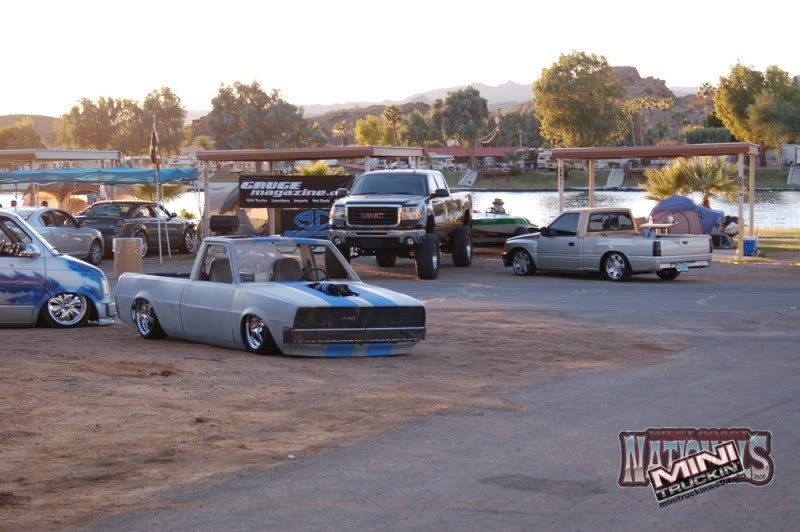
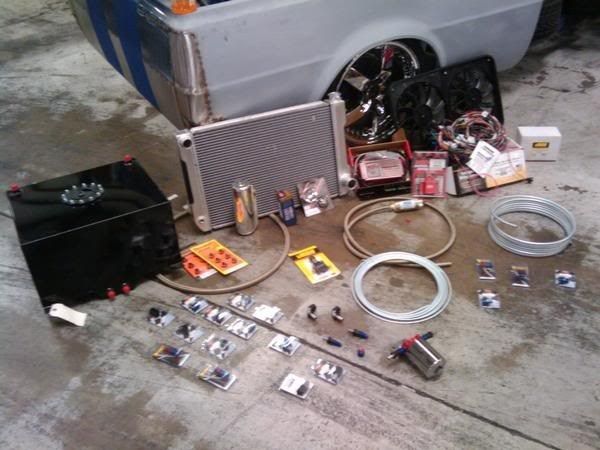
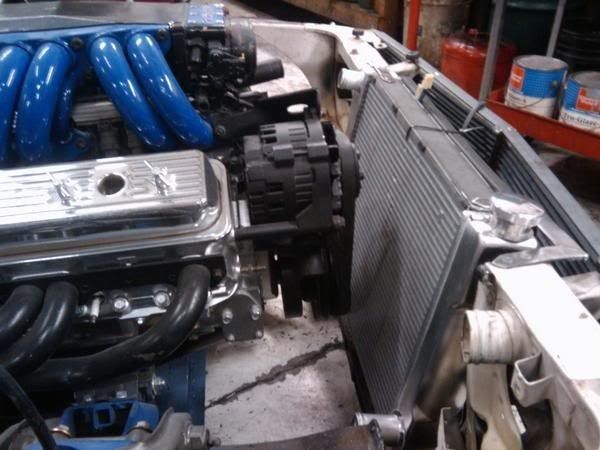
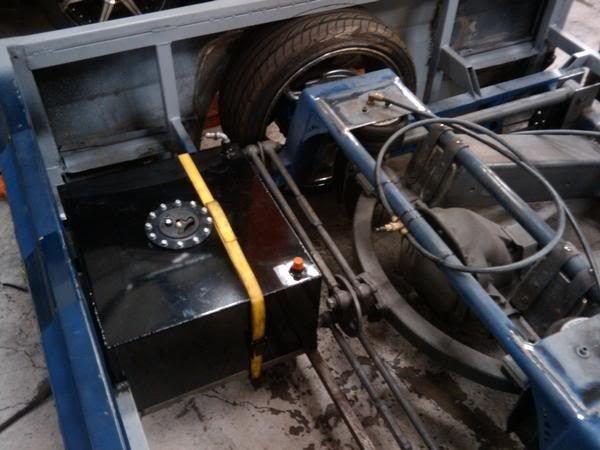
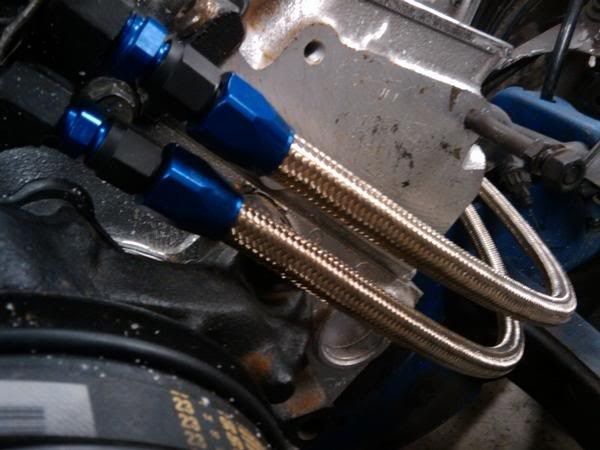
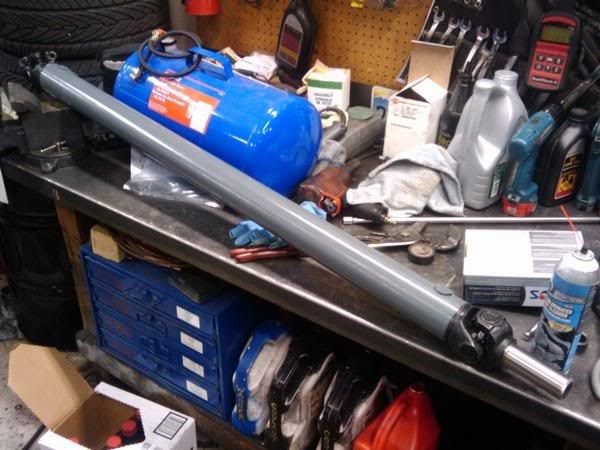
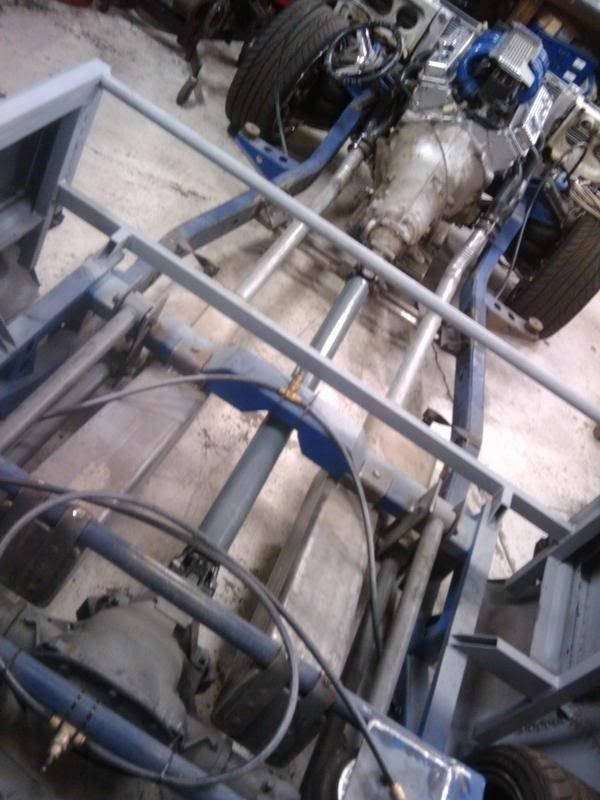
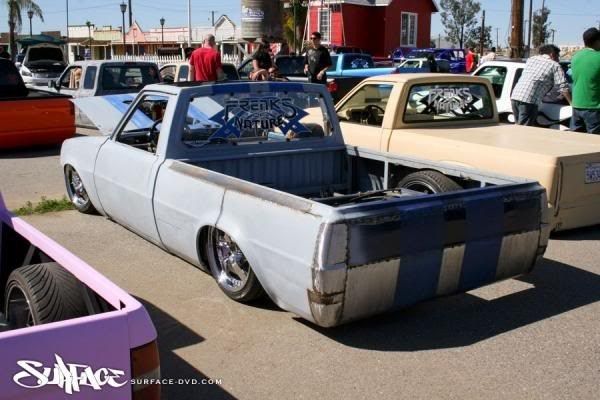
A lazy update! Forgive me... I'm spending more time at the shop and less time typing about it. We moved to a new shop recently which means I lost the room that was dedicated to my build. Not only did I lose the room but now my truck has to be stored out doors during business hours. When I found this out I decided I needed to prematurely spray the truck in epoxy primer to protect the bare metal and body fillers. I got quite a bit done since my last update. Grant Kustoms Tail light fillersHand fabricated tailgate skin and roll panMachined BMW wheels to fit properly Hand fabricated steel billet style grillHand fabricated steel front bumper (in progress)Custom built drive shaft to link Chevy trans to the Ford Axle Installed fuel cellAssembled complete fuel system I had the pleasure of hauling the truck to West Coast Nats in La Paz... It was the trucks second show and my first Run. I can't wait for the next one! I hope to have the truck up and RUNNING by new years day. I hope to have a fun video to share when I do! Until then... here's some photos...
A lazy update! Forgive me... I'm spending more time at the shop and less time typing about it. We moved to a new shop recently which means I lost the room that was dedicated to my build. Not only did I lose the room but now my truck has to be stored out doors during business hours. When I found this out I decided I needed to prematurely spray the truck in epoxy primer to protect the bare metal and body fillers. I got quite a bit done since my last update. Grant Kustoms Tail light fillersHand fabricated tailgate skin and roll panMachined BMW wheels to fit properly Hand fabricated steel billet style grillHand fabricated steel front bumper (in progress)Custom built drive shaft to link Chevy trans to the Ford Axle Installed fuel cellAssembled complete fuel system I had the pleasure of hauling the truck to West Coast Nats in La Paz... It was the trucks second show and my first Run. I can't wait for the next one! I hope to have the truck up and RUNNING by new years day. I hope to have a fun video to share when I do! Until then... here's some photos...


D350
+1y
So excited I could poop! WYDLOAD D350 Lives
X
xgolferdude
+1y
Sooo when ya going to unibody it? Cus that would make this slick little truck really pop! Im really diggin the truck great work and off the beaten path! This is what a real customizing is all about, not just throwing some bags and some big wheels! CREATIVITY!! Either that or we're both just sick! lol Anyways love the idea's keep em coming! BTW I see the resemblence of a Trans Am racer in your truck with the front bumper and lower air dam! Thats just sick!!!

LaidNeon
+1y
Nice build

mjavy7
+1y
Very nice build. please do not split the widshield in two. Some one I know did that and it never seald correctly and it looked like crap. It looks like you have the talent to make it look good but it might look like an money truck not a mini. KEEP UP THE GOOD WORK!!
D350
+1y
Edited: 2/15/2010 12:32:39 AM by D350
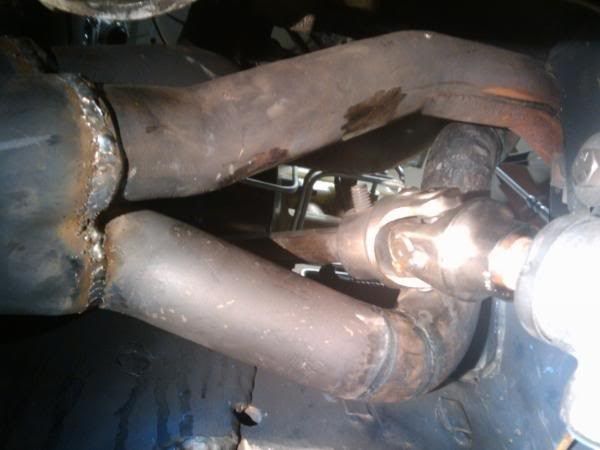
I thoroughly enjoy getting update without having to type a lot. If I haven't already mentioned, I had to cut my #4 cylinder head tube to make clearance for steering linkage and I have yet to reroute it. It's still wide open. I also found out that it's not a good idea to leave a Mass Airflow Sensor out side in the weather for 2 years. The truck runs better with it unplugged in what they call "limp home mode". I apparently installed the wrong throttle cable. It has a device on it that won't allow me to mash the gas to the floor. The butterflies open less than 1/3 of the way. Lastly, the MSD Ignition box I chose (6AL) has an interchangeable rev limiter chip... I put in a 3000 RPM chip so I don't blow the newly rebuilt motor. All of that said... I can still have some fun! Project WYDLOAD D350
I thoroughly enjoy getting update without having to type a lot. If I haven't already mentioned, I had to cut my #4 cylinder head tube to make clearance for steering linkage and I have yet to reroute it. It's still wide open. I also found out that it's not a good idea to leave a Mass Airflow Sensor out side in the weather for 2 years. The truck runs better with it unplugged in what they call "limp home mode". I apparently installed the wrong throttle cable. It has a device on it that won't allow me to mash the gas to the floor. The butterflies open less than 1/3 of the way. Lastly, the MSD Ignition box I chose (6AL) has an interchangeable rev limiter chip... I put in a 3000 RPM chip so I don't blow the newly rebuilt motor. All of that said... I can still have some fun! Project WYDLOAD D350

D350
+1y
Edited: 4/17/2010 5:21:30 AM by D350
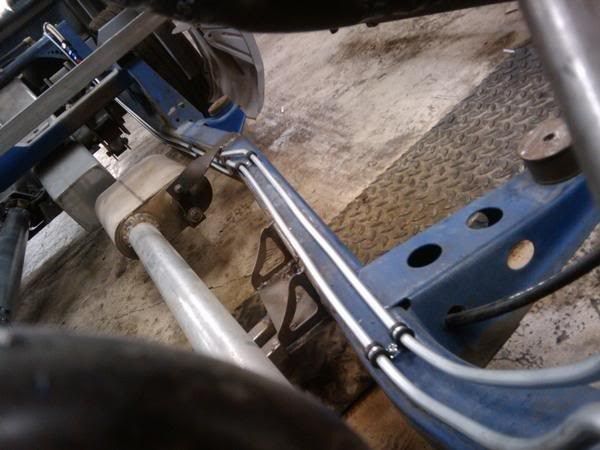
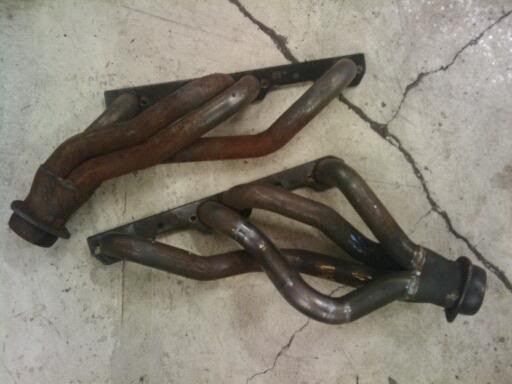
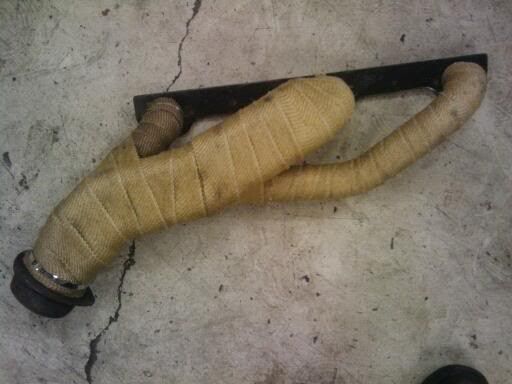
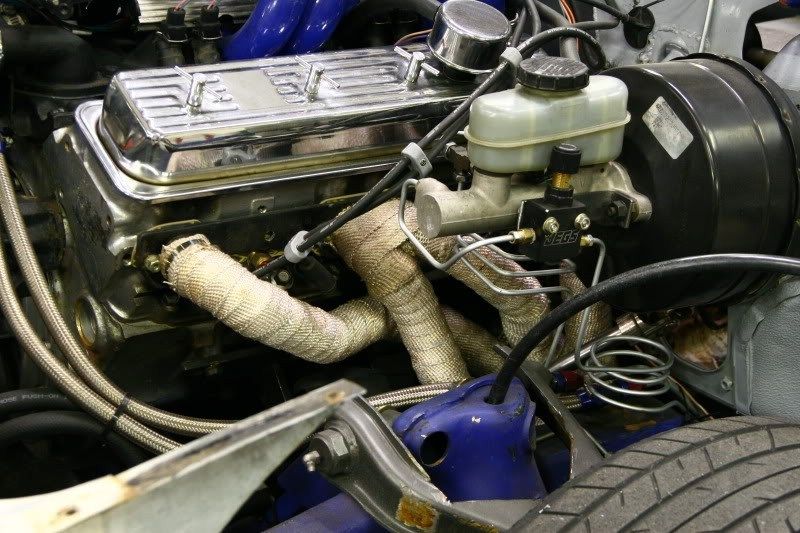
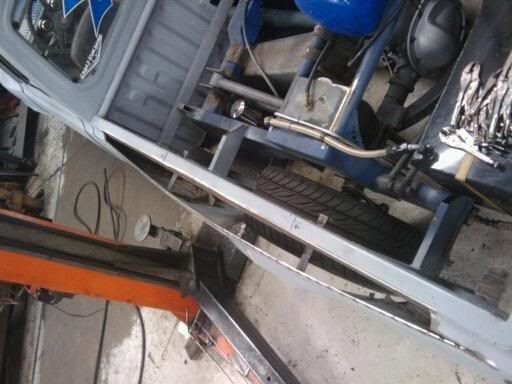
For those of you with big builds that made it on the road, you know what I mean when I say that driving my truck into Forbidden Fantasy was one of the most gratifying moments of my life. By the way, Thanks FFF for a kick ass show. It would've been better if I had sun screen but that's nobodies fault but my own. I'm still learning. So just before Forbidden, I drove my truck down a few blocks to a header specialist to mend the pipe I hacked through for the steering. It's the first time I ever let anyone else touch my truck but it turned out better than I could have ever hoped and the truck sounds sick! Before I bolted them on permanently, I wrapped them in fiber glass header wrap. Different people have different opinions on the effects of header wrap so who knows... but appearance-wise it's a nice little addition. I'm an idiot. I forgot to take photos of the headers installed. Perhaps I'll edit one in later. After I got the truck back, I installed a new Mass Airflow Sensor and plugged in the rest of the fuel management gadgets. Holy Shit it's a rocket! My link setup is working perfectly in regards to the anti-squat I mentioned ages ago and plants the tires into the pavement. I want so badly to take it to the drag strip but they don't allow bagged vehicles or vehicles with shaved handles. FML.
For those of you with big builds that made it on the road, you know what I mean when I say that driving my truck into Forbidden Fantasy was one of the most gratifying moments of my life. By the way, Thanks FFF for a kick ass show. It would've been better if I had sun screen but that's nobodies fault but my own. I'm still learning. So just before Forbidden, I drove my truck down a few blocks to a header specialist to mend the pipe I hacked through for the steering. It's the first time I ever let anyone else touch my truck but it turned out better than I could have ever hoped and the truck sounds sick! Before I bolted them on permanently, I wrapped them in fiber glass header wrap. Different people have different opinions on the effects of header wrap so who knows... but appearance-wise it's a nice little addition. I'm an idiot. I forgot to take photos of the headers installed. Perhaps I'll edit one in later. After I got the truck back, I installed a new Mass Airflow Sensor and plugged in the rest of the fuel management gadgets. Holy Shit it's a rocket! My link setup is working perfectly in regards to the anti-squat I mentioned ages ago and plants the tires into the pavement. I want so badly to take it to the drag strip but they don't allow bagged vehicles or vehicles with shaved handles. FML.
D350
+1y
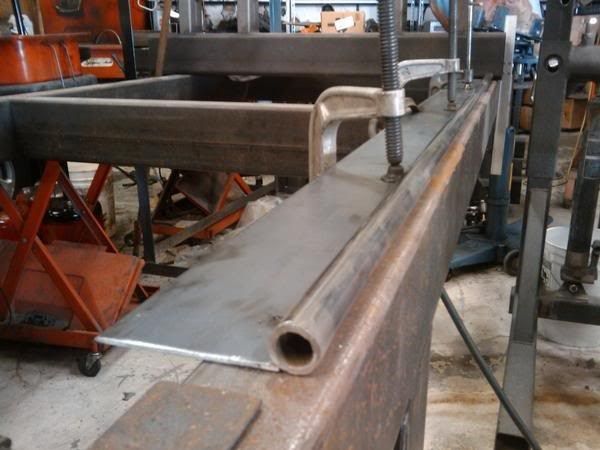
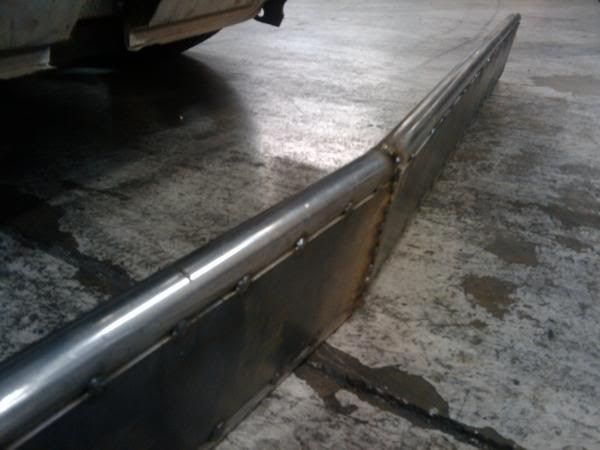
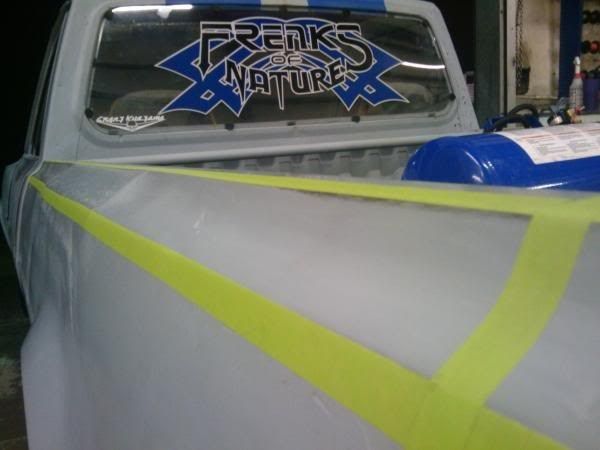
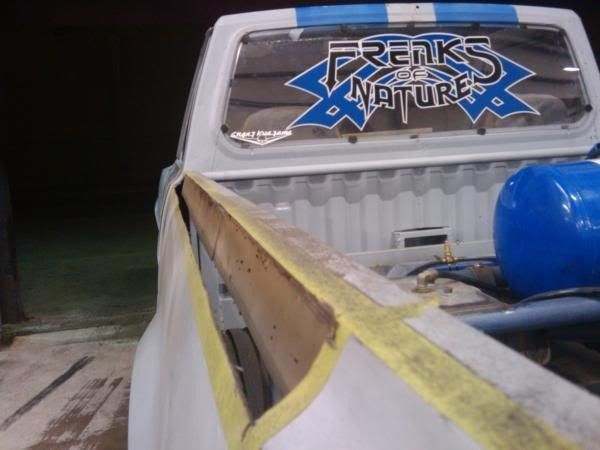
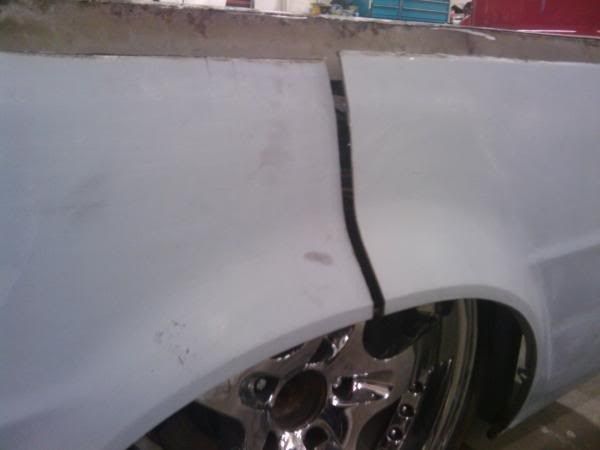
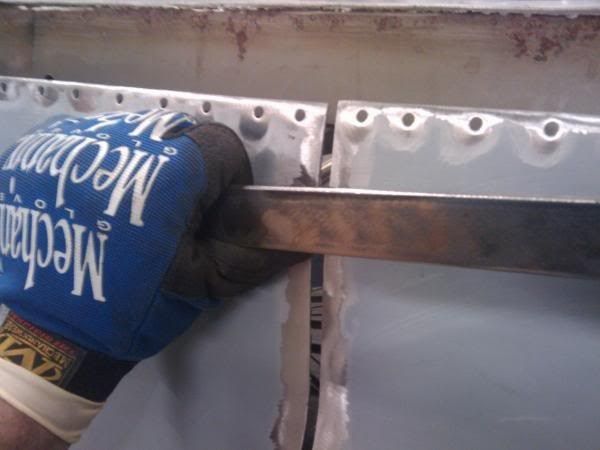
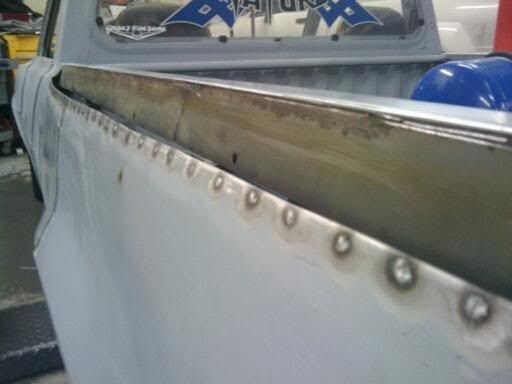
If any of you have seen my truck in person prior to Forbidden, I wouldn't be surprised if you looked at my flared bedsides and said... WTF?! They looked really bad. Hey... I'm not a sheet metal fabricator. Thin metal and I don't get along. It hit me just how bad it was when I saw the sun hit it at West Coast Nationals. I decided to start over. The first time around my goal was to make just enough room for my Mustang axle to fit without rubbing which resulted in a one inch flare. This time I decided it wouldn't look right until I pushed them out to match or exceed the width of the modified front fenders. So my bed is now flared 3 inches, (a half inch more than the front) and I have extra room to spare for some nice wide deep dish rims in the future. I mapped out the the material that needed to be removed with tape, which included my crappy first flare attempt. ...and removed it. I made a vertical relief cut in the bed side to act as a "stretch point" when I push the fender out. (I didn't do that the first time.) It will need to be filled in later. I punched a crap load of holes along the edge so that I could tack weld a 3/8 inch thick bar to the back side. My idea was that this bar would flex, but not easily and would create a nice even arch along the entire length of the bed as I pushed it out. It worked fantastic. Lastly, I made some cardboard templates of how I wanted the metal to be shaped, traced them onto sheet metal, cut and tacked them in as I shaped them with a hammer. It looks a lot better... I can't wait to fill and primer it.
Related Discussions in Minitruckin' Magazine
Thread
Posts
Last Post
29

last post by
e10pvmt +1y
Any Tri City, Wa Mini Truckers on here and want to hang out/ go to a show?

last post by
tacomatoy2001 +1y
0
0
last post by
tacomatoy2001 +1y
