Street Source is shutting down April 30th, 2026. Read the announcement
X
facelift
X
xtotalanarcoix
+1y
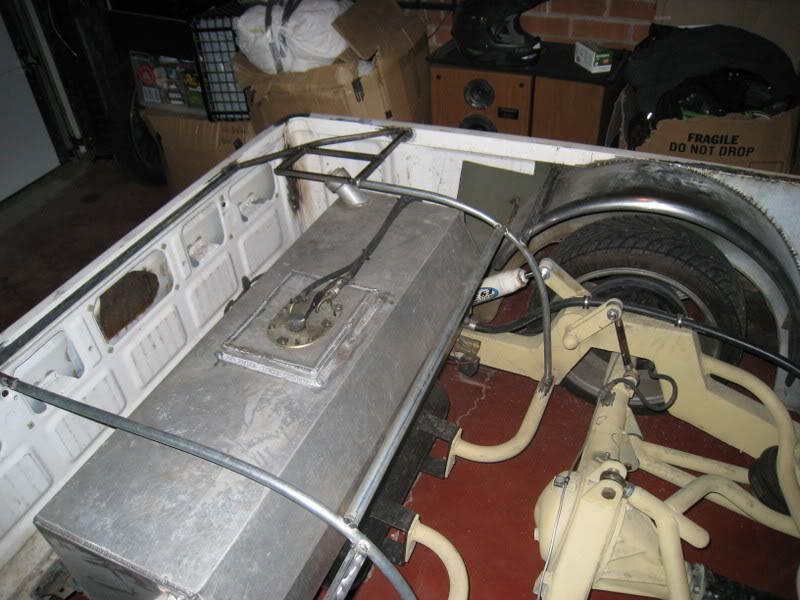
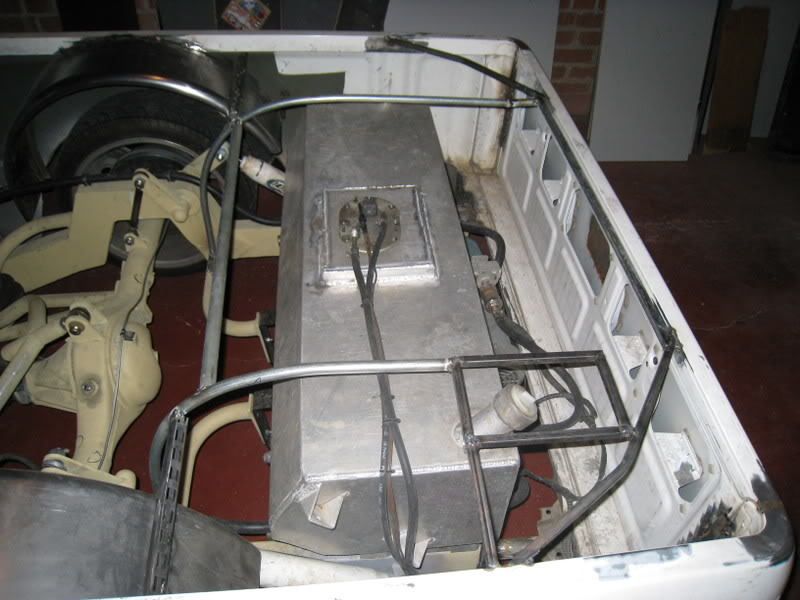
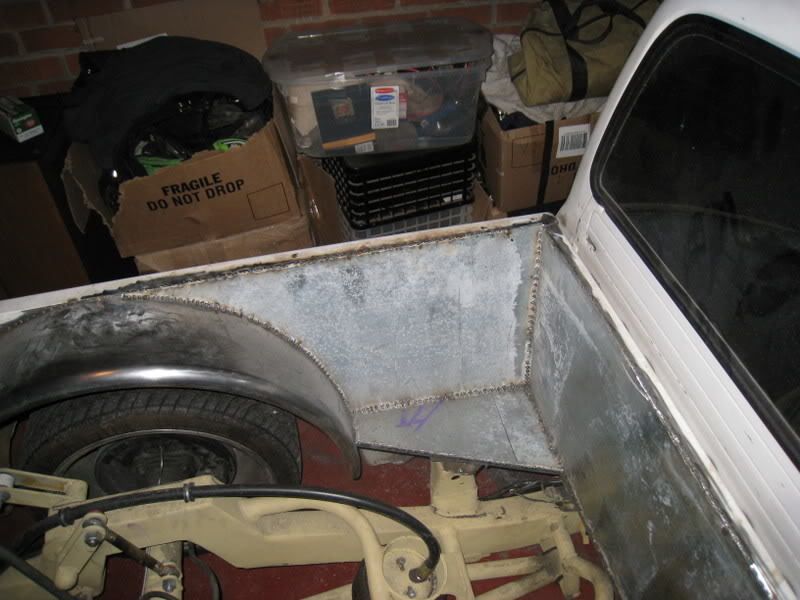
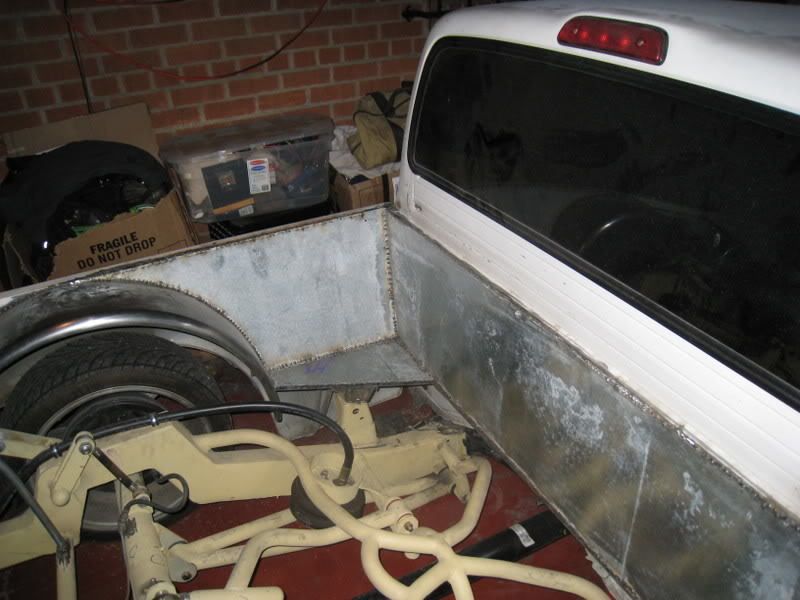
went with a compromise of sorts between the two ideas for the front of the bed. I also started the framing for the rear of the bed. let me know what you think,

smctoy
+1y
progress looks great!
X
xtotalanarcoix
+1y
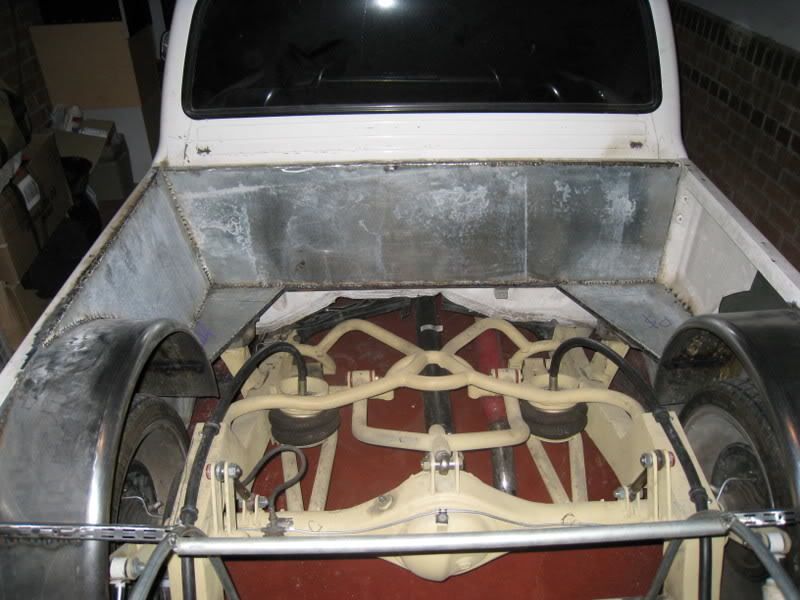
there wasn't much air in the system when i took this, it will go higher, but here is a quick little vid of the suspension cycling.


vegasyota94
+1y
hell yeah.. nice dude thats sic
X
xtotalanarcoix
+1y
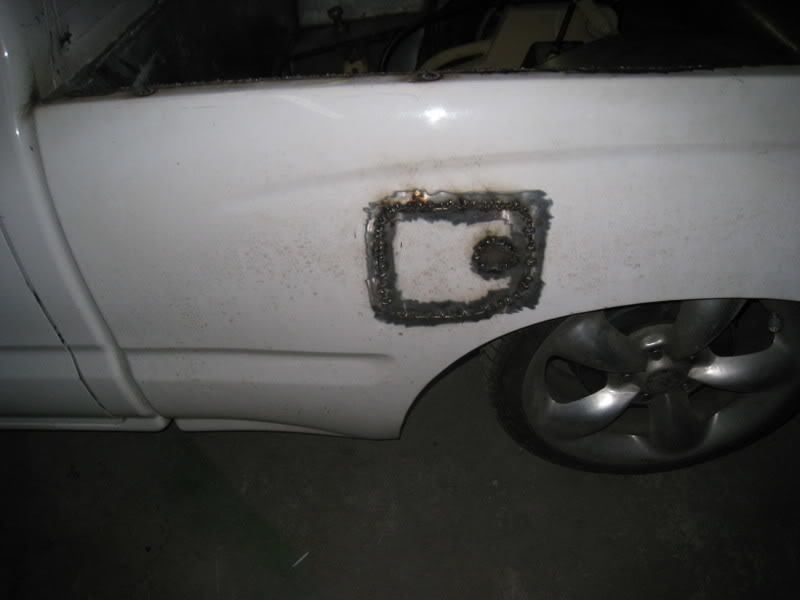
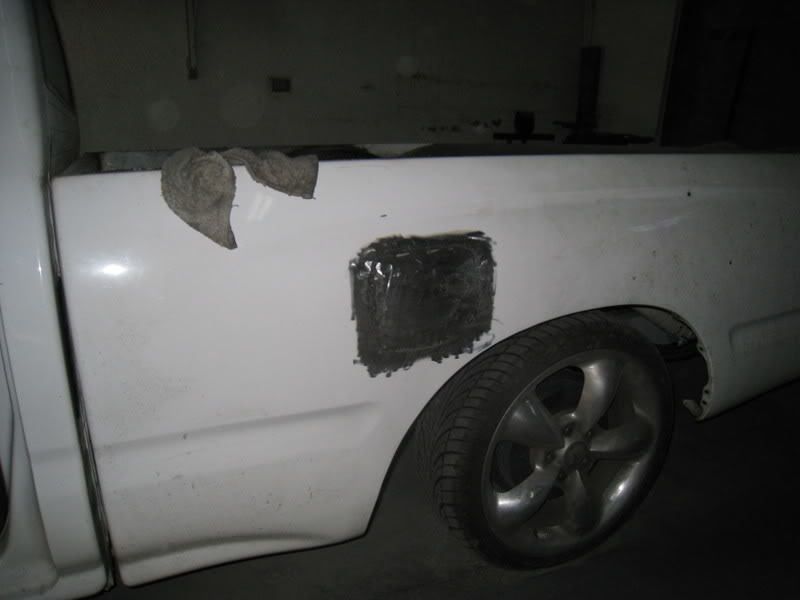
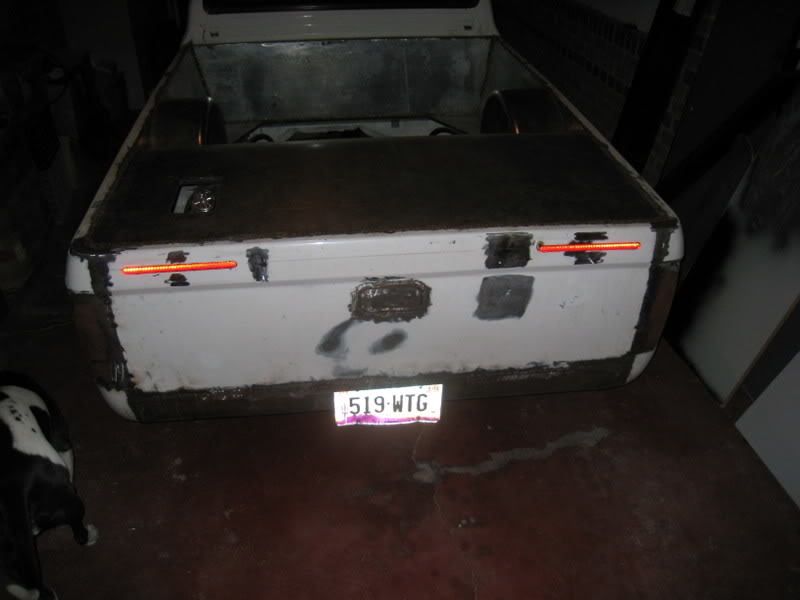
started on shaving the gas door and lock today and also got some more work done on the bed floor. The body man at my shop will take care of the final touches on the gas door and the rest of the body work when its ready, since he is much better than i am at body work and i rather it not look like crap.

X
xtotalanarcoix
+1y
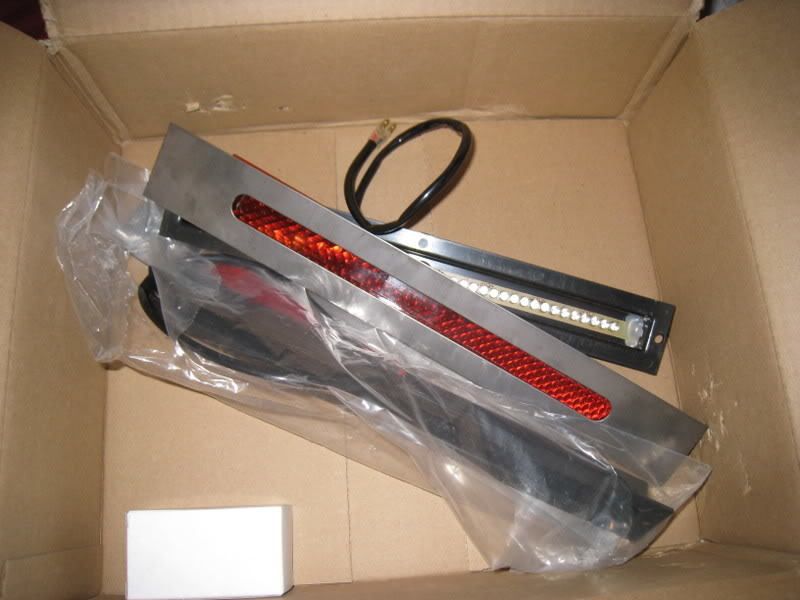
I have been out of commission for a bit due to a cornea infection that left me functionally blind for a bit, which makes it harder to build a truck hahaha. anyway got some goodies in the mail and onto the truck. making headway, which is good i dont know how much longer i can take my lack of a paint job.

stll2hi
+1y
Looks nice man!!
X
xtotalanarcoix
+1y
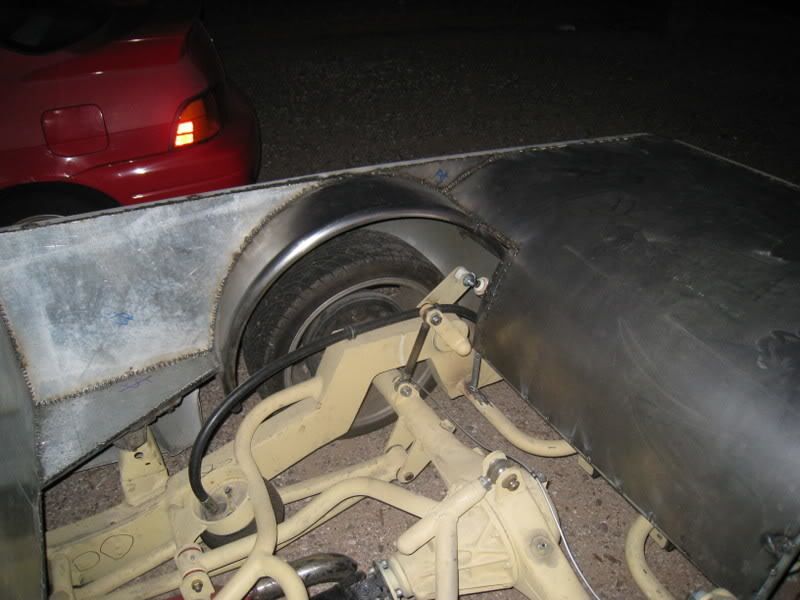
whoops, I have been slacking a bit on the updates. The sleeve style bearing I was using for the shocks just wasnt cutting it due to the direction of the forces. I knew form the start it was only temporary and would need to be replaced but it wore, and thus got a bit of play in it much faster than I thought, this coupled with the worn out rod end bearings that were used in the axle end of the linkage made quite the ruckus going down the road. I experimented with a few different options and what i settled on was tapered roller bearings. The tapered cups were welded to 2" OD .25 wall DOM tube and then this was welded inside the notch to where the notch walls also acted as supports for the cups. A 3/4" solid shaft goes through the bearings and that is what the outer tubes are attached to. It works beautifully, I could not be more happy with this setup, there is zero play, and it rotates smooth as can be. I also upgraded to some new rod end bearings to complete the overhaul. They are some nice 5/8" shaft and bore pieces I picked up and fabbed a little diamond home for out of 5/8" 18tpi hex connectors and 12ga steel. Yes it is quite overkill but I liked the way it looked, I also left them adjustable this time. Overall there is a great performance increase and like I said I could not be happier with how it works.
X
xtotalanarcoix
+1y
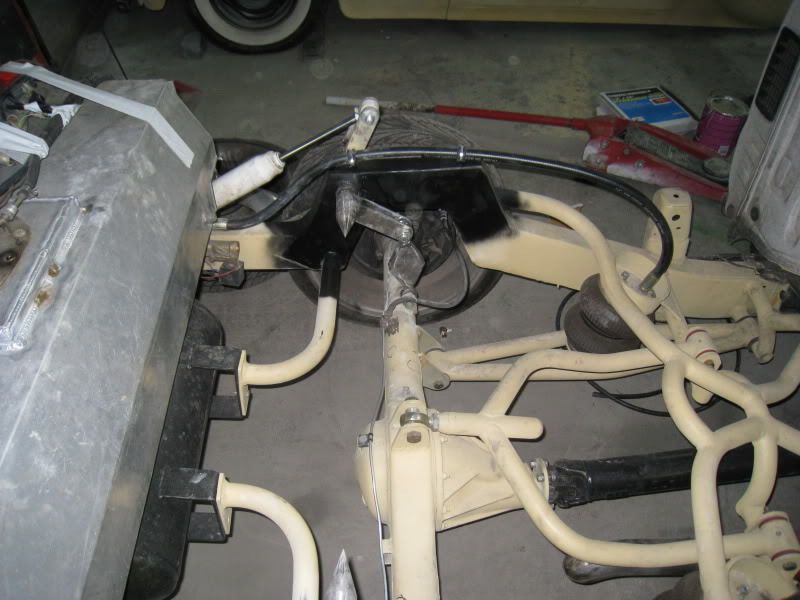
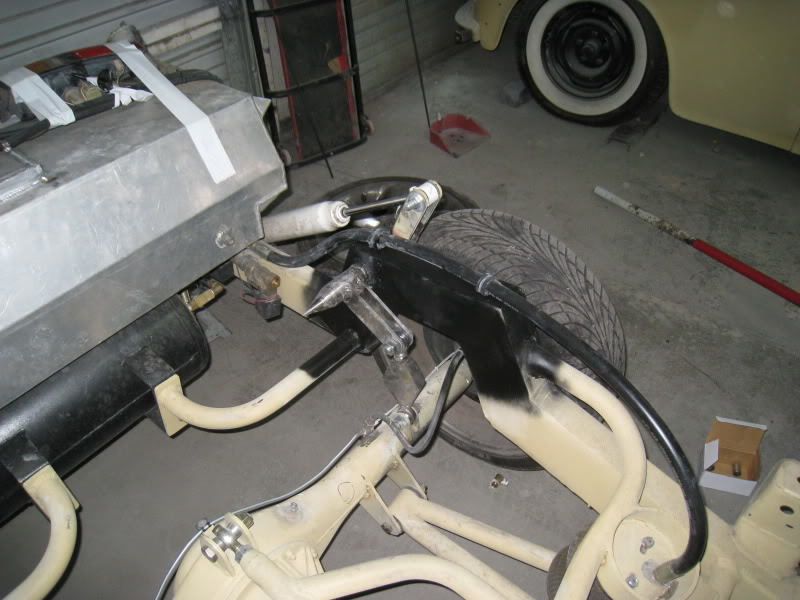
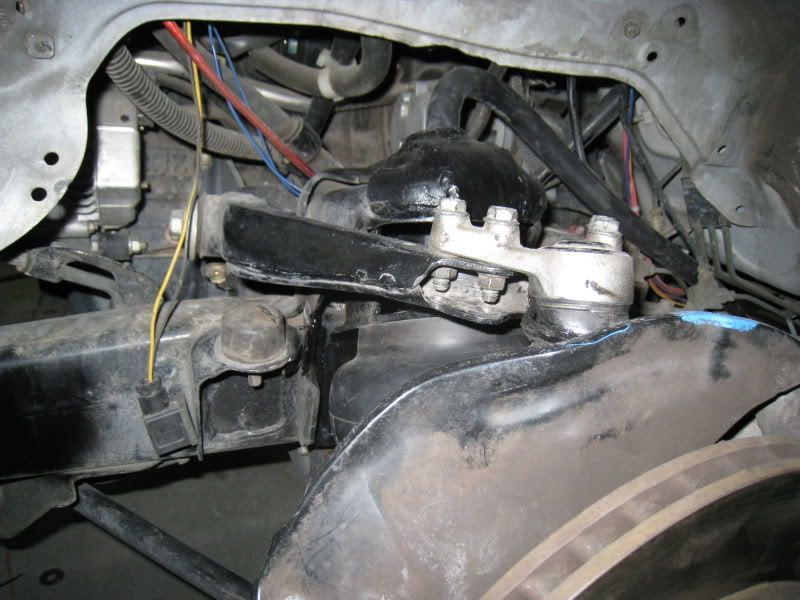
while I was upping the handling factor I also decided to give the front end some love. I was running Firestone bags up front, which suck in general for mini trucks but mine had also began to separate and crack at the top. I also had some older mac valves and everything was run with that standard hard plastic air line.... man i hate that stuff. So i upgraded to some brand new Slam bags and Blitzluft 1/2" valves all on 1/2" hydraulic line. I made some modifications to the bag brackets I had so they would be stronger and function better. I also cut out all the old wiring, the stuff you see in the pic, and replaced it with some nicer stuff that I ran through the frame, all in all it looks much cleaner and rides a lot better. To get the hydro line to the bag I cut out a large section of the upper spring cup and then welded in a piece of 1 1/2" tube for it to go through. After that I plated the rest of the spring perch, there is really no stress here but regardless a little overkill never hurt anyone and it looks much better.
X
xtotalanarcoix
+1y
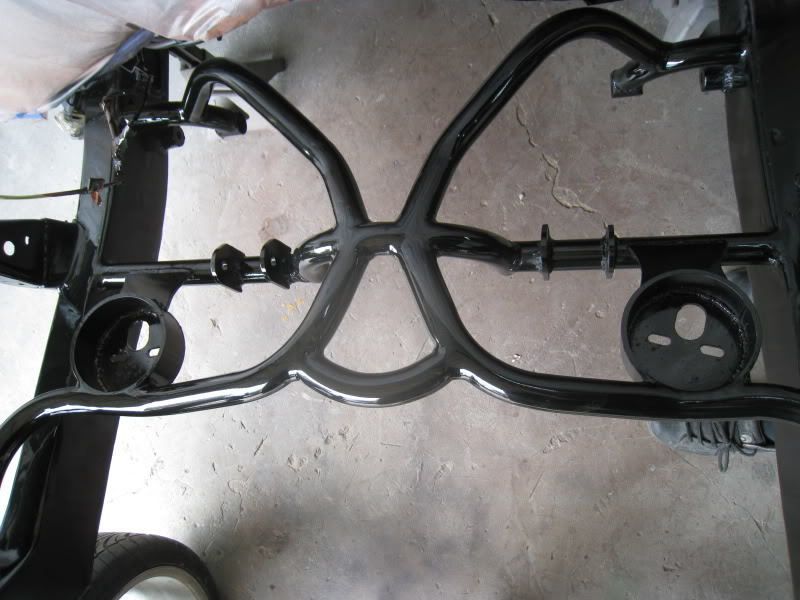
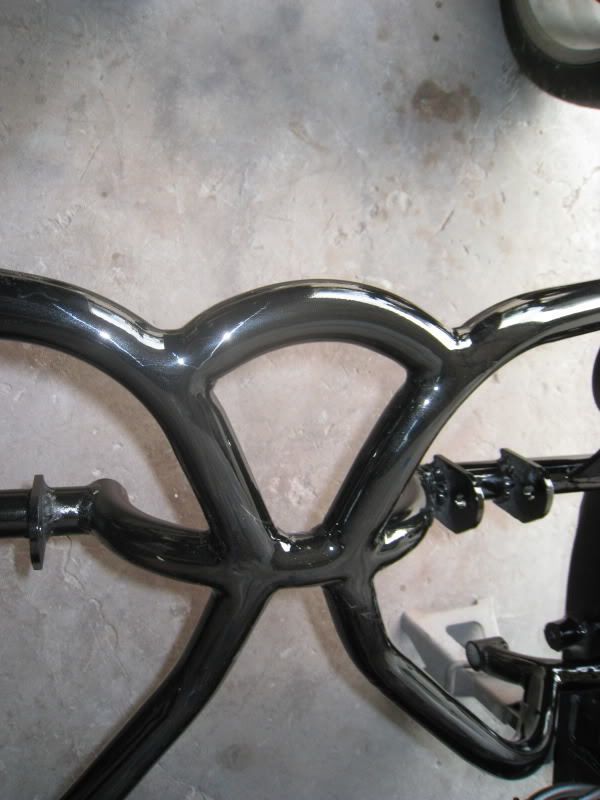
a sneak peak of sorts, painted the frame scion mica black and the arms and axle Lexus platinum silver. The silver came out nice, but the frame just looks too normal in the shade, in the sun it looks pretty nice though. I just scuffed of the clear and will be re-spraying it with the black mixed with more reducer and add some blingin' gold flake to the first layer of clear. I'll post up pics when its all done if I am happy with it, if not back to the drawing board.
Related Discussions in Toyota Pickup Projects
Thread
Posts
Last Post
