Street Source is shutting down April 30th, 2026. Read the announcement
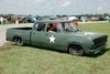
76 D200 Crew Cab Rebuild NEW PICS 2/16/11
16468 views
133 replies
52 following
76 D200 Crew Cab Rebuild NEW PICS 2/16/11

bigmike@gauge
+1y
Edited: 2/16/2011 9:27:15 PM by BigMikeAtGauge
Edited: 1/23/2011 11:00:40 PM by BigMikeAtGauge
Edited: 11/29/2010 10:01:15 PM by BigMikeAtGauge
Edited: 11/14/2010 9:56:02 PM by BigMikeAtGauge
Edited: 10/25/2010 9:33:30 PM by BigMikeAtGauge
Well Ive finally started last winters work on my dodge.
Edited: 1/23/2011 11:00:40 PM by BigMikeAtGauge
Edited: 11/29/2010 10:01:15 PM by BigMikeAtGauge
Edited: 11/14/2010 9:56:02 PM by BigMikeAtGauge
Edited: 10/25/2010 9:33:30 PM by BigMikeAtGauge
Well Ive finally started last winters work on my dodge.
bigmike@gauge
+1y
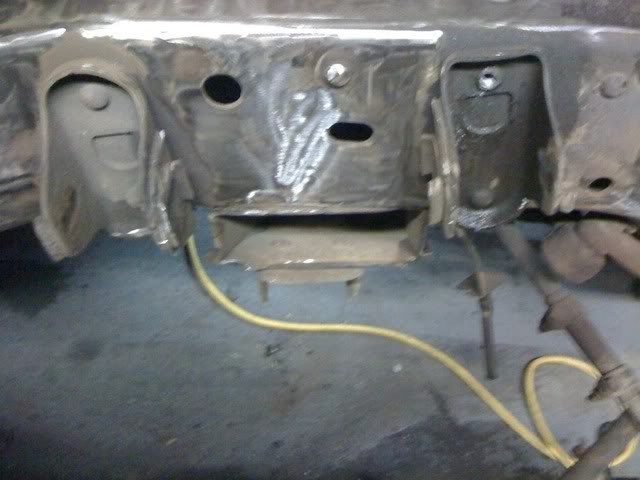
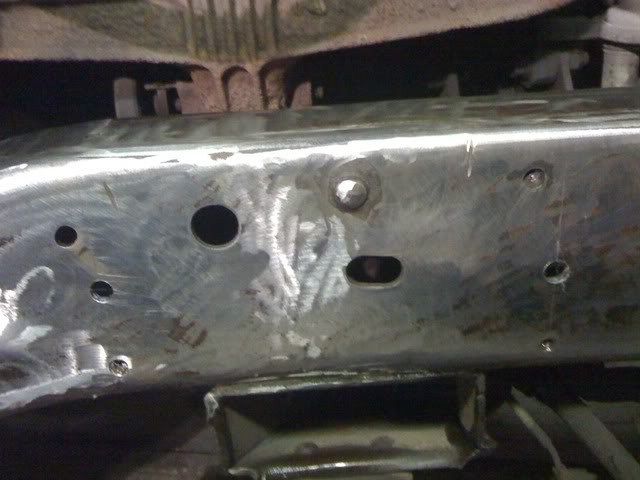
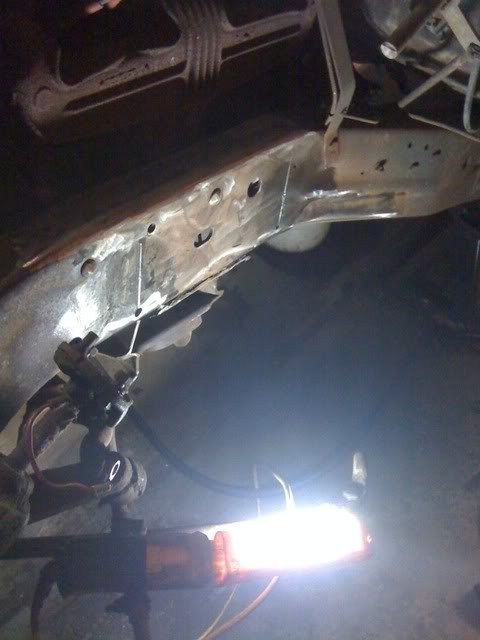
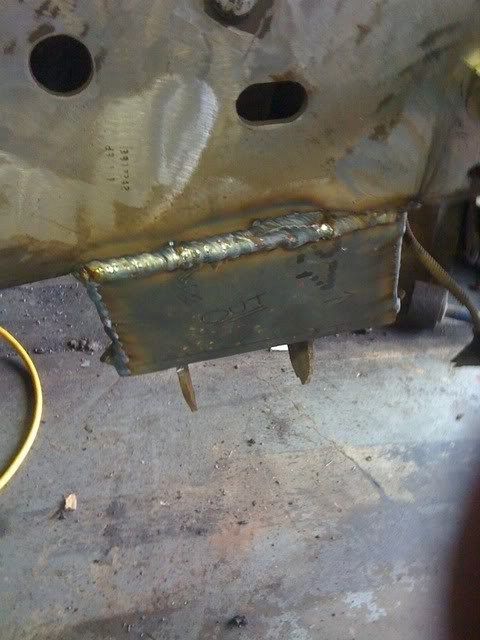
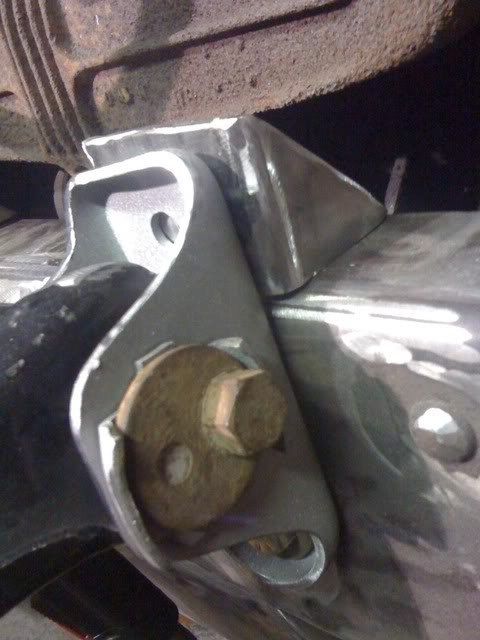
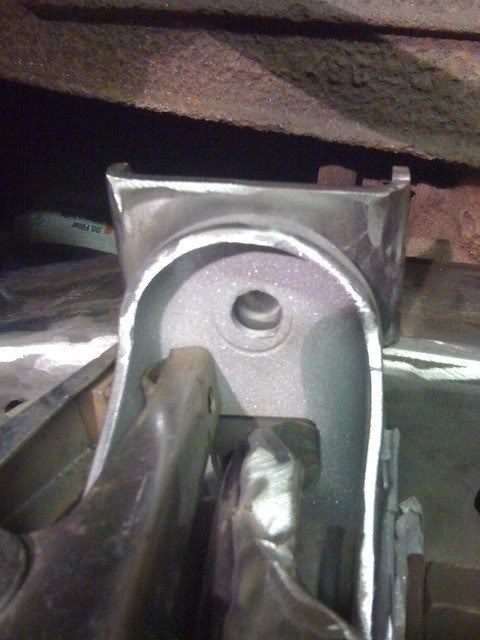
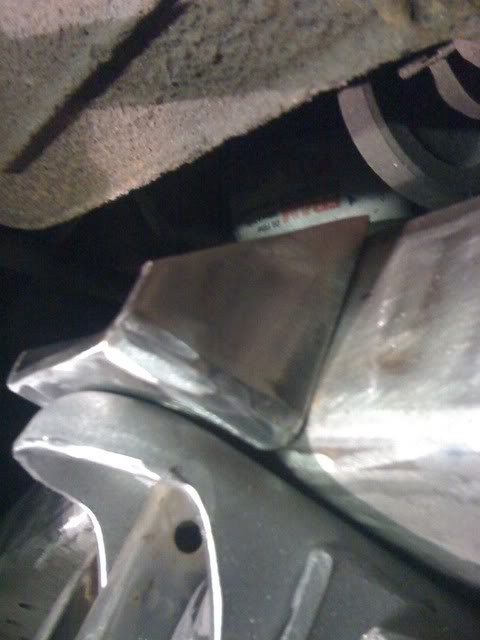
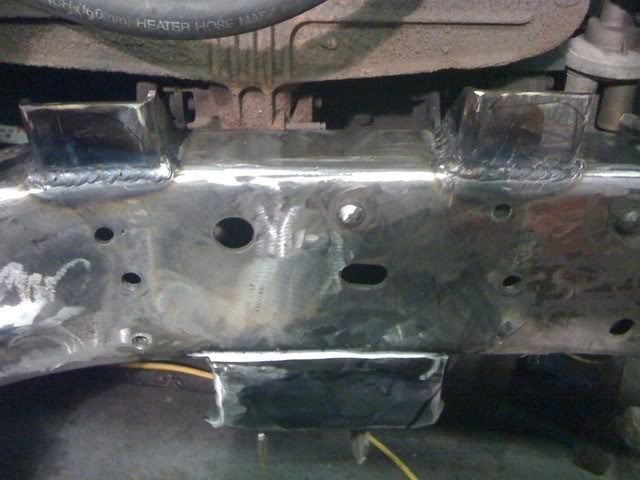
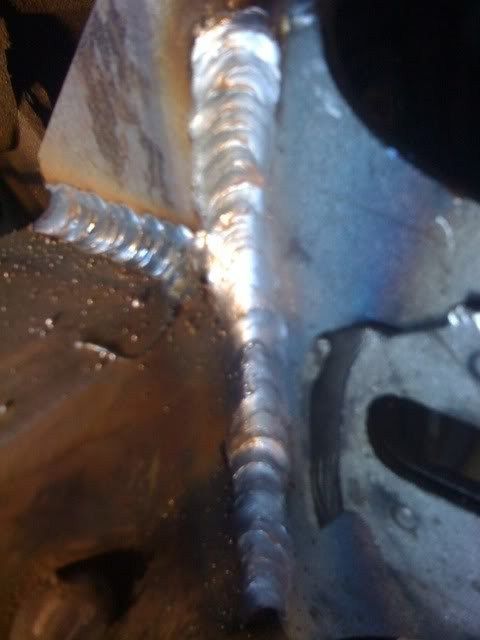
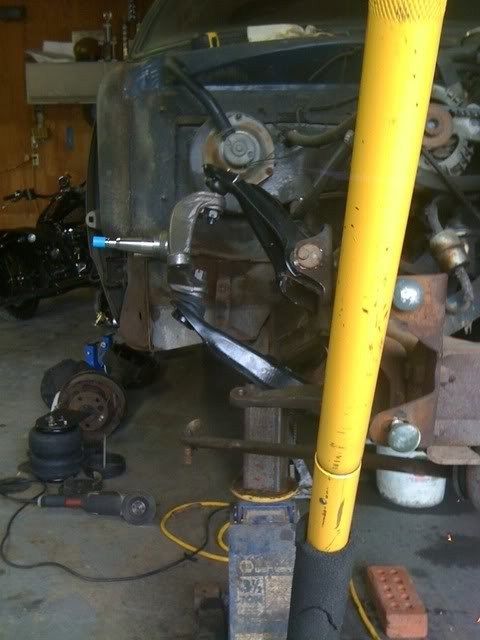
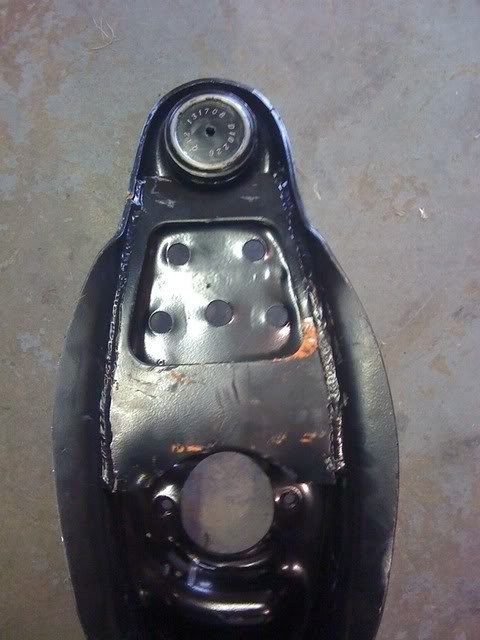
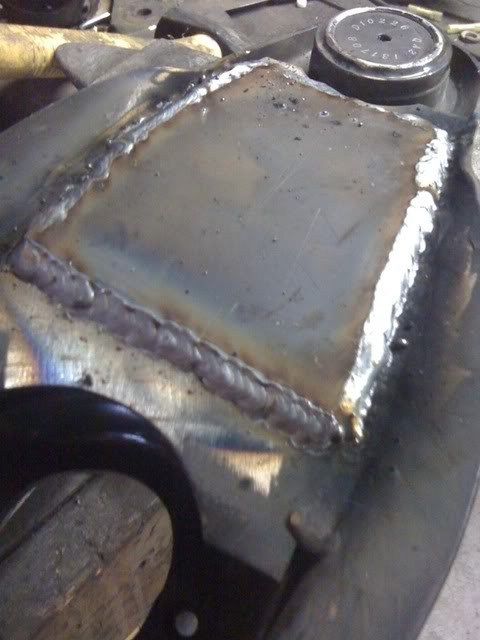
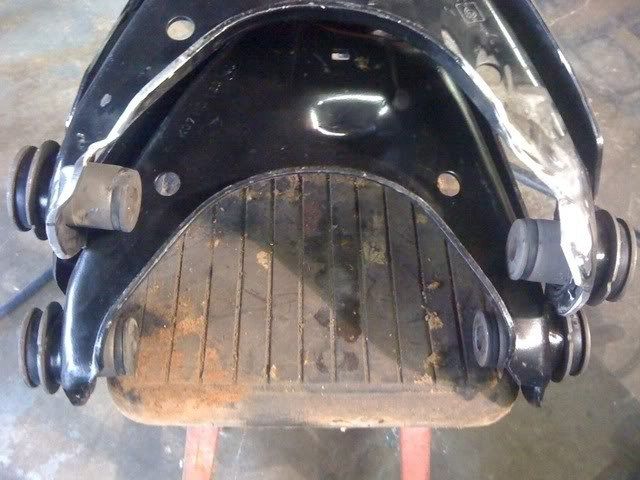
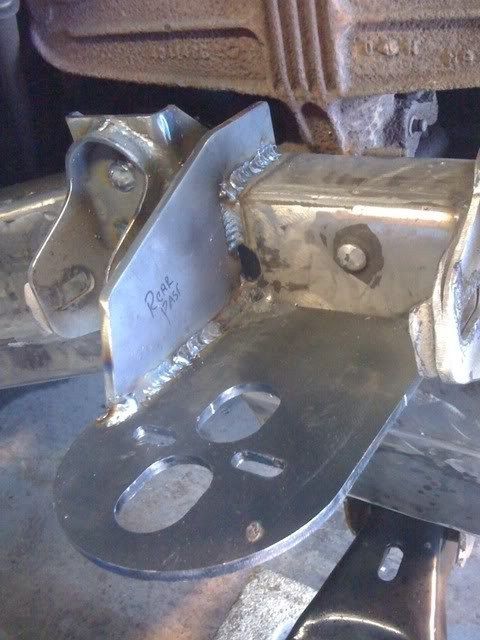
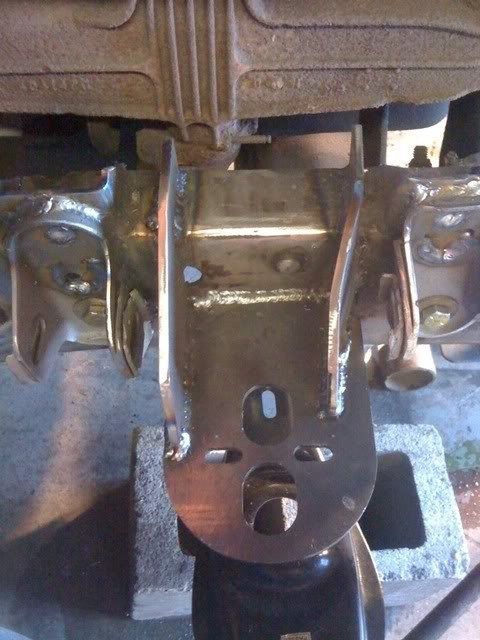
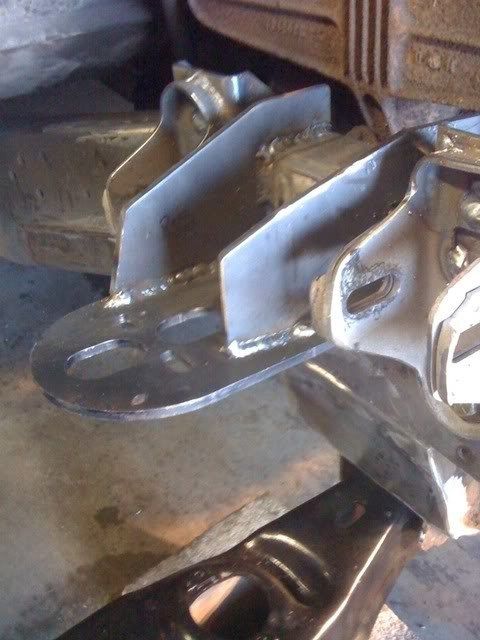
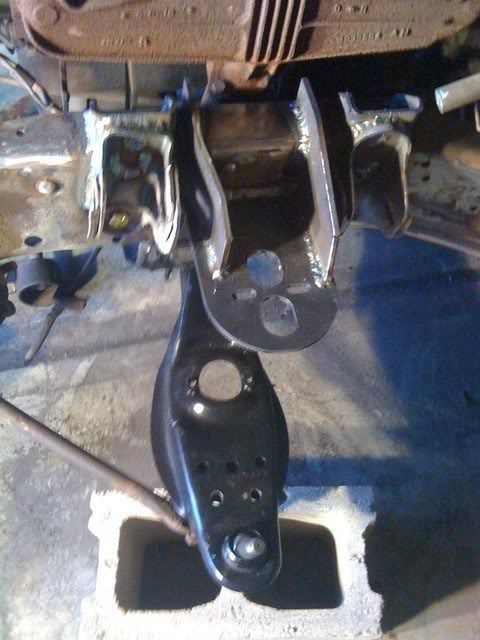
Day 2 was when the real fun began. I knew to get this front end down I had two major objectives. 1. get rid of the crazy camber that the front end had the first time around. 2. find away to get the truck 5 inches lower than it was the first time. The camber was easily fixed by moving the uca mounts up 2" rather simply actually. tarted by cutting the upper coil pocket away from the mounts and removing it from the frame. Then we simply drilled out the 4 factory rivets. Once removed I cleaned the frame a little. then marked the bottom holes exactly 2" stright up from where they were. PassPass DriveDrive then I bolted the UCA mounts into there new holes and installed the new loaded control arms and spindles to see where my travel would leave me and how the camber looked. I liked where the camber was and how it acted thruout the travel si I went ahead with making the uca mounts strong and solid again.A few little brackets and a little welder time and there werent going any where. i also made filler plates for both ends of the crossmember and welded those up.


wickedexposure
+1y
Dam mike it starting to look like a suspension again great progress.
bigmike@gauge
+1y
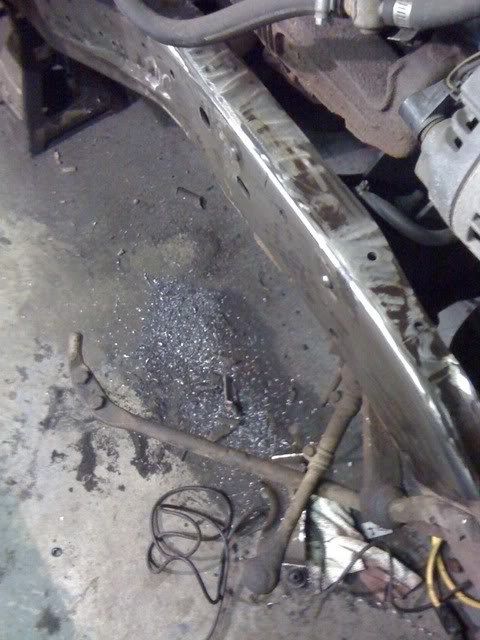
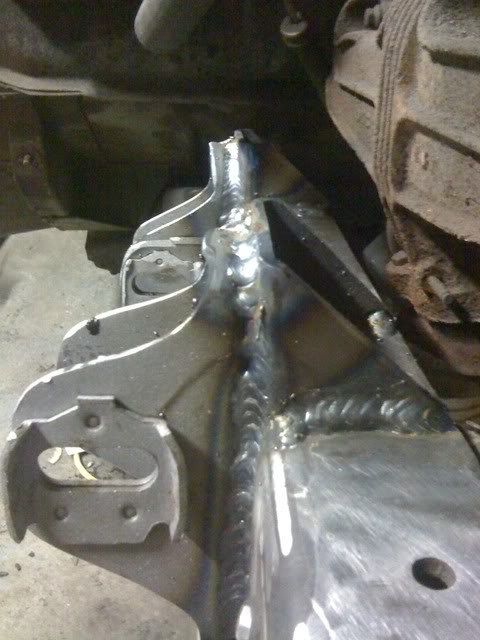
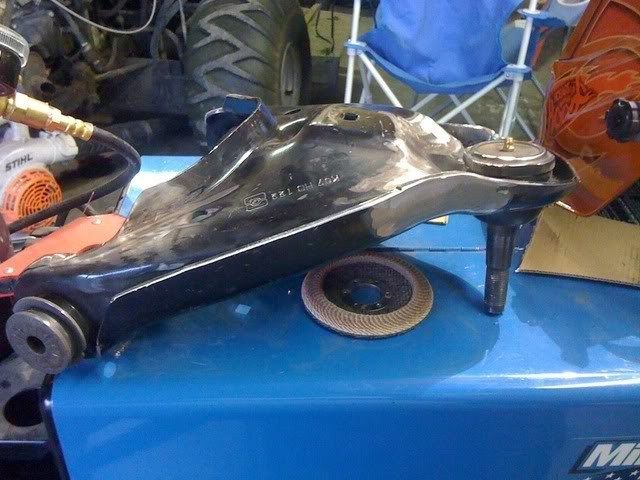
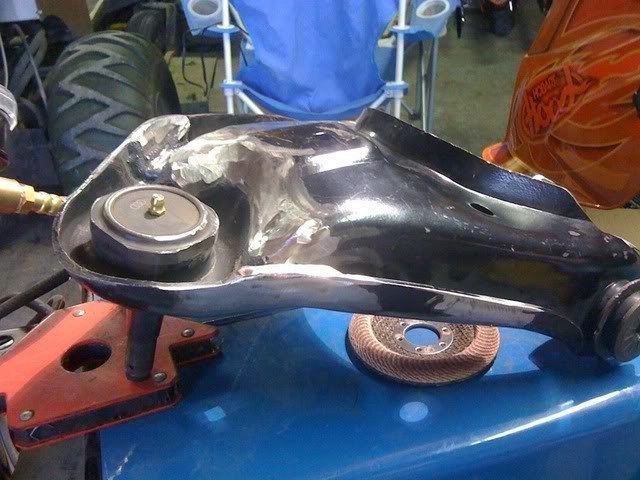
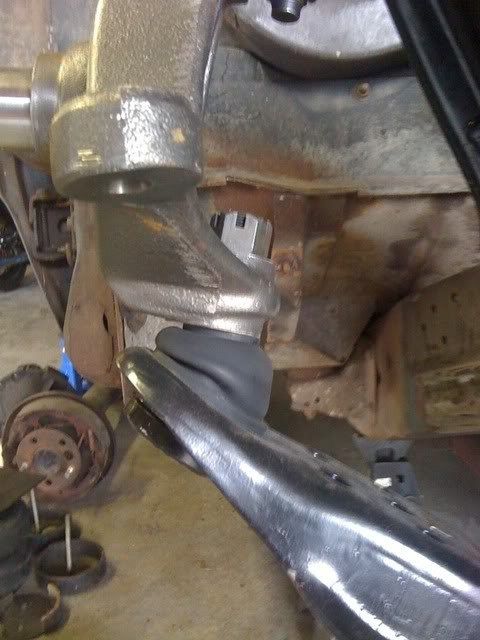
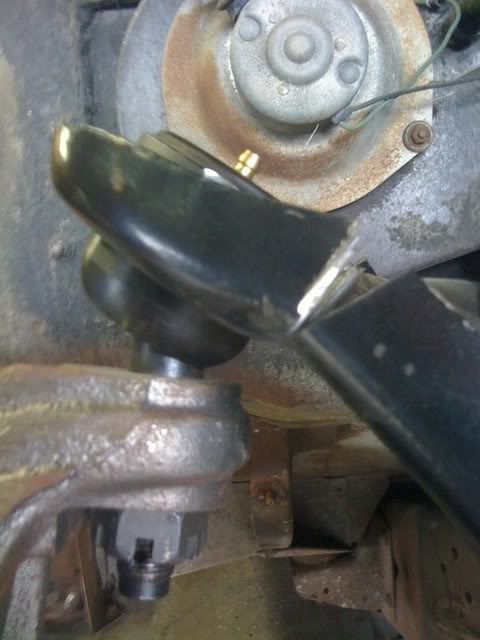
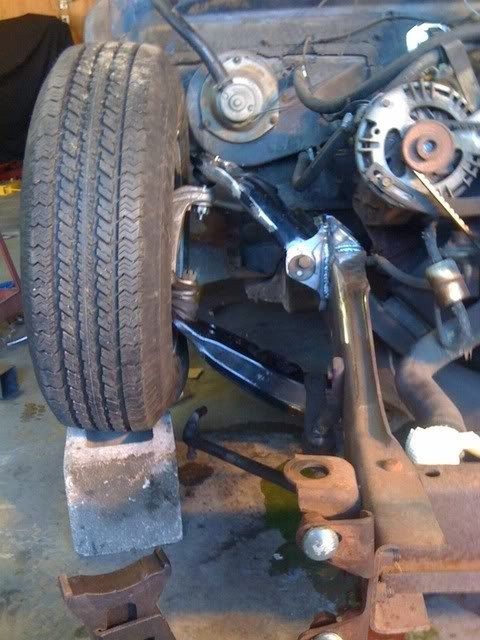
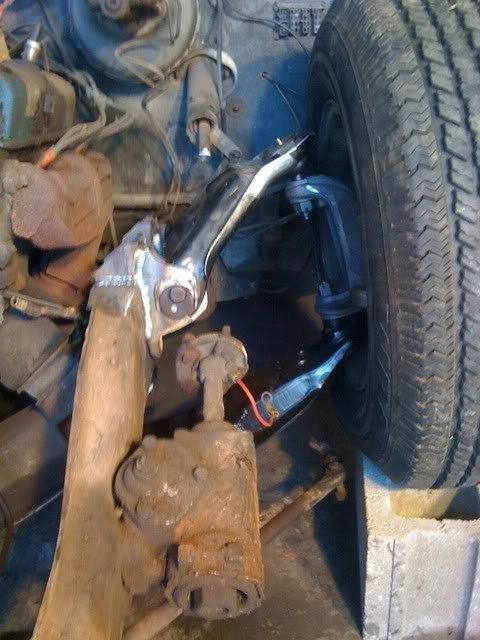
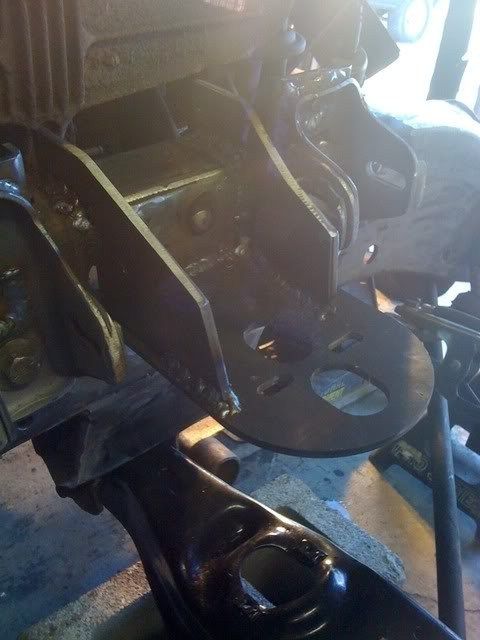
Day 3 Started off by finishing up drivers side uca mounts, then I used some 3/16 to plate the bottom of the lower control arms where im goint to move the strut rods from the top to the bottom to gaing a little bit more clearance. Then we got into the uper balljoint binding issue. After Piecutting and reinforcine the uppers I was very happy with the overall travel achieved.
bigmike@gauge
+1y
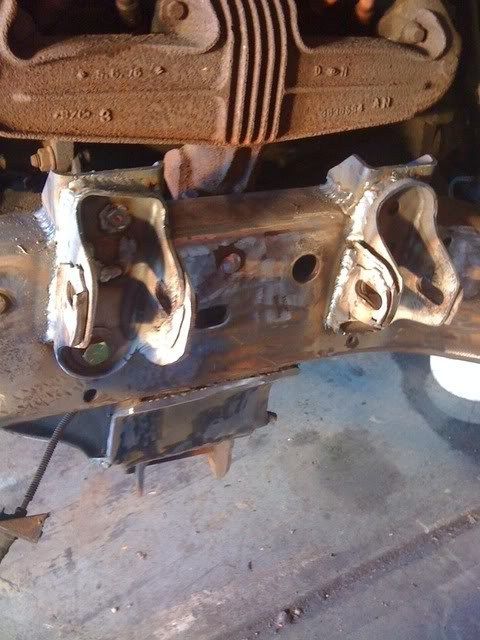
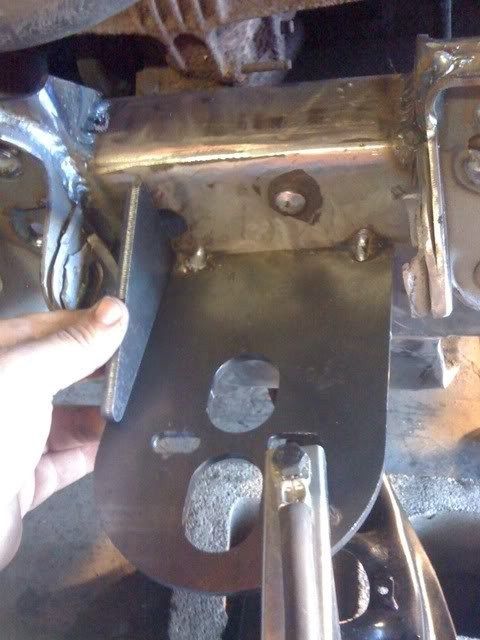
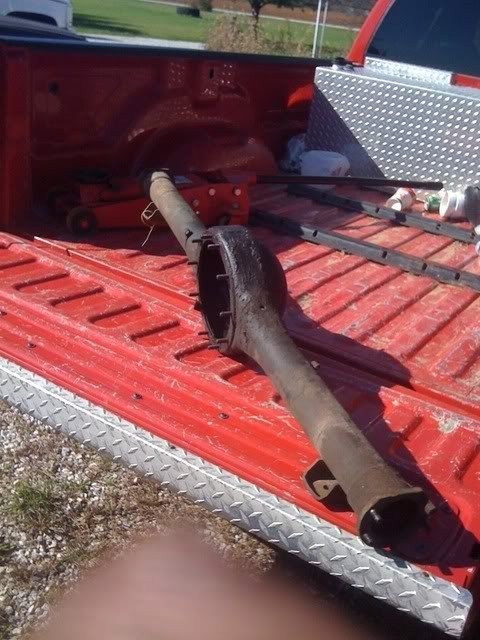
Happy with everything at that point I stated planning out the upper bag mounts and drive height. I ended up going with a bag height of 8" at a drive hieght of 5" off ground. Should keep these dominators riding right in there sweet spot. I started with a basic torsion front bag braket kit and quickly decided I wanted to build my own gussets instead of usint the small ones that come withthe kit. Drivers side done on to pass side Still have to plan out my lower mounts and it was nearing the end of day 3 so I tore doen he rear axle and sent it out for sandblasting and thought about the goodies for the rear end


twistedsdime
+1y
Progress is coming along nicely. I like it!

relaxednoma
+1y
Wow hell yeah!

NR-Shaw
+1y
2 thumbs way up!

j&jkustomz
+1y
Front end came out looking nice!

loudciv
+1y
you ever think of ditching the strut rods like they do on hardbodys & yotas? run a stabilizer arm off the lower to give it some triangulation.
Related Discussions in Dodge Trucks
Thread
Posts
Last Post


