Street Source is shutting down April 30th, 2026. Read the announcement
R
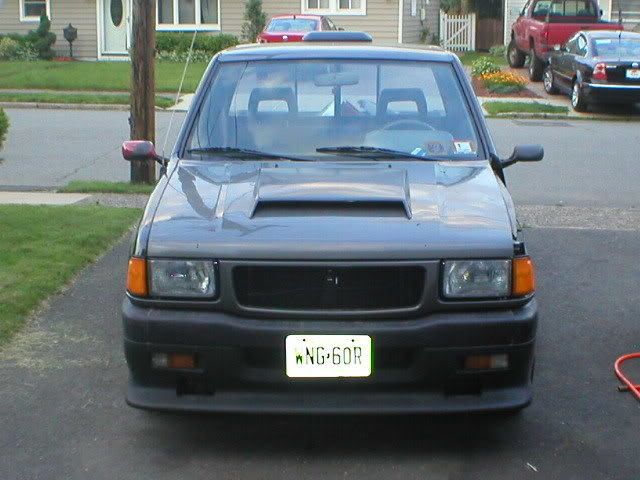
94 Pup project
L
low1994
+1y
hey, i am in the middle of basically doing the same front end work as you...replacing the hood, radiator,bumper,and core support. I wanted to just throw you a question. How difficult is it to do the core support replacement?? I hit a deer last fall...and since then havent been driving my truck, just doing all the notching and bagging it, but the front end needs some serious attention. any info would be appreciated. and your truck is looking great!! keep up the pics.

eatinpavement
+1y
looking really good man. that was definitely a nice find.
L
lowzone1
+1y
eh,, not to difficult, but ive been rebuilding Isuzus for 10+ years now. i can strip one to a bare frame in a night now dont ask..... the hardest part id getting to the lower inner fender apron welds, they sandwiched the rad support between some metal and its hard to split. alot of spot welds to drill out.
L
lowzone1
+1y
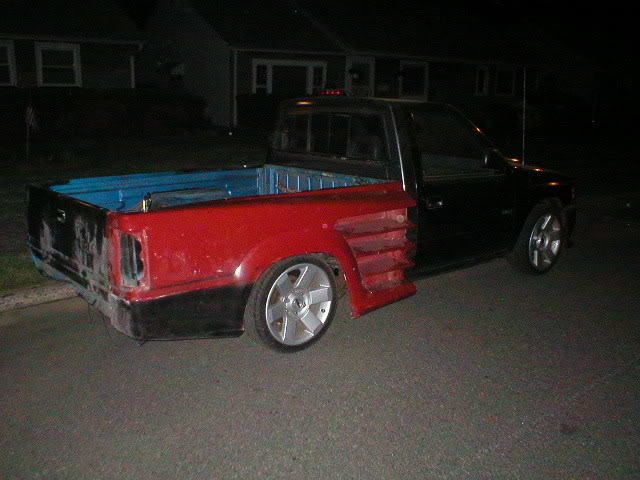
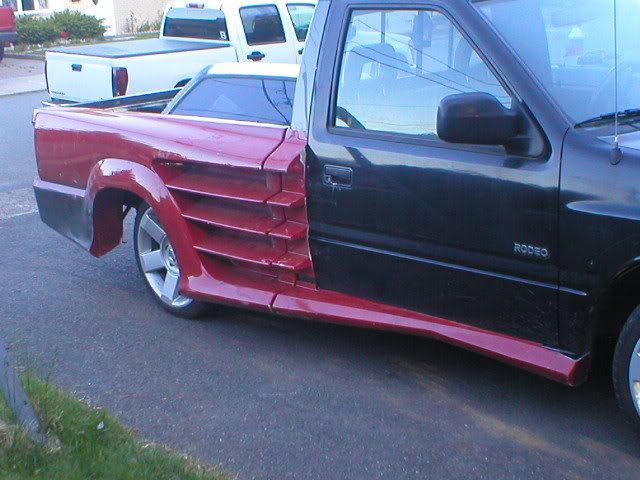
well ive decided to merge 2 projects into one. im doing the old school Truxarossa kit on the 94 pup. i had a bed in OK shape and needed some room. i put the blue bed on the truck to hang the 1/4s, you can see how i had to cut out the sides to fit the fins. im saving the grey bed which is ROT free and near MINT for a v6 pup project i ahve going on the side also. 3.2L rodeo v6 5 spd in a shortbed pup. that truck needs a bed...score...Anyway, this is going to be a long build. hoping to have the roof off this summer and the body kit mounted but probably not molded perfectly. using some 3M adhesive that GM uses on gluing bed sides on the bed boxes, so its strong. has to be heated to cure and only way to separate the stuff is to torch it off ot air chisel the panel off then grind down the epoxy. this is some serious stuff, and it sands well to, great for molding panels in
well heres what i did last night. i took off and installed the beds all by myself too
POR15 ROCKS!!!
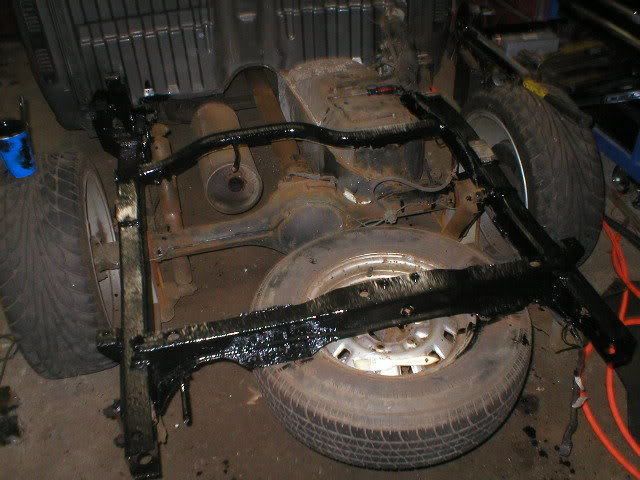
beds off, Harbor freight wheel dollies came in handy too:
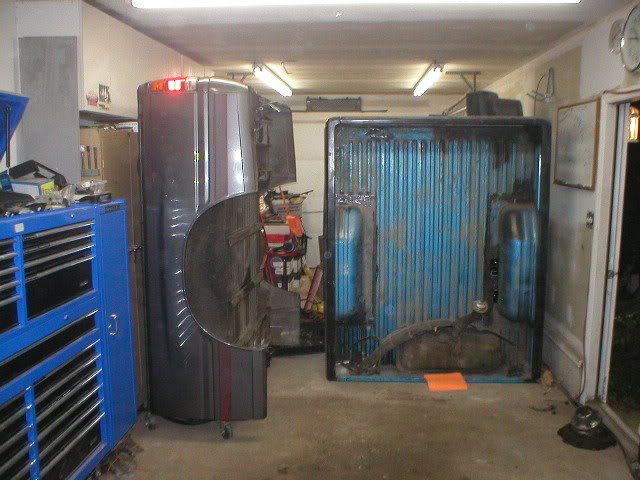
putting the bed on:
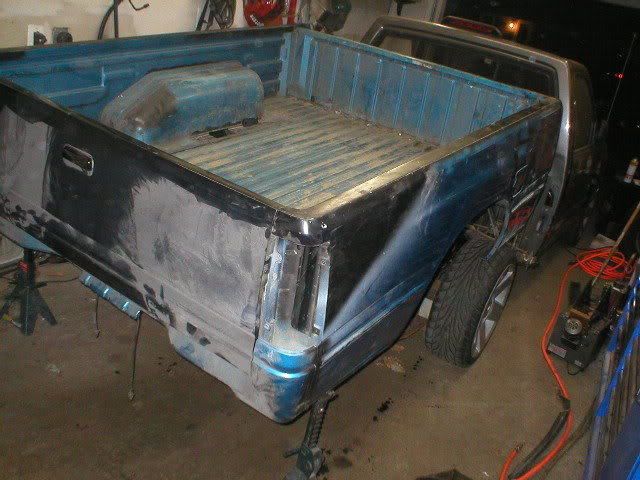
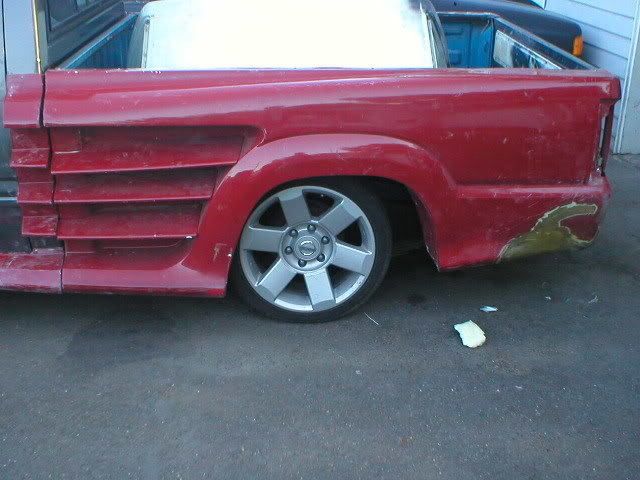
bedside cut:

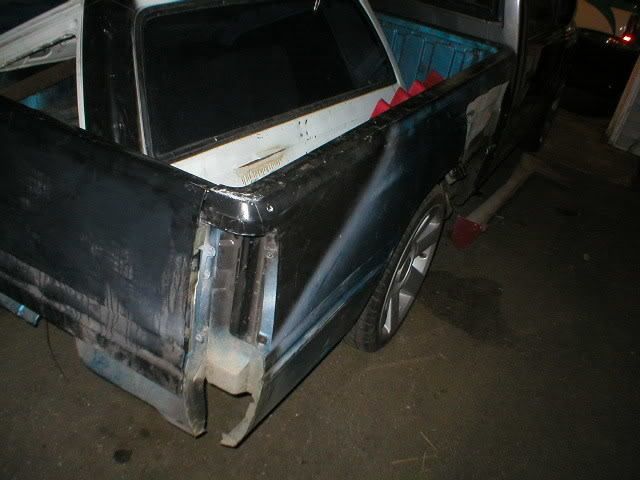
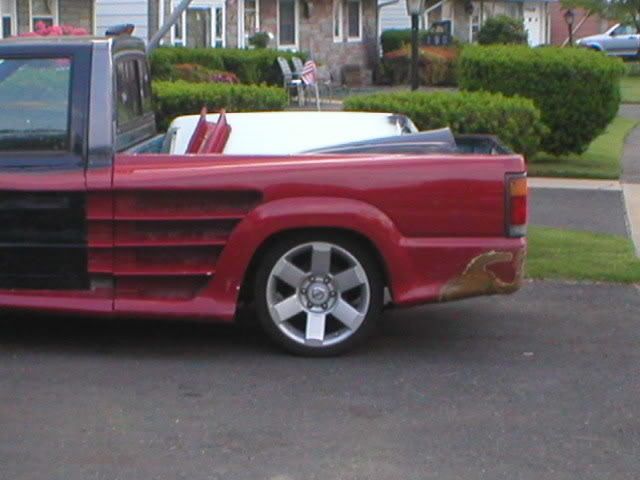
truxarossa bedside just laying on the side:

i have to lengthen the wheelbase and the track still. trying to decide....5 lug camaro rear or ??????
more to come as i get time
Ron
well heres what i did last night. i took off and installed the beds all by myself too
POR15 ROCKS!!!
beds off, Harbor freight wheel dollies came in handy too:
putting the bed on:
bedside cut:
truxarossa bedside just laying on the side:
i have to lengthen the wheelbase and the track still. trying to decide....5 lug camaro rear or ??????
more to come as i get time
Ron
9
92zuzuman
+1y
really really nice so far man keep goin
L
lowzone1
+1y
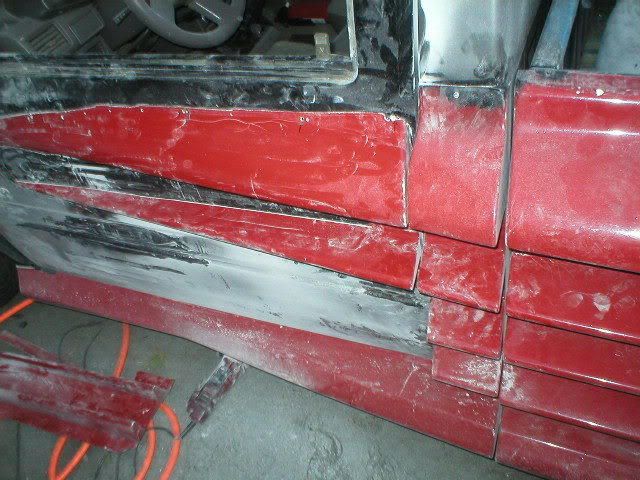
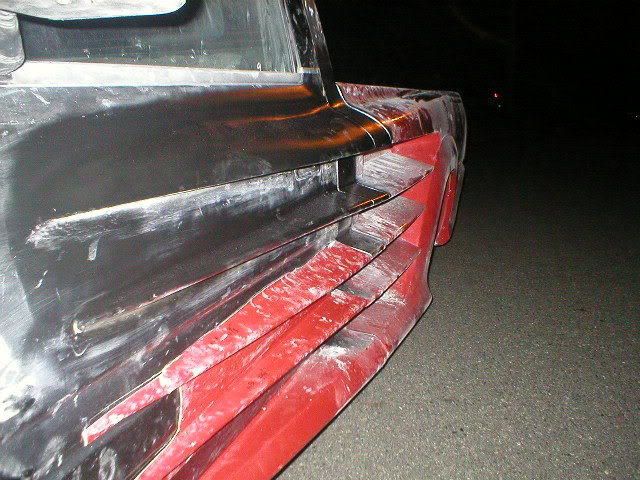
thanks, the whole project some people hate it, some people love it. i wanted to do this kit ever since it came out for the B series. then one day i saw someone TRIED to put it on a Pup and it was OK, ALOT and i mean ALOT of bondo to "smooth" it in. so by the time i was done, i had about 700.00 out of pocket to get the truck AND the kit to me. the truck was ROUGH but i sold alot off it and stripped the kit off it. i tried to save the old cab and frame but it was not happening. i got that 94 in my hands, rebuilt it and figured i wanted another convertable, so i said why not put the kit on it too......well heres what i did today. i just screwed the kit to the truck and trying to fit it and reglass anything i can, reenforce the weak spots and fix the holes..... im going to use 3M panel epoxy (industrial strength stuff used by GM and Ford to put on bed sides)to adhear the parts to the truck. can use the stuff to smooth the panels in too....well heres an update:
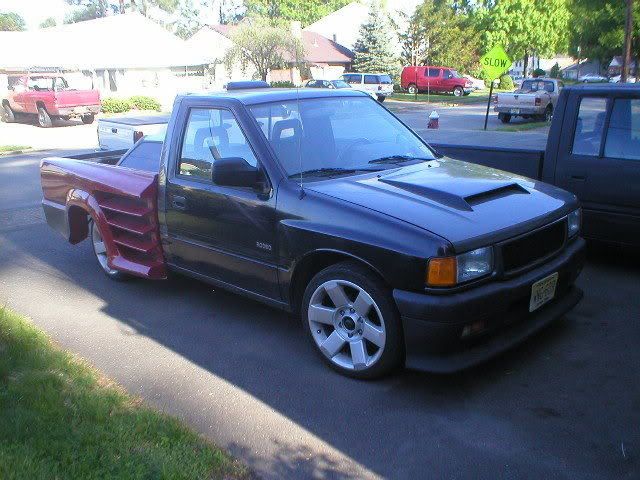

the fins are not straight, i have to epoxy them on, the rivets holding it broke or were put on crooked, ill fix it as best as i can
i have to move the rear axle back 3" roughly. going to relocate the front spring perch back on the frame and give me more of a drop

heres the link to my photobucket site with all the pics:
thanks for the compliments and criticism (not everyone likes the kit)
going old school here so.....
L
lowzone1
+1y
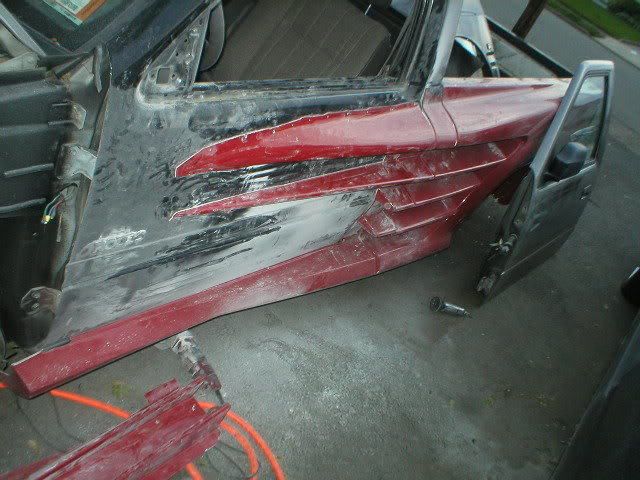
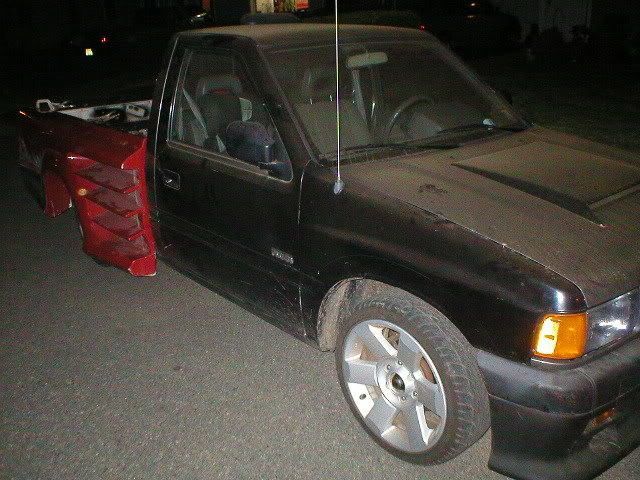
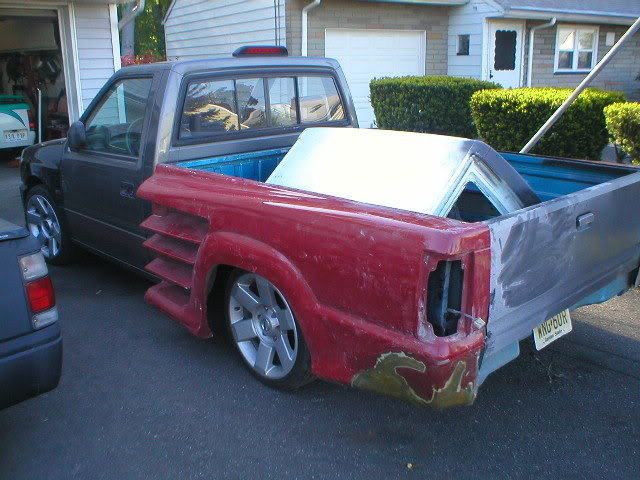
on the Mazda kit the door fins come as one panel and you jsut glue it on. since the Pup has a rounder shell and a way different lower section i have to cut and graft on each piece and contour it to the body lines. what a HUMP!!! im using Fuzor 100EZ 2 part epoxy, it allows flexing and also doesnt leave a residue on the epoxy allowing the body filler to adhear to it. other epoxies leave a film of oil and cause the body filler, no matter how thin, to lift over time and crack. hopefully this kit will not crack, i can use alittle flex agent in the paint but makes polishing and color sanding impossible. Plans are to go with Fly Yellow, OEM Ferrari color for the Testarossas. i got my rims yesterday, well the temporary ones, 15x10 in the back and 15x7 up front...yup OLD SCHOOL..
L
lowzone1
+1y
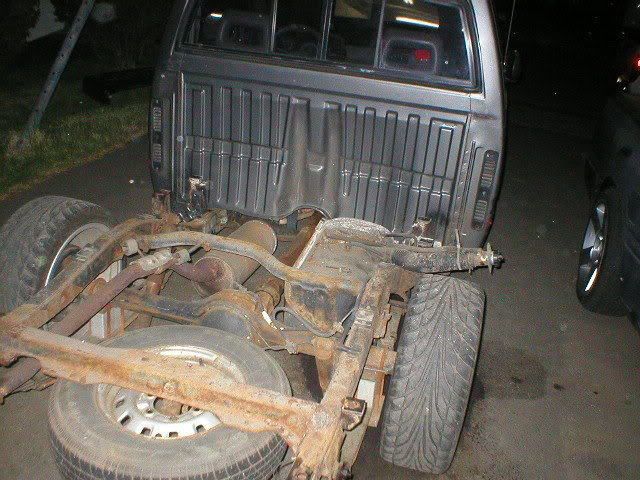
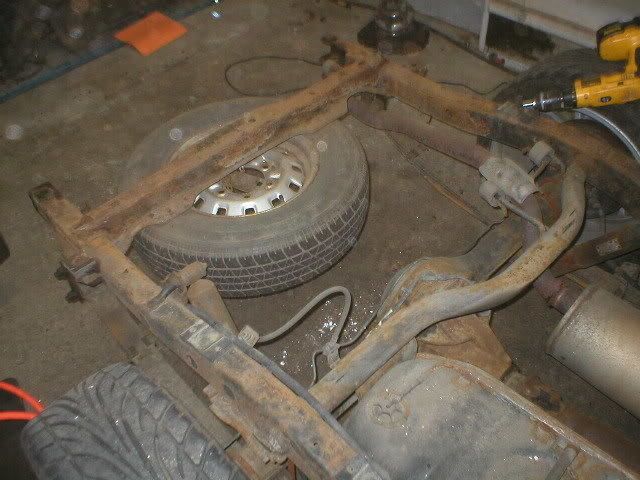
well it was nice here for a change and got to play again.....
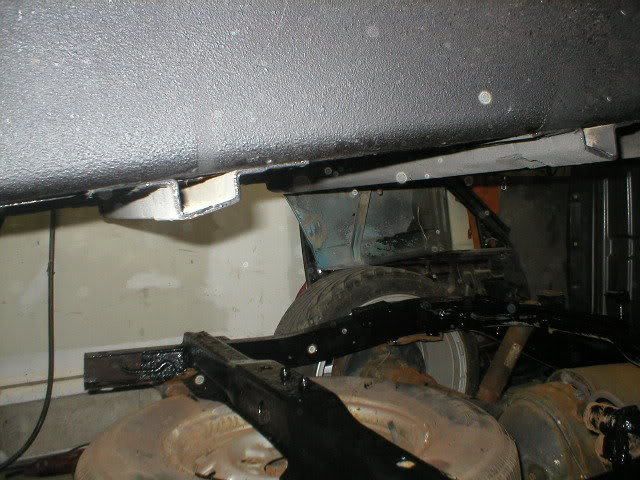
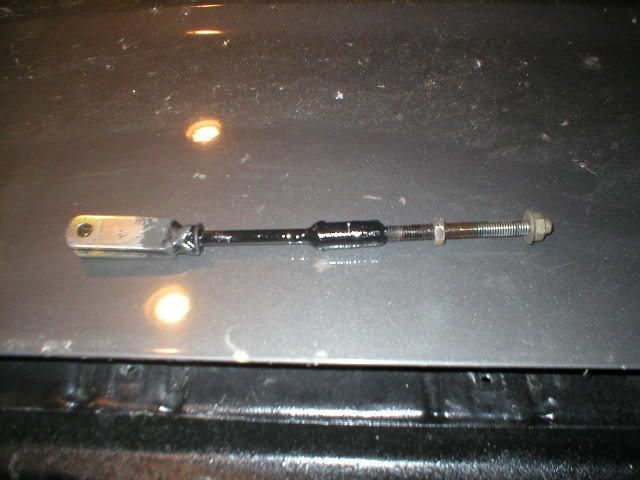
moved the rear axle back, temporarly so i could get the driveshaft made. i just popped the blocks off the centering pin and backed up the axle 3.75" over all. took off all the brake cable straps and lengthened the adjustment bar up front (see pics). I had to bend the adjustment bolt abit to clear the frame, since it went back about 3" more it follows the frame better. so the ebrake works again, the axle is dead on straight (i measured about 20 times, after each time i tightened the u bolts). just have to get the driveshaft lengthened and refill the trans with oil. figured if i put the truck back down on the ground with no driveshaft, its coming out anyway so that will be done as well..... well enjoy the pics...

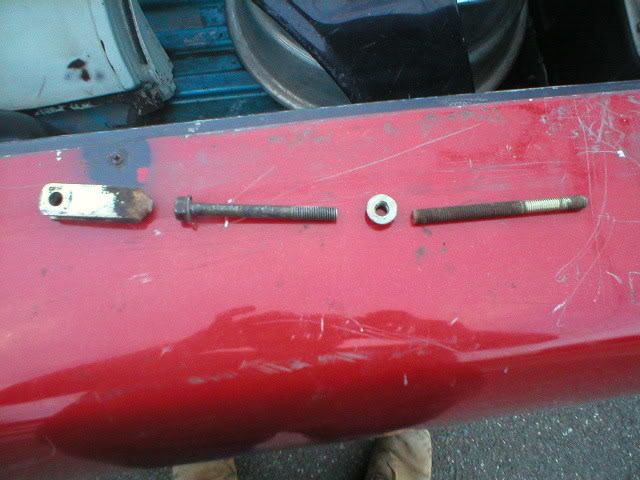
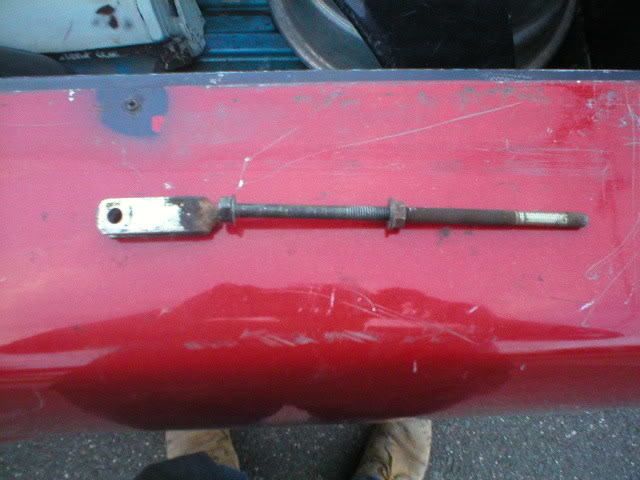
I also collared the joint on the adjuster just to be safe.....
moved the rear axle back, temporarly so i could get the driveshaft made. i just popped the blocks off the centering pin and backed up the axle 3.75" over all. took off all the brake cable straps and lengthened the adjustment bar up front (see pics). I had to bend the adjustment bolt abit to clear the frame, since it went back about 3" more it follows the frame better. so the ebrake works again, the axle is dead on straight (i measured about 20 times, after each time i tightened the u bolts). just have to get the driveshaft lengthened and refill the trans with oil. figured if i put the truck back down on the ground with no driveshaft, its coming out anyway so that will be done as well..... well enjoy the pics...
I also collared the joint on the adjuster just to be safe.....
L
lowzone1
+1y
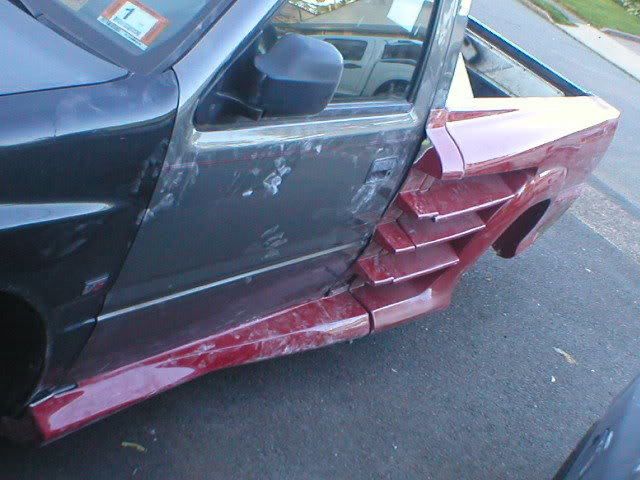
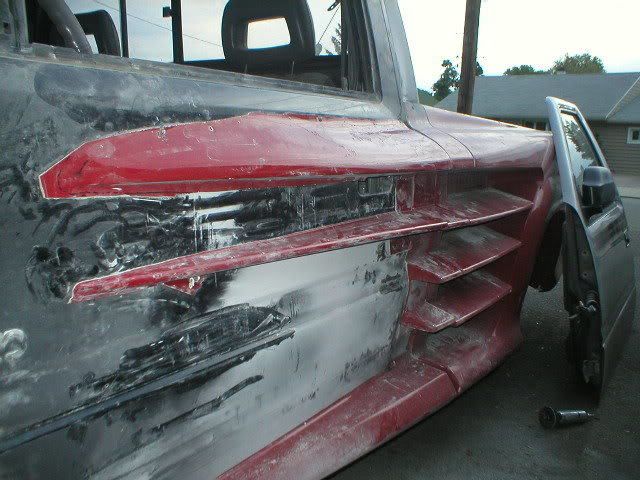
well just updating the post with a new pic....getting the one door finished soon. ive been epoxying some hood scoop type bolts into each fin to holr and locate them until i get them just right. realigning the bed fins as well. the cab fins are non-adjustable so i have to match them to that. not really that hard to do, uni-bits come in VERY handy for this and the bed fins were only rivited. its amazing how crappy this kit is, not all the fins are the same, alot of carving and reglassing to make it right. the epoxy is great. if anyone ever wants to mold in a kit (any type of kit) this stuff is awesome. sands easy with 60 grit then upward from there and body filler smoothes it out even more...gotta say its coming out nicier then i thought AND STRONGER. well heres what i did on fathers day....364 more days and i can do the other side the 2 bottom door fins are not adjusted yet and one bed fin is still loose......still got to adjust them before gluing....
9
92zuzuman
+1y
comin along nice man i doubt ANYONE ever put that kit on a pup before...

