Street Source is shutting down April 30th, 2026. Read the announcement
Presidential Detailed: 2004 Audi S4- M105 Knock-Out!
3385 views
14 replies
2 following

Presidential Detailed: 2004 Audi S4- M105 Knock-Out!

the twanksta
+1y
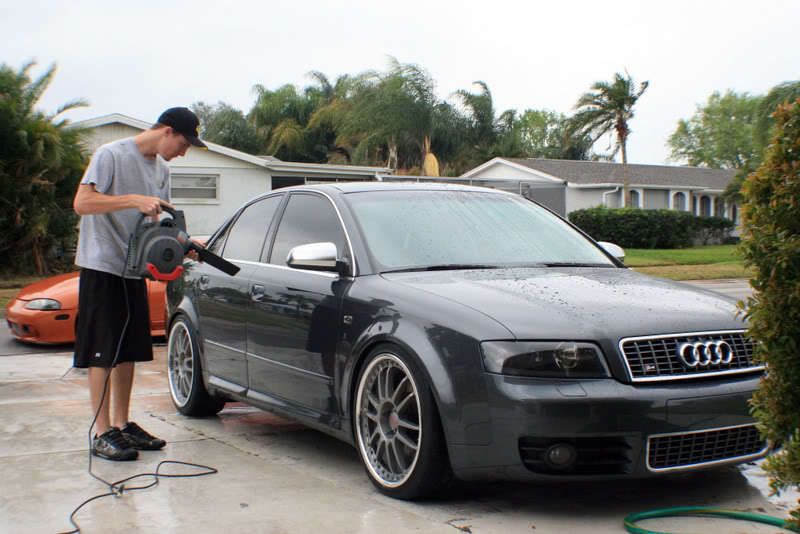
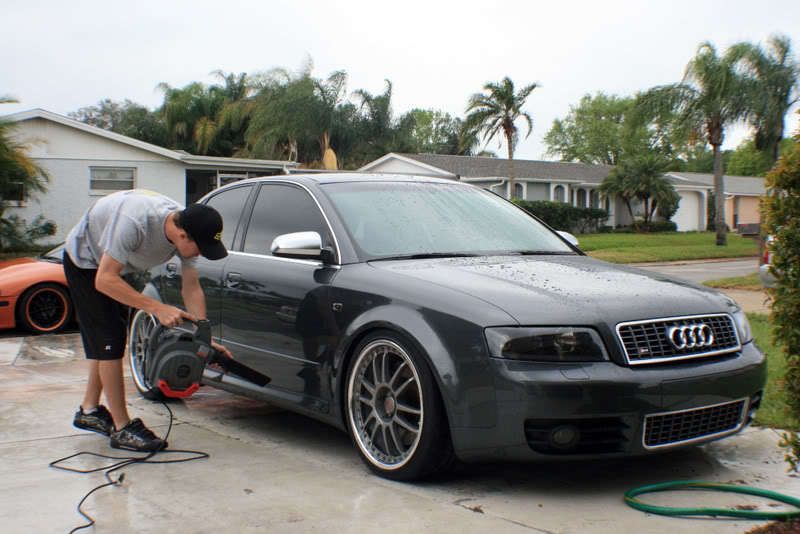
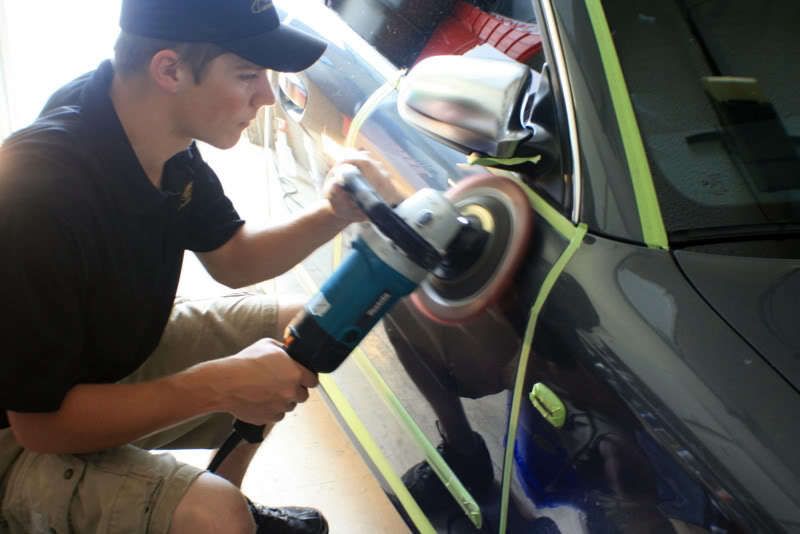
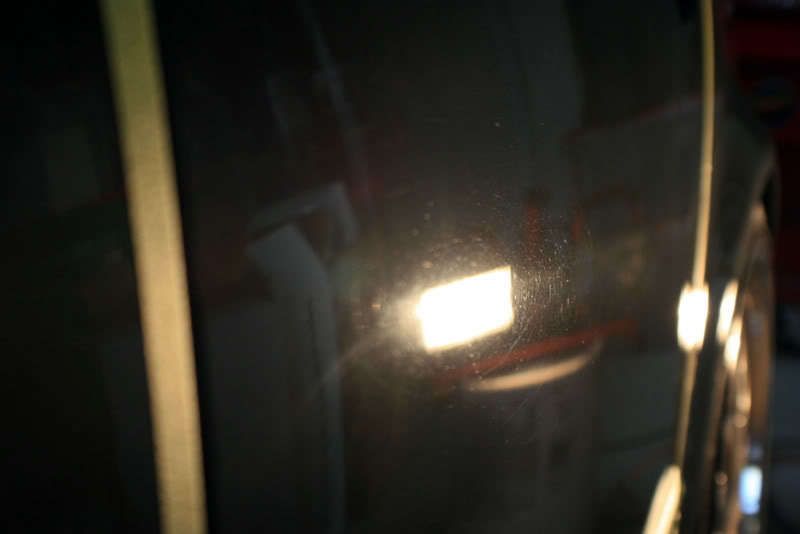
This car came to me for a full detail minus interior. When the owner arrived, he threw a curve ball at me. The entire car was repainted about a year ago, and the front hood and front fenders were just repainted 3 days ago! This is one of the first paint jobs Ive seen done right, the entire car was gutted and stripped down and repainted. There was only one problem..the painters did a fantastic job repainting the car, however they did not finish it very well. I found pigtail tracers all over the car from sanding and some parts of the car that were not even buffed out after the sanding process. I thought for sure I was going to need to sand the entire car again, but a couple passes with a Meguiars Solo Burgundy Wool pad and M105 did the trick just fine! Of course, the KBRM was used.
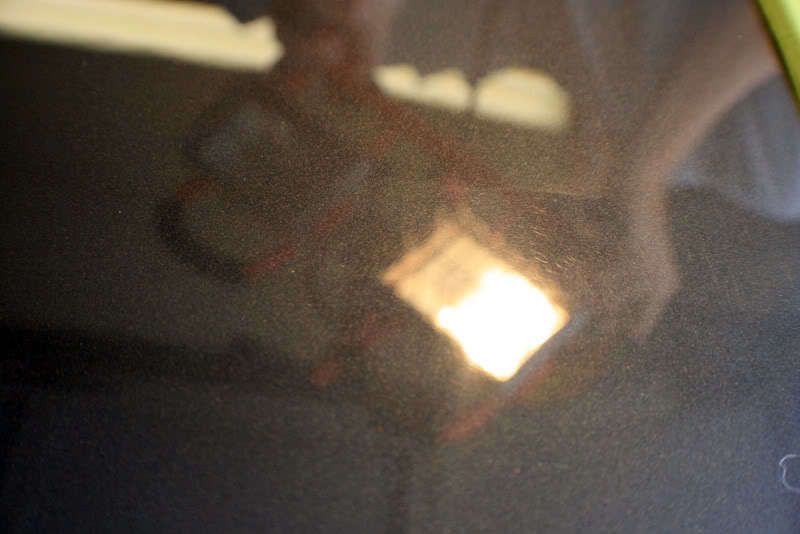
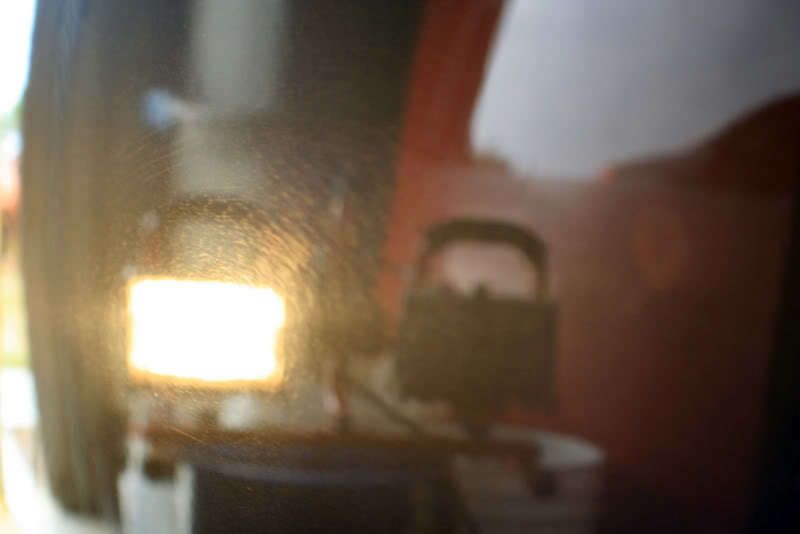
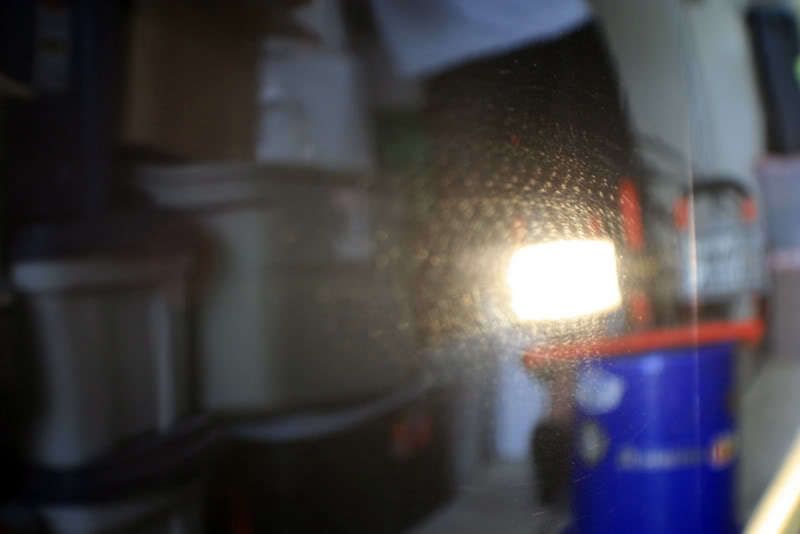
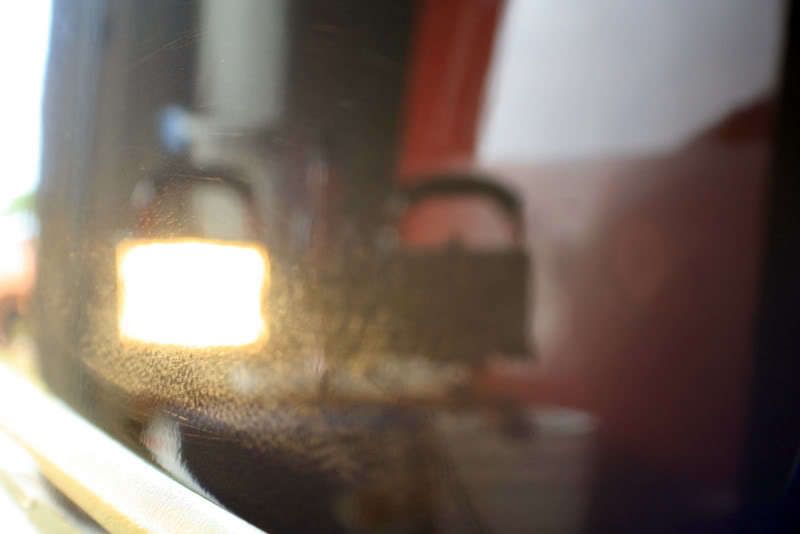
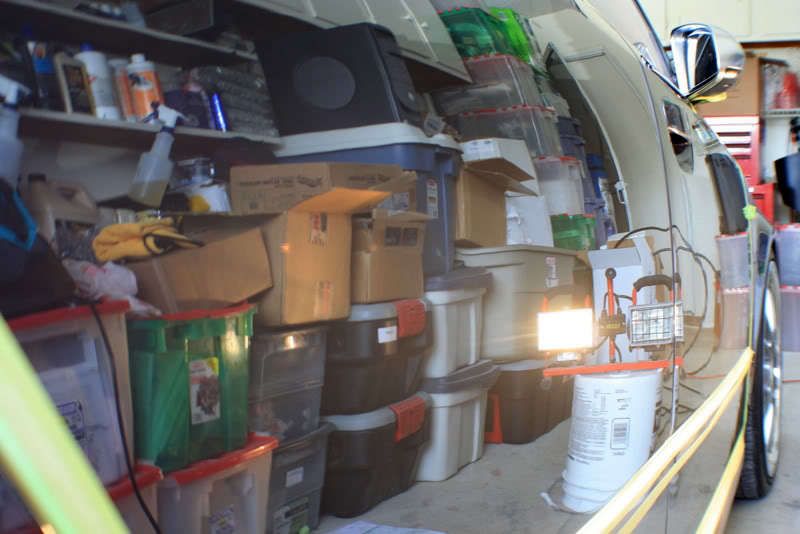
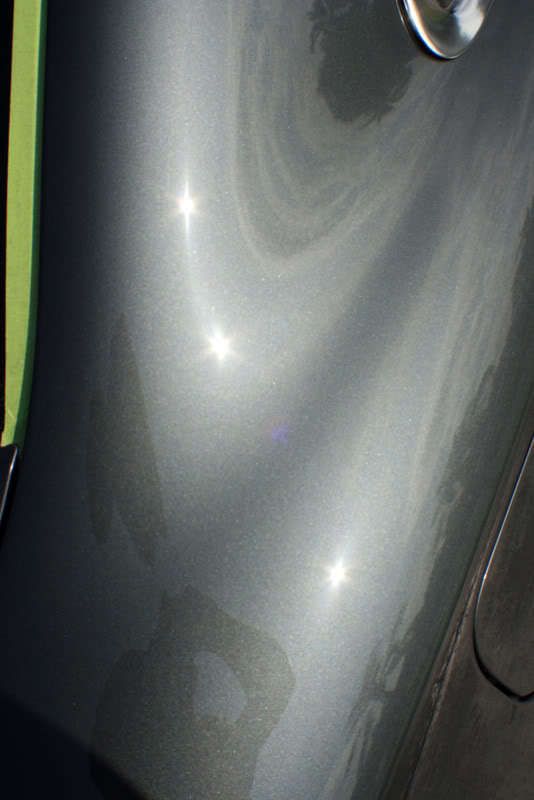
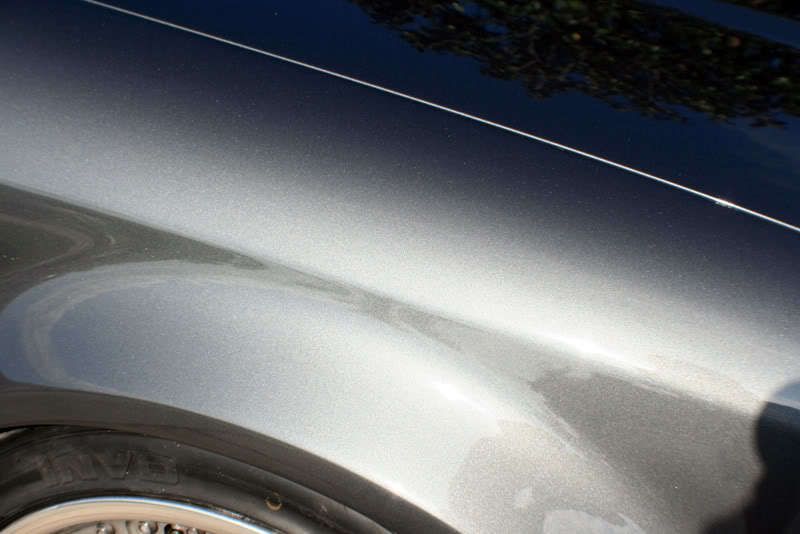
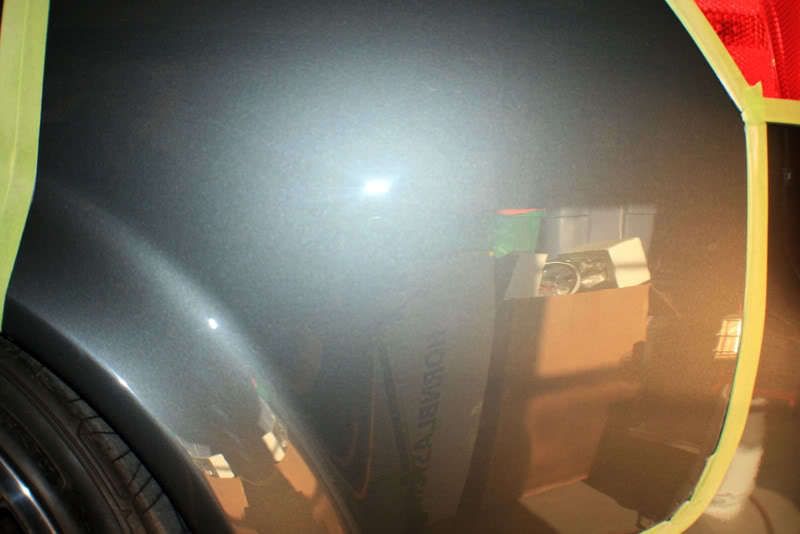
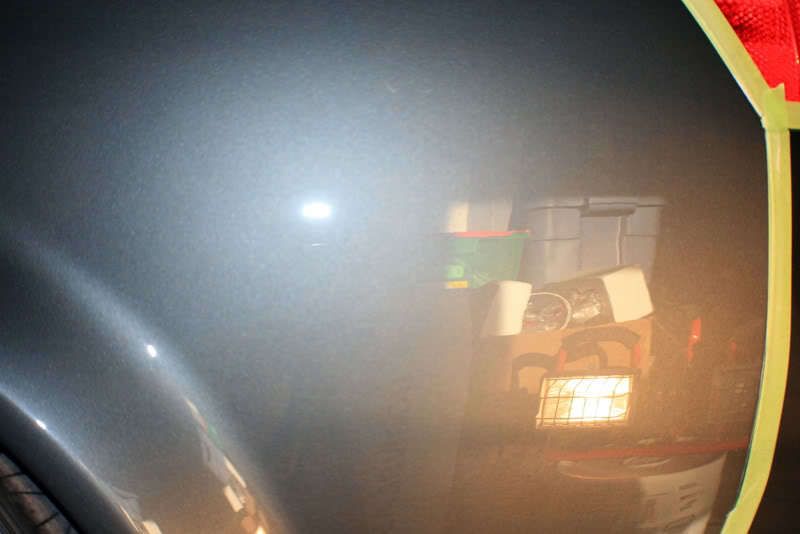
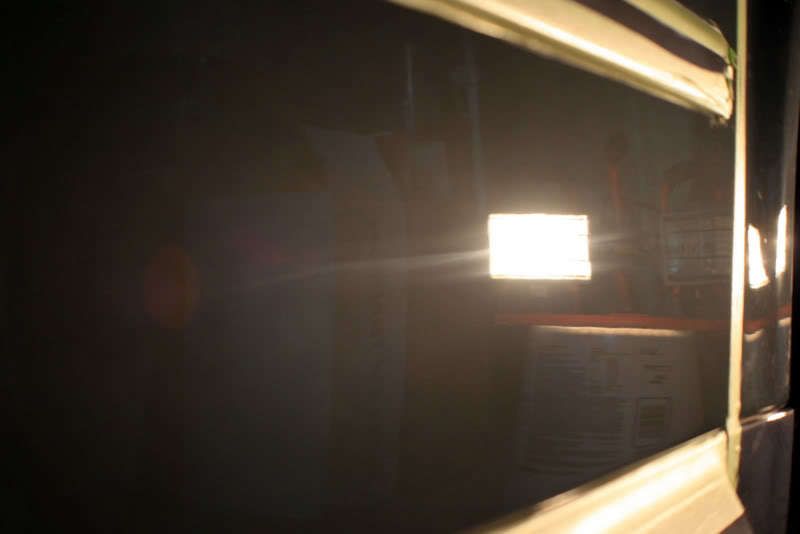
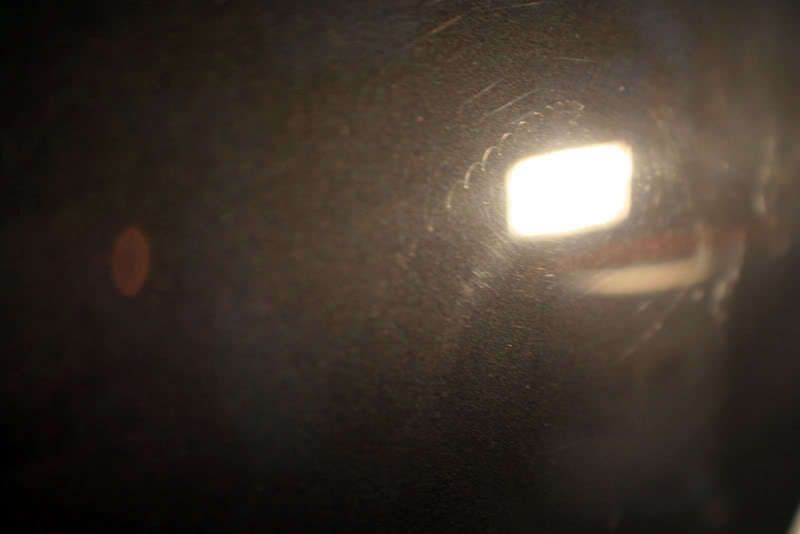
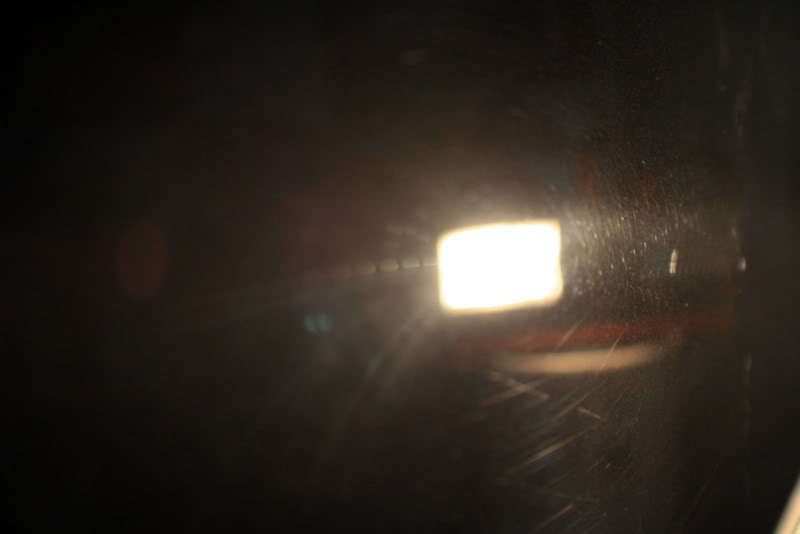
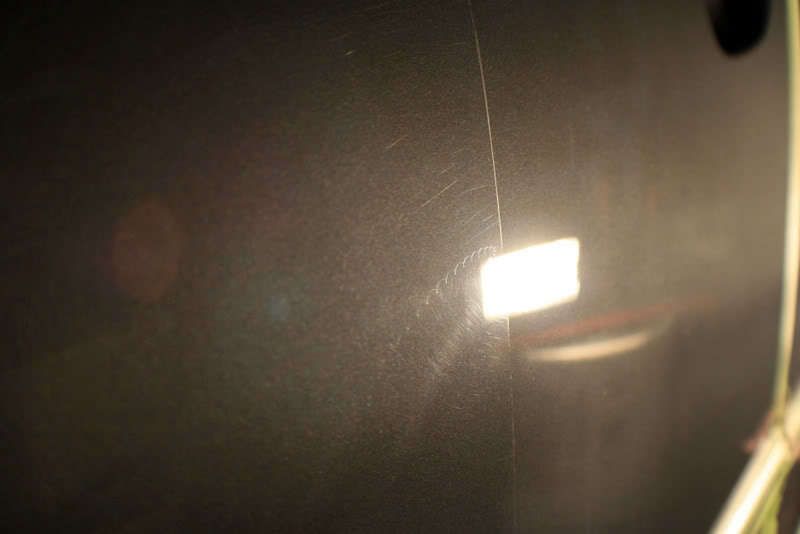
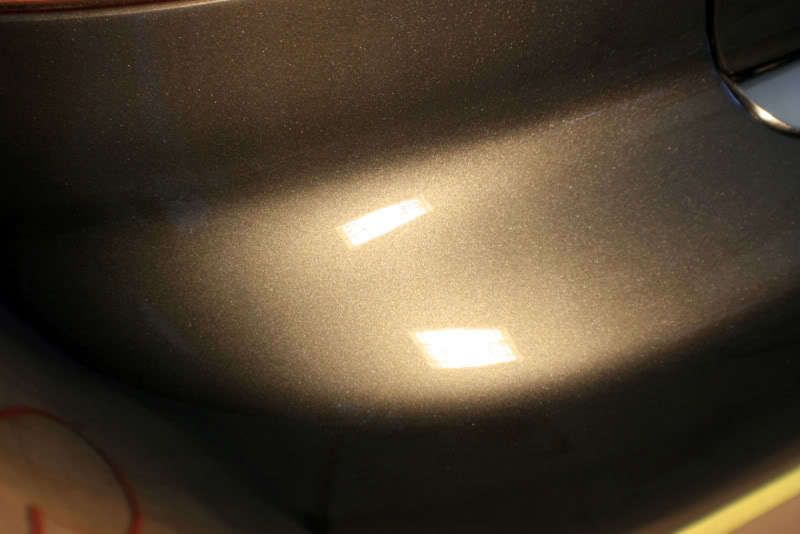
This is how the car looked when it arrived Thursday.
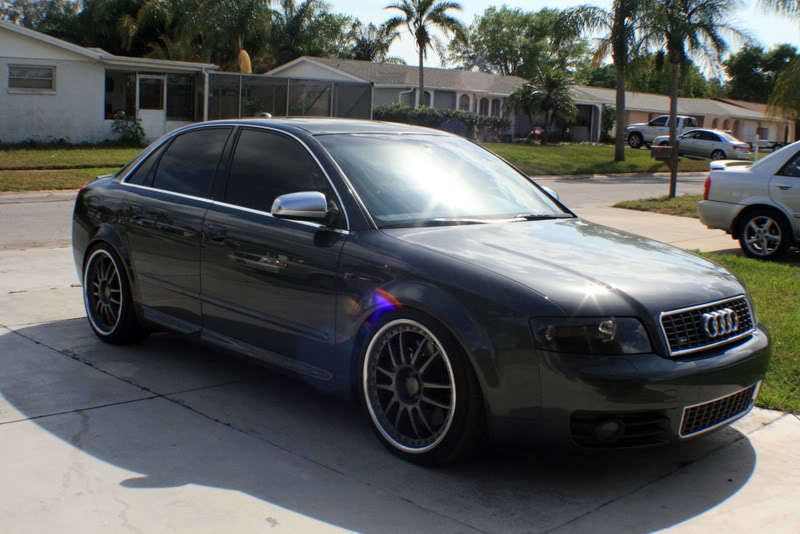
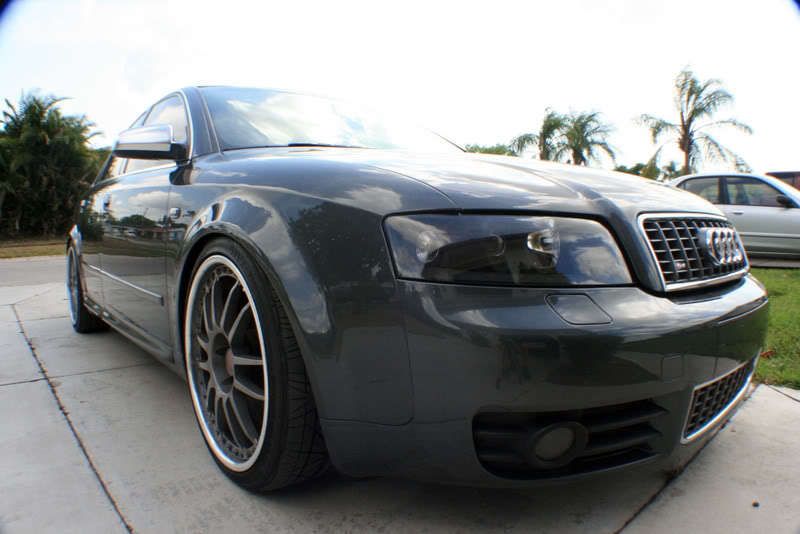
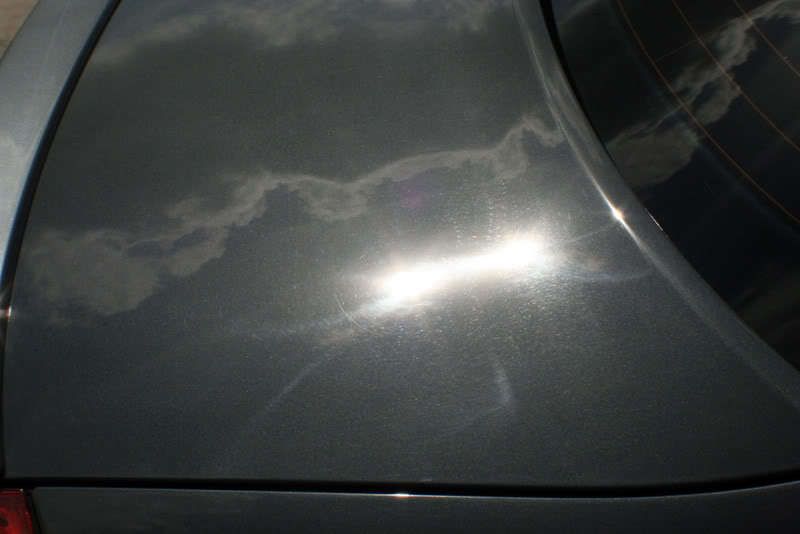
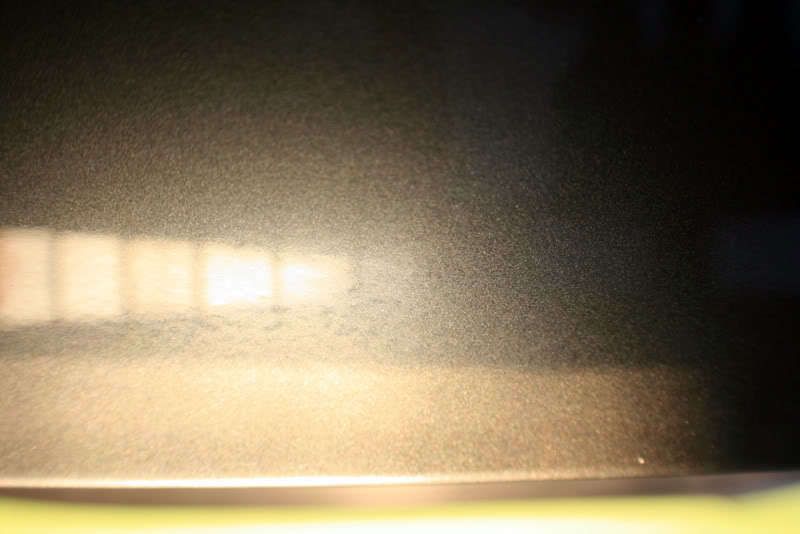
Notice the holograms and you can see some sanding pigtails as well.
The car was then clayed and blown try.
This is how the car looked when it arrived Thursday.
Notice the holograms and you can see some sanding pigtails as well.
The car was then clayed and blown try.
the twanksta
+1y
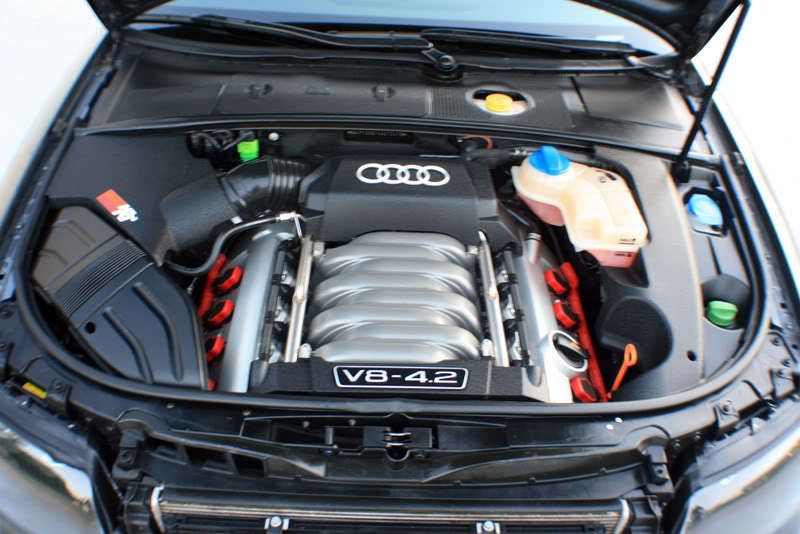
Before prepping the exterior of the car, I cleaned the engine bay.
Needed a little work.
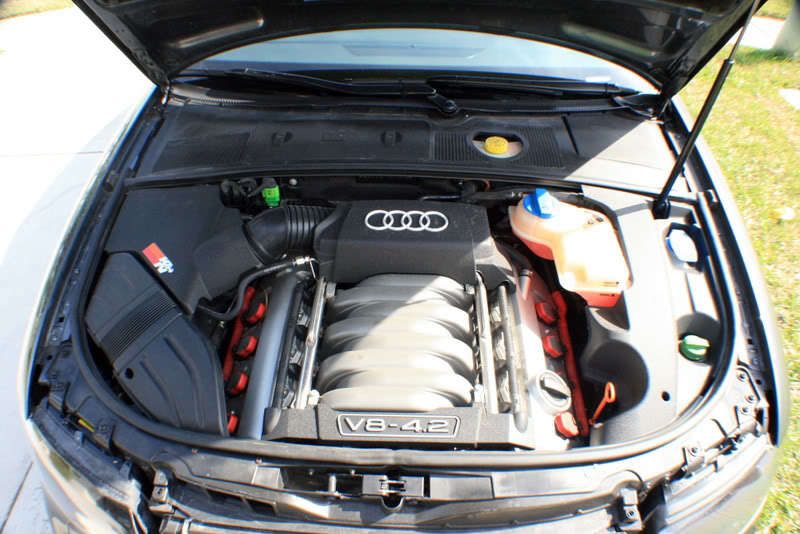
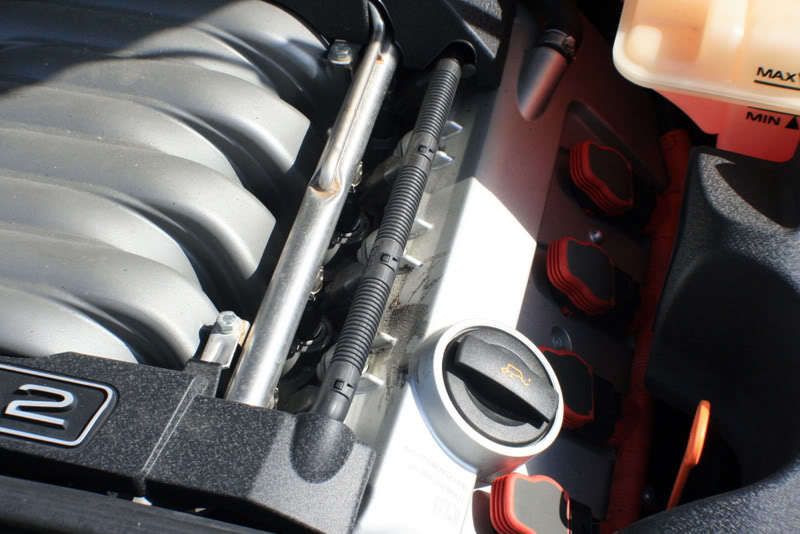
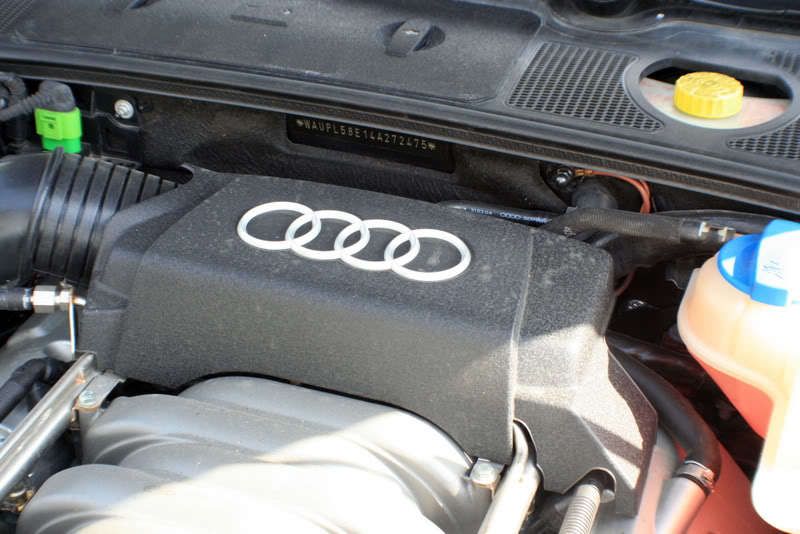
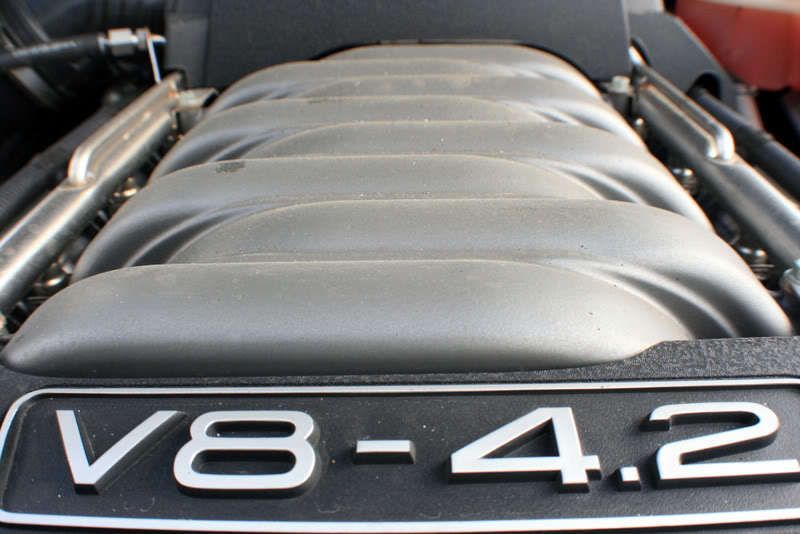
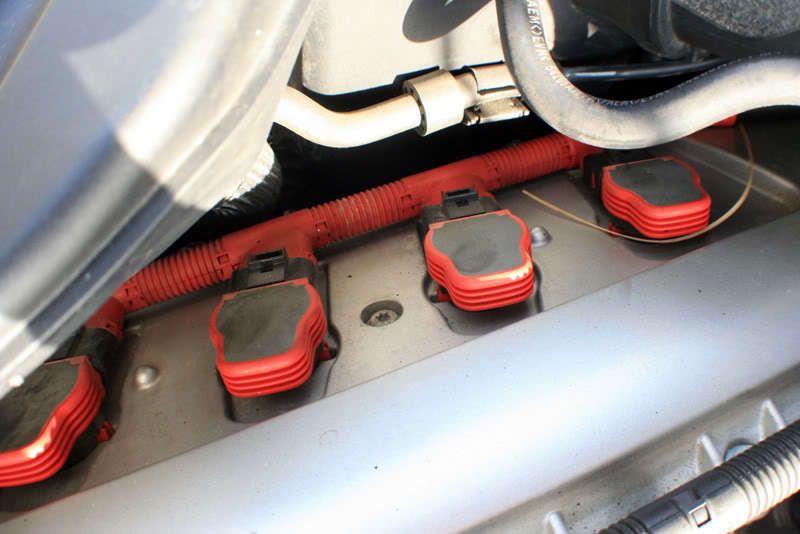
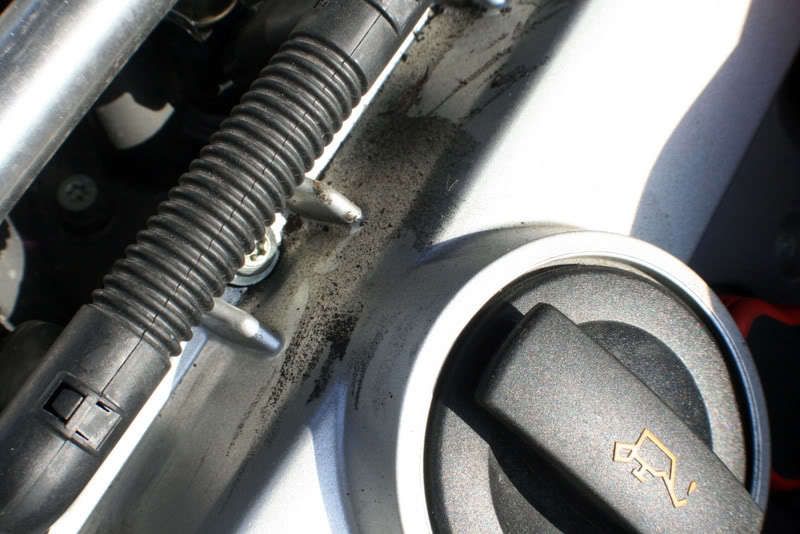
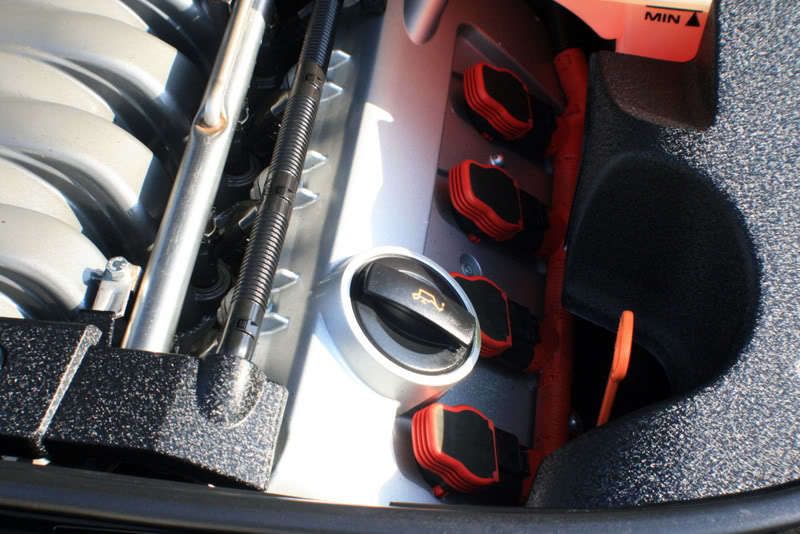
The entire engine bay was de-greased and agitated with various brushes.
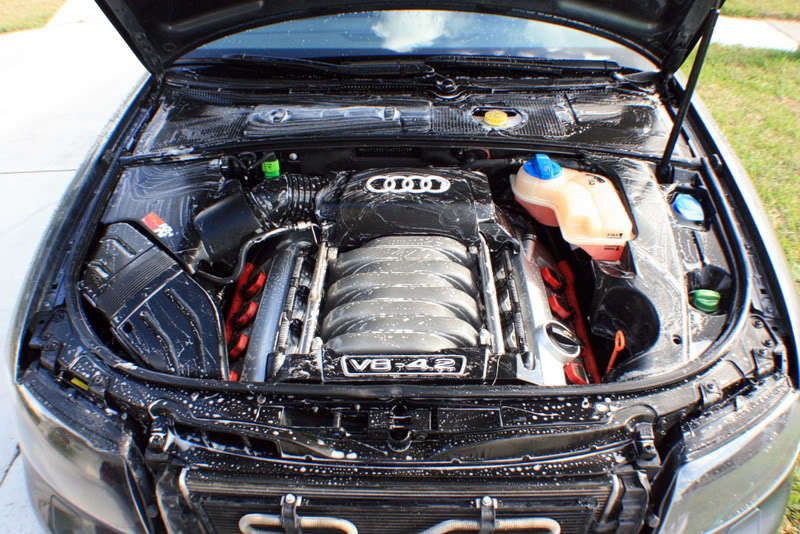
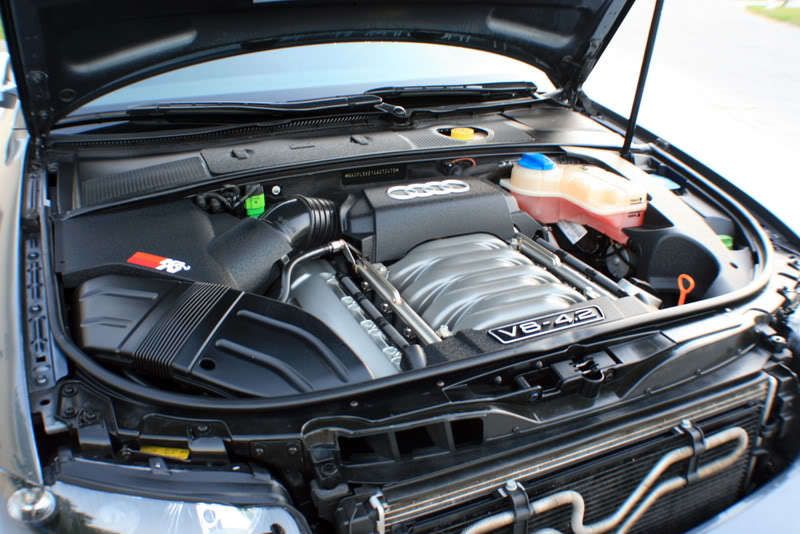
After.
Needed a little work.
The entire engine bay was de-greased and agitated with various brushes.
After.
the twanksta
+1y
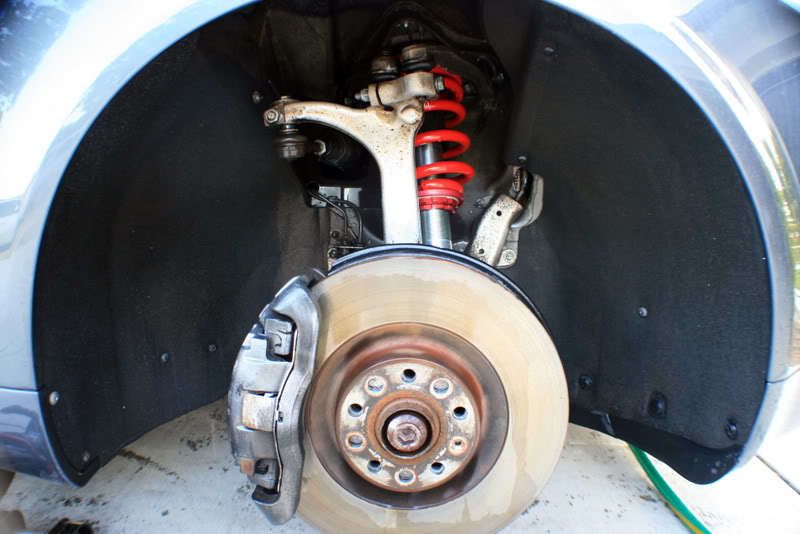
The owner requested the wheels be removed and the lip polished.
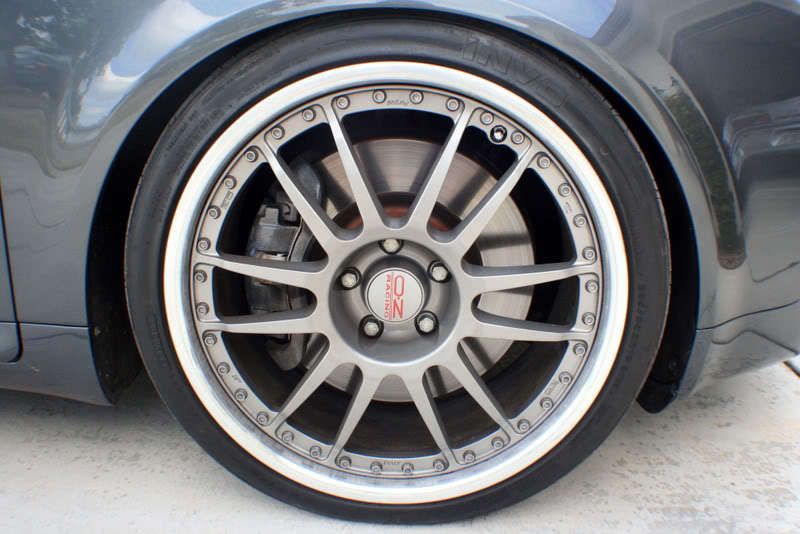
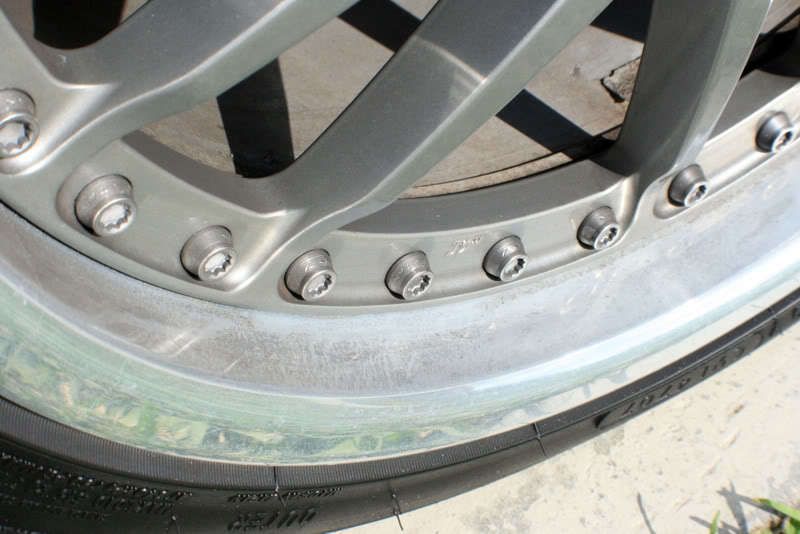
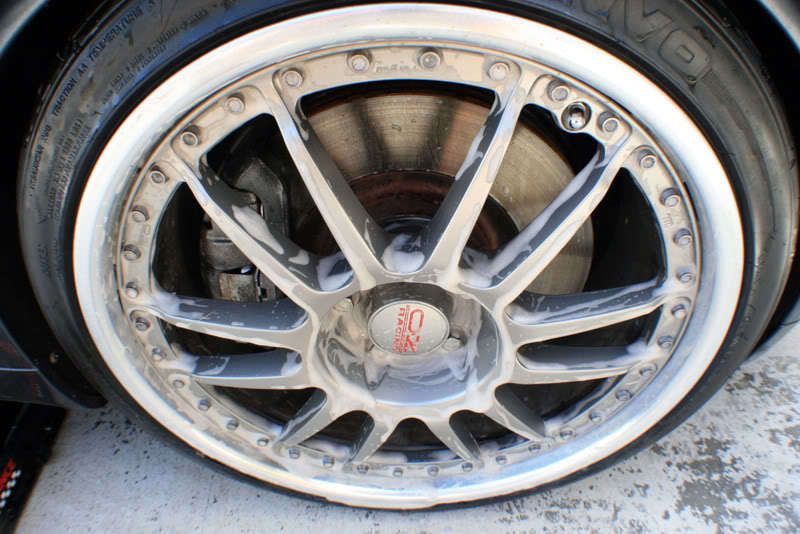
Cleaning with P21S Wheel Gel.
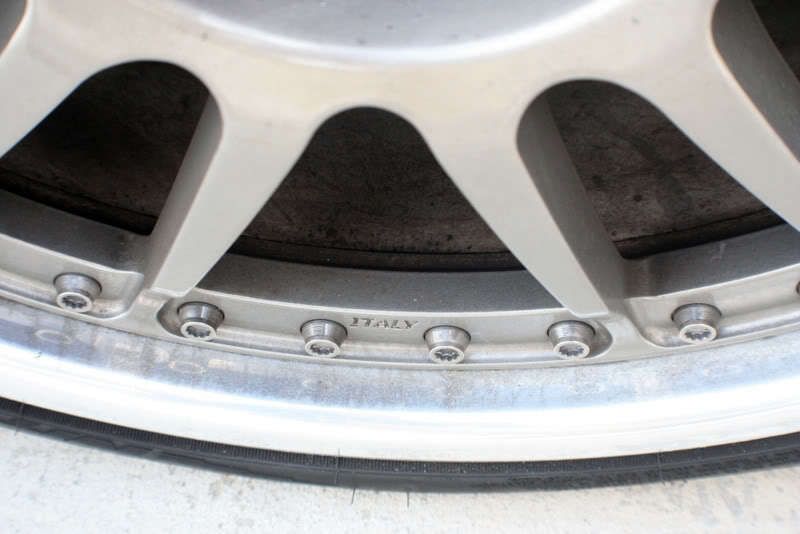
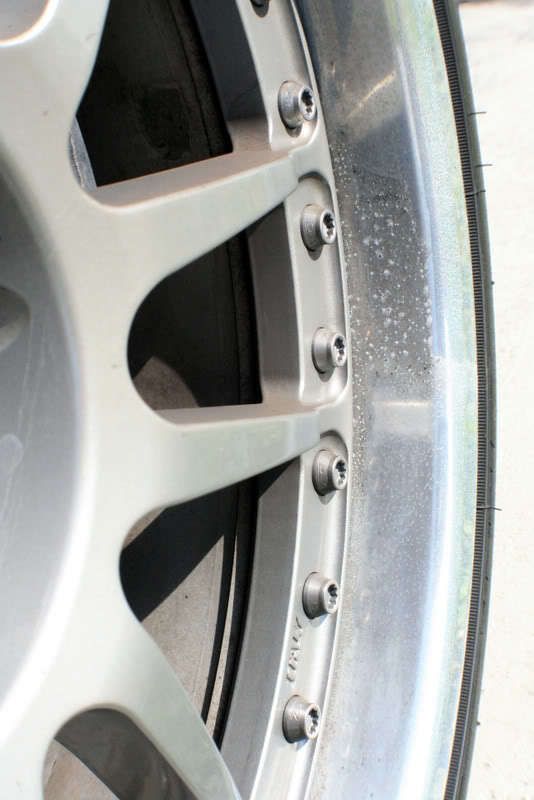
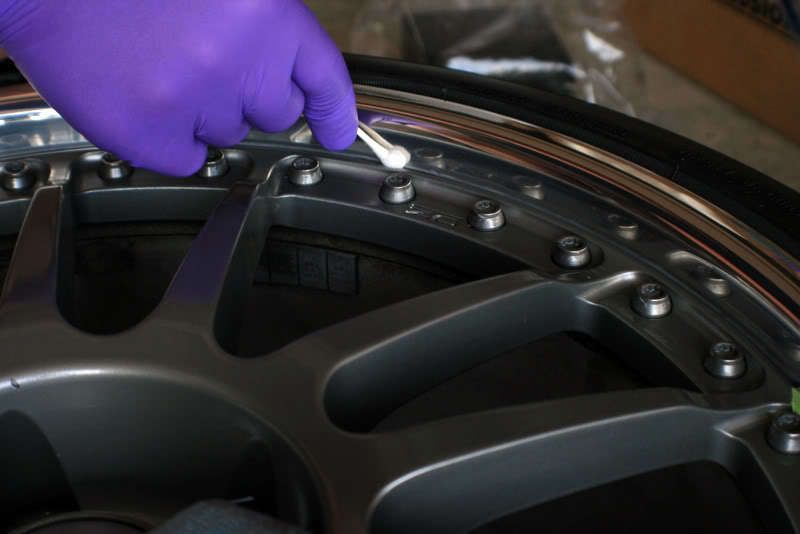
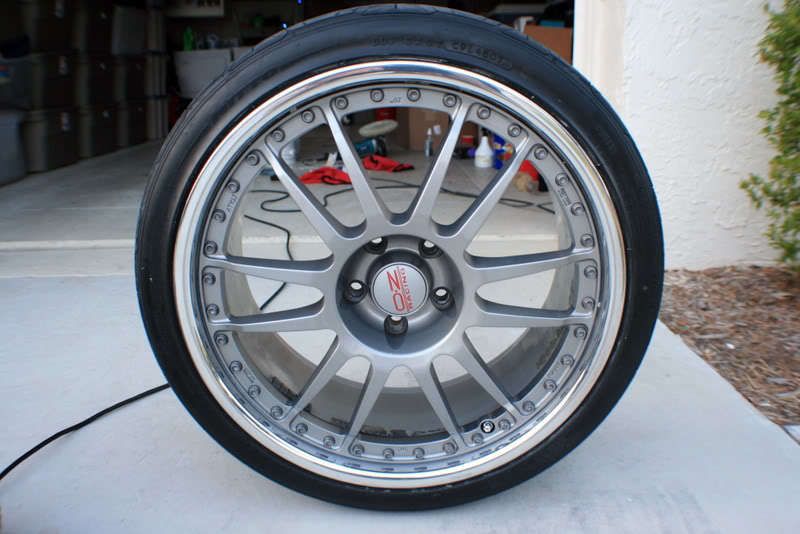
A little birdie(named Kevin Brown) once told me that M105/205 works great as a metal polish. Kevin has not led me wrong yet, so each rim lip was carefully polished using cue tips and M105 to ensure they were polished all the way to the edge. They were then finished with M205 and sealed with Optimum Opti-Seal.
The collateral..
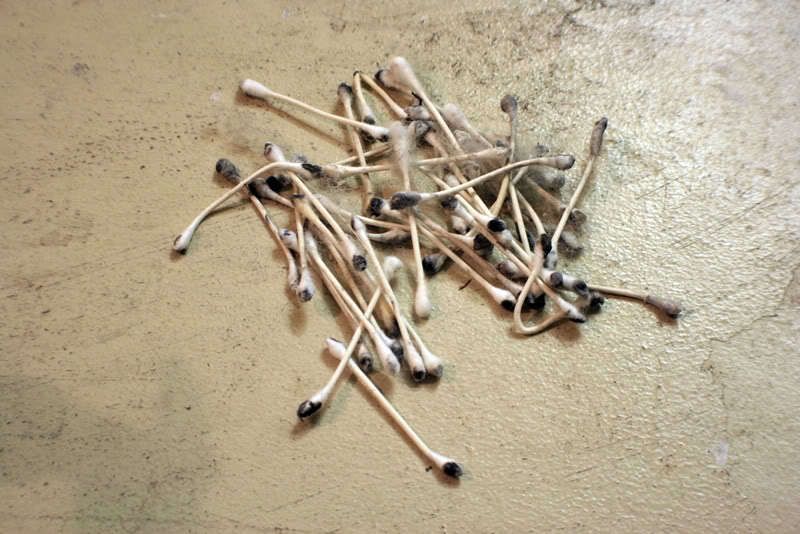
50/50
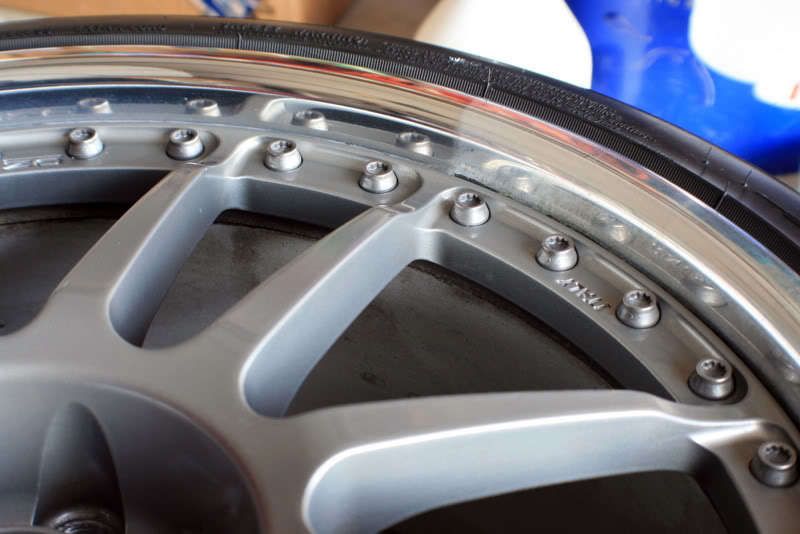
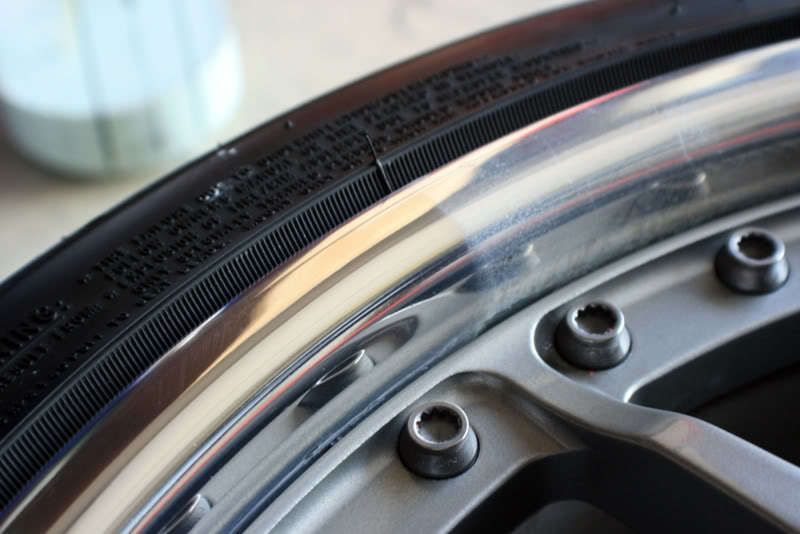
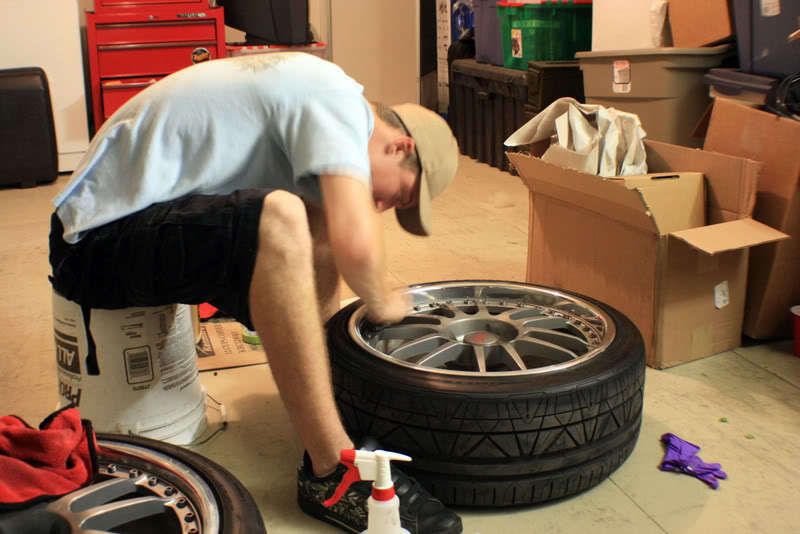
I polished the barrels with M105 using an old wool pad and my Makita rotary. Before.
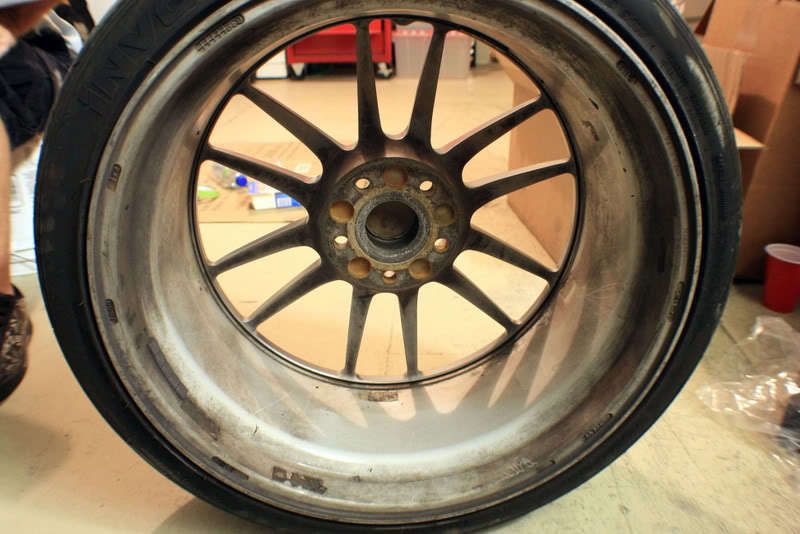
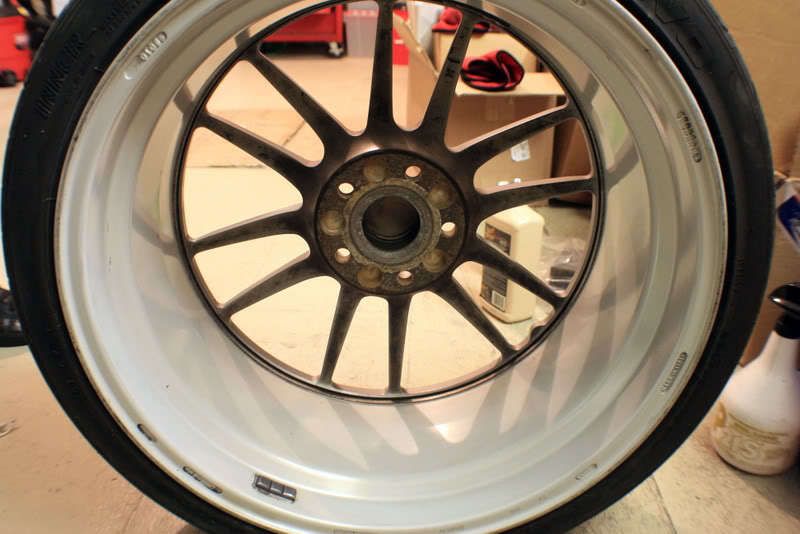
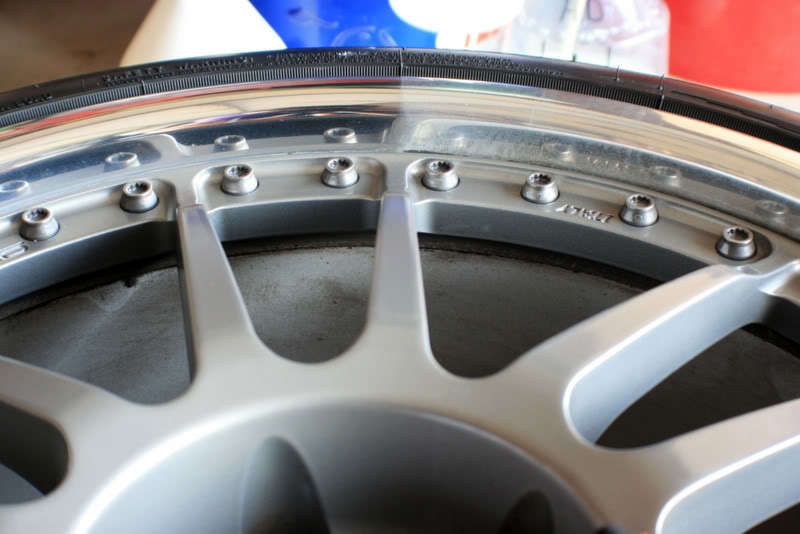
One wheel finished. 3 more to go. Each wheel was also sealed with Optimum Opti-Seal.
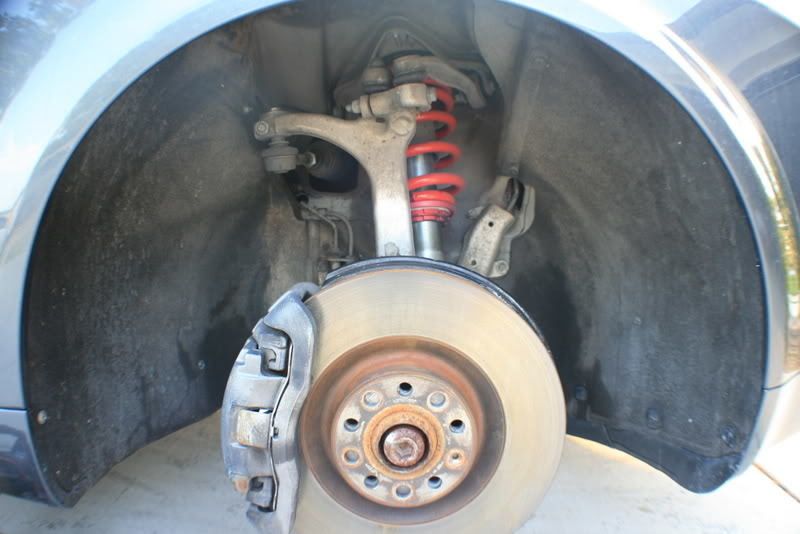
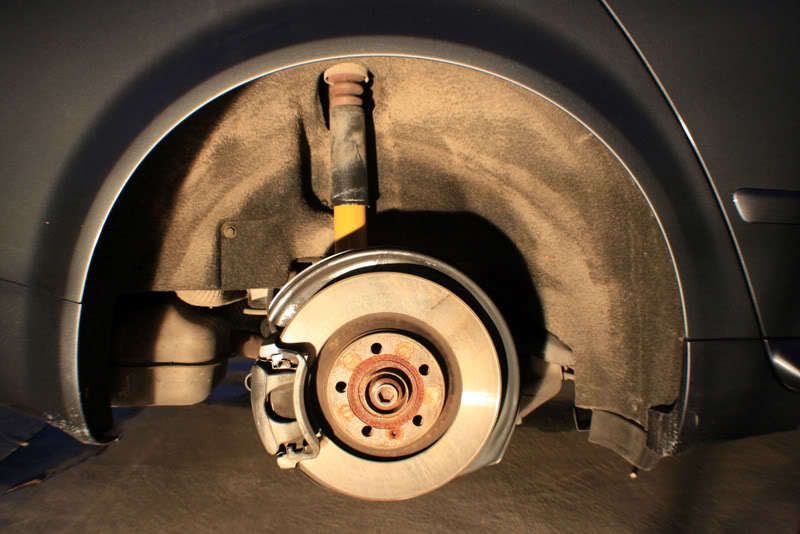
While the wheels were off, I cleaned up the undercarriage. They were lined with carpet, so it was just mostly a matter of removing all the caked on dirt. Each fender was sprayed down with Megs APC+ let dwell and then high pressure rinsed to remove the dirt.
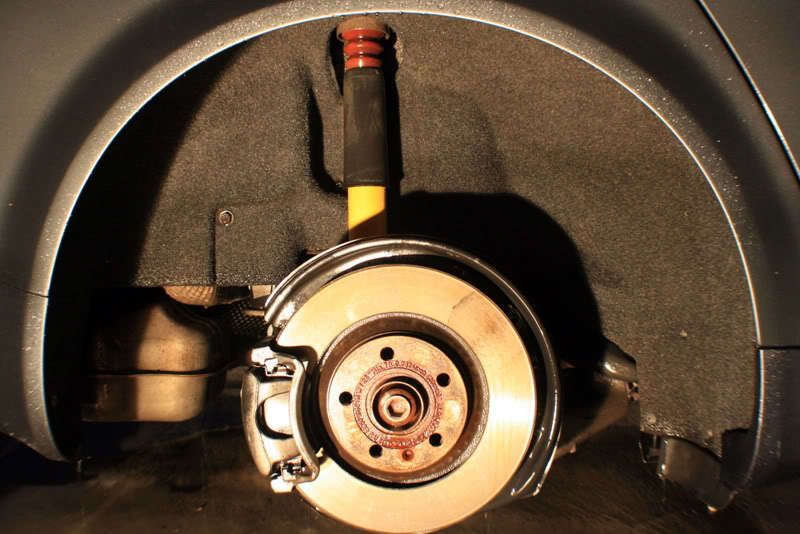
After.
After.
Cleaning with P21S Wheel Gel.
A little birdie(named Kevin Brown) once told me that M105/205 works great as a metal polish. Kevin has not led me wrong yet, so each rim lip was carefully polished using cue tips and M105 to ensure they were polished all the way to the edge. They were then finished with M205 and sealed with Optimum Opti-Seal.
The collateral..
50/50
I polished the barrels with M105 using an old wool pad and my Makita rotary. Before.
One wheel finished. 3 more to go. Each wheel was also sealed with Optimum Opti-Seal.
While the wheels were off, I cleaned up the undercarriage. They were lined with carpet, so it was just mostly a matter of removing all the caked on dirt. Each fender was sprayed down with Megs APC+ let dwell and then high pressure rinsed to remove the dirt.
After.
After.
the twanksta
+1y
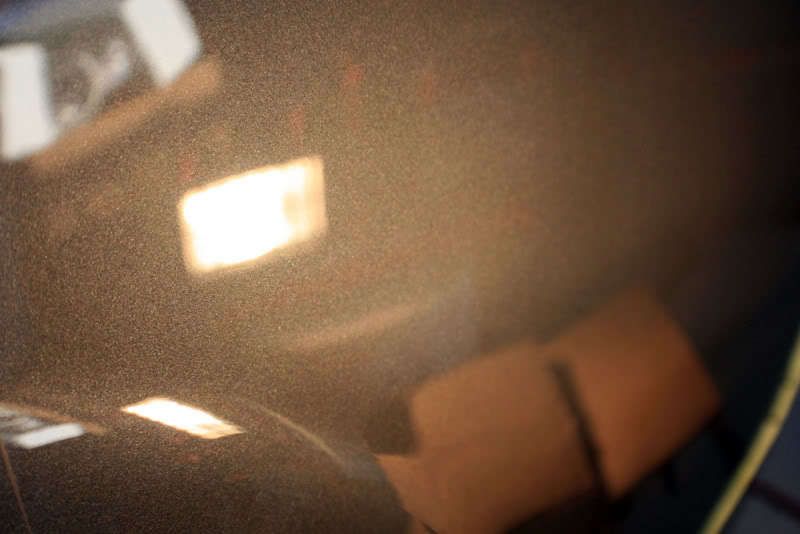
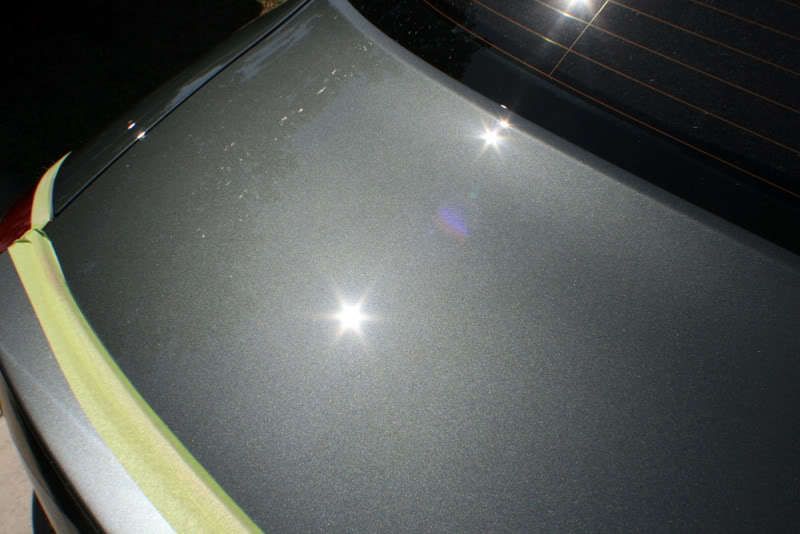
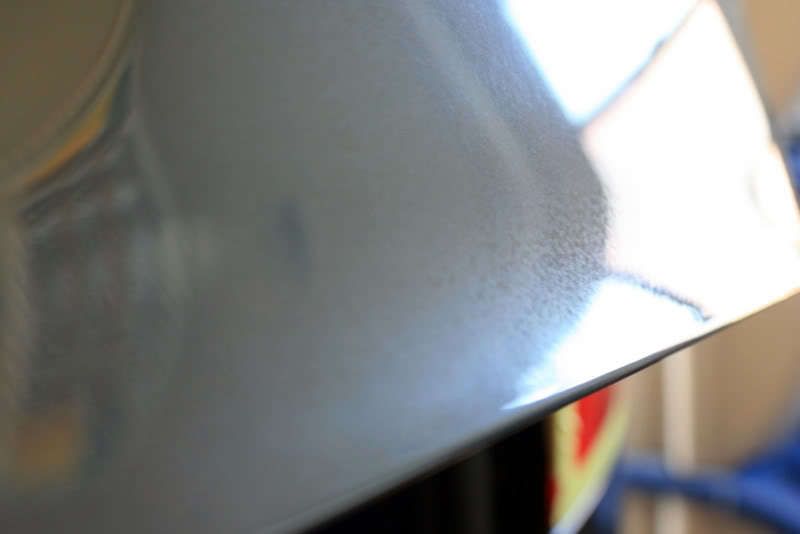
I used the trunk for my test panel. There were sanding pigtails throughout, however they were very hard to find, let alone capture with a camera.
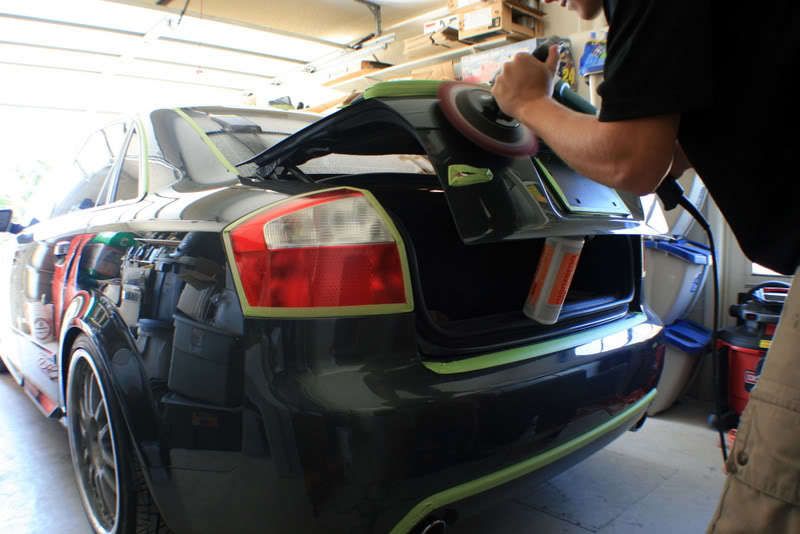
After Compounding with M105 using a Burgundy Wool Pad on a Makita rotary using the KBRM(Kevin Brown Rotary Method).
After M105 using a Megs 2.0 Yellow Foam Pad on a G110 DA using the KBPCM(Kevin Brown Porter Cable Method).
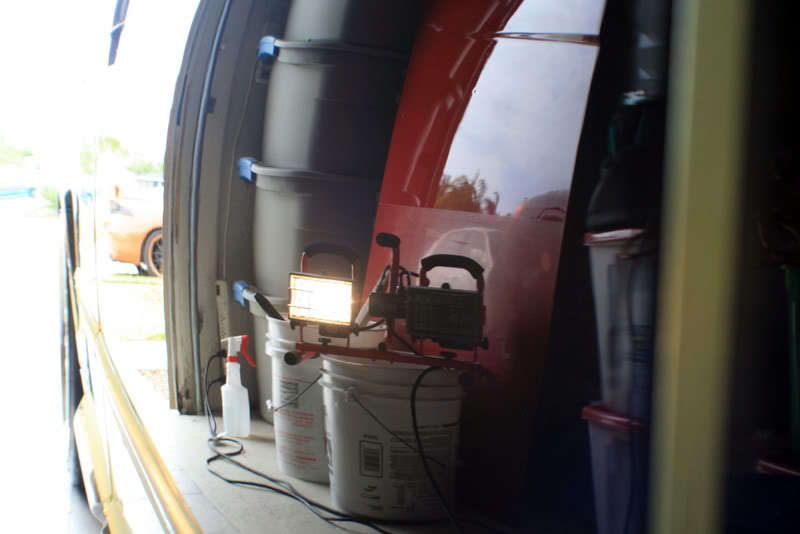
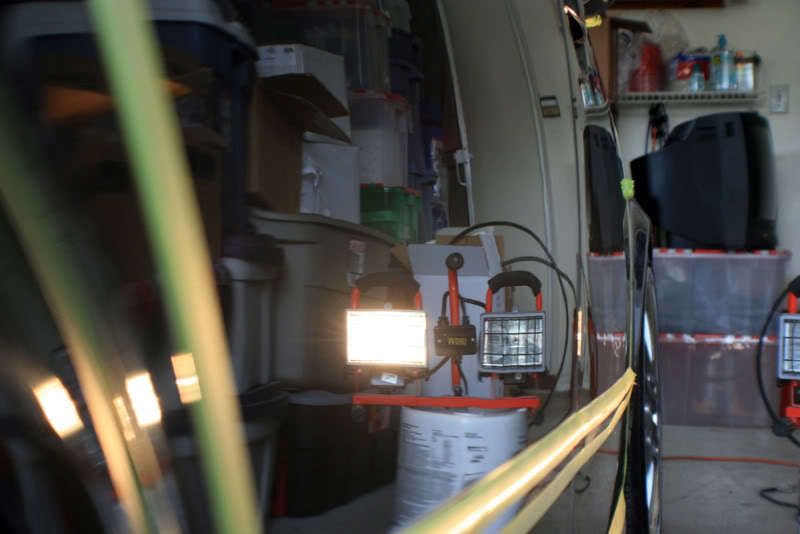
I then pulled the car out in direct sun, but it was mostly cloudy outside.

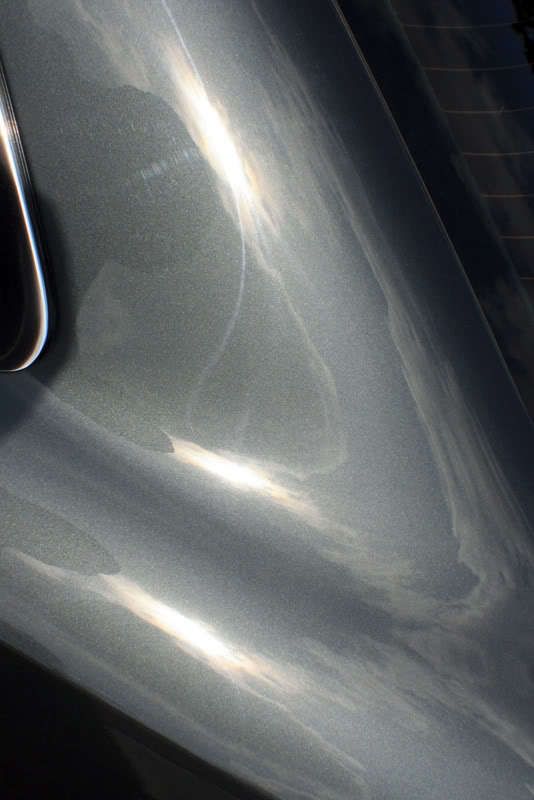
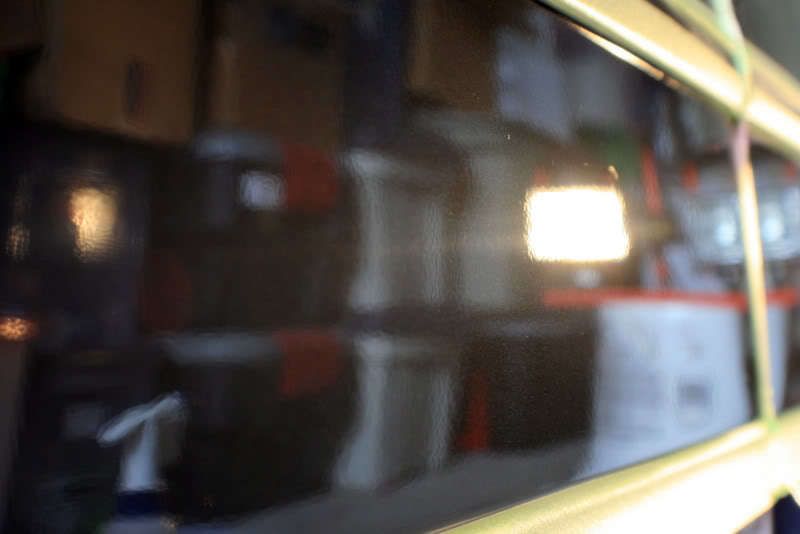
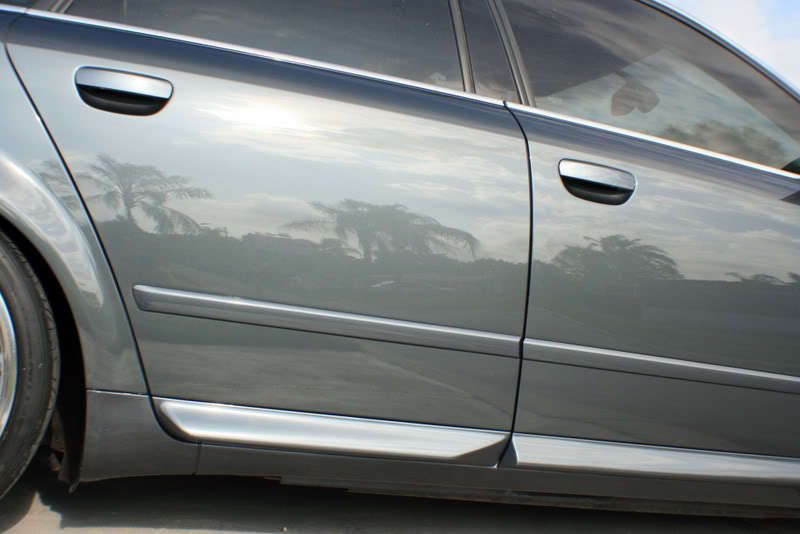
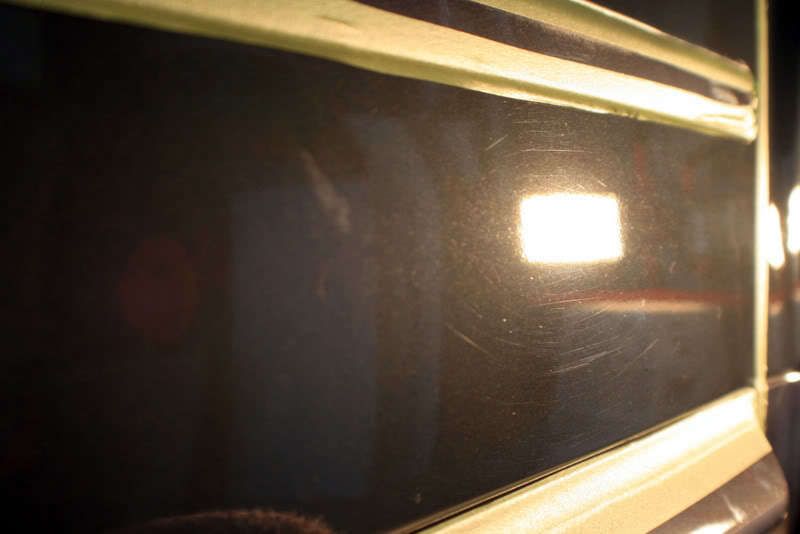
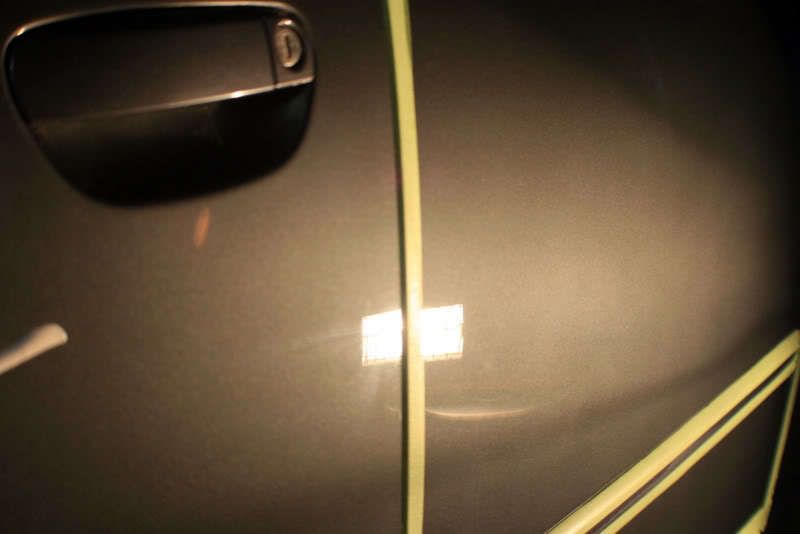
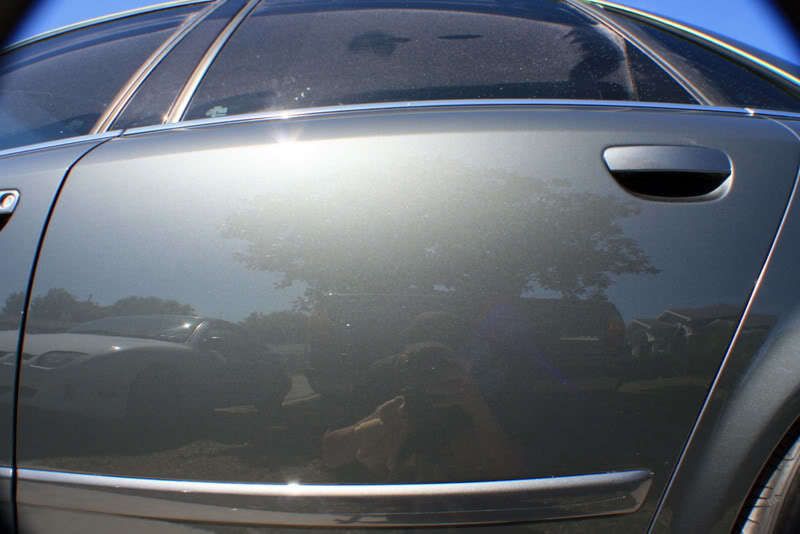
The worst panels on the car were the drivers side front and rear doors. The drivers door had all the imperfections you could want!
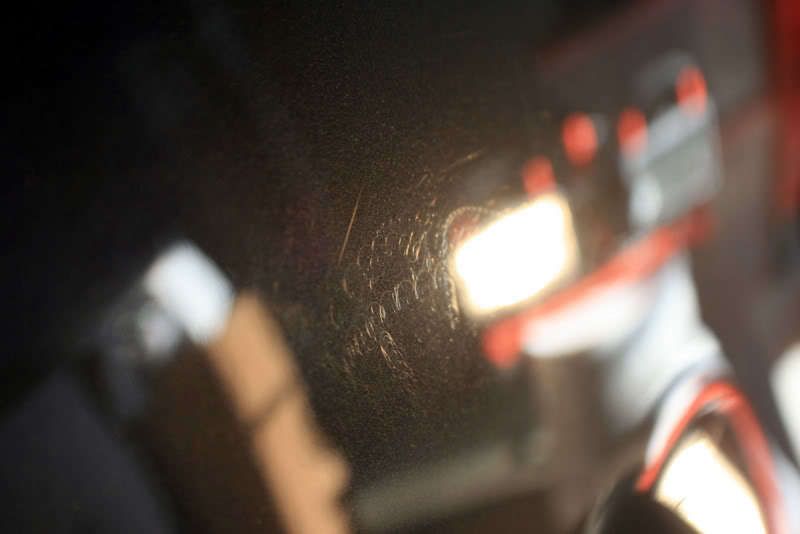
More pigtails..
A series of pigtails from what looks like a air sander.
This area was not even buffed out after the sanding process..
Since I already knew the process, I began..
Working in M105.
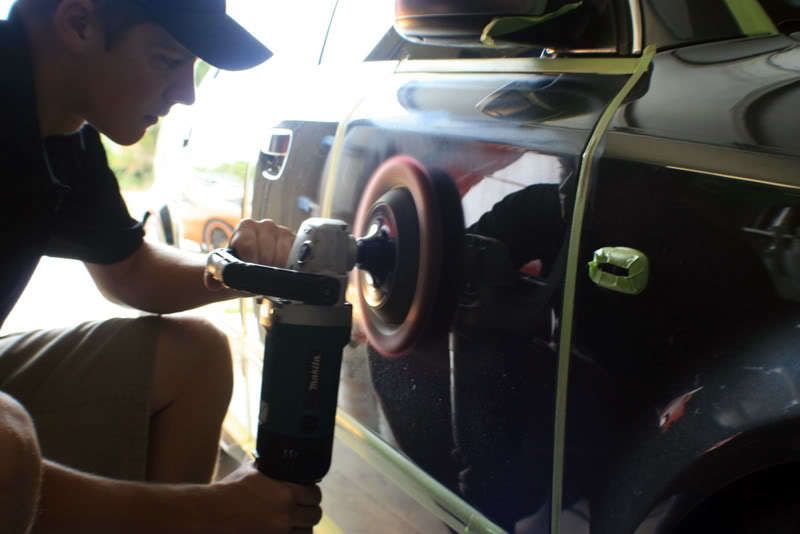
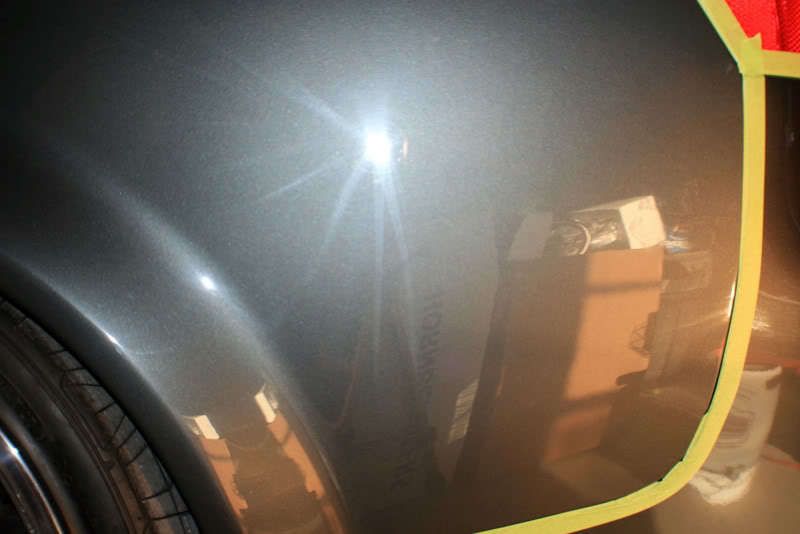
After only using M105/Wool using the KBRM.
After Compounding with M105 using a Burgundy Wool Pad on a Makita rotary using the KBRM(Kevin Brown Rotary Method).
After M105 using a Megs 2.0 Yellow Foam Pad on a G110 DA using the KBPCM(Kevin Brown Porter Cable Method).
I then pulled the car out in direct sun, but it was mostly cloudy outside.
The worst panels on the car were the drivers side front and rear doors. The drivers door had all the imperfections you could want!
More pigtails..
A series of pigtails from what looks like a air sander.
This area was not even buffed out after the sanding process..
Since I already knew the process, I began..
Working in M105.
After only using M105/Wool using the KBRM.
the twanksta
+1y
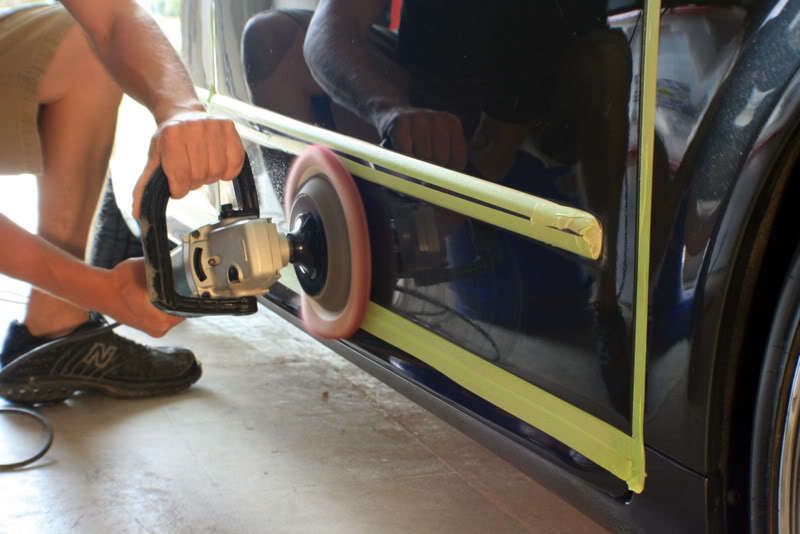
The bottom of the door was removed of defects as well..
After a couple passes, there were still a couple RIDS left..
After another pass with a little more angle and pressure, I was able to remove them completely.
I then moved onto the rear door.

After M105/Wool using KBRM.
The bottom of the door was also fully corrected. This door also had a couple RIDS left after a couple passes. So once again a little angle and pressure quickly took care of it.

Corrected.
The rear 1/4 panel.
Corrected after M105/Wool using KBRM.
After a couple passes, there were still a couple RIDS left..
After another pass with a little more angle and pressure, I was able to remove them completely.
I then moved onto the rear door.
After M105/Wool using KBRM.
The bottom of the door was also fully corrected. This door also had a couple RIDS left after a couple passes. So once again a little angle and pressure quickly took care of it.
Corrected.
The rear 1/4 panel.
Corrected after M105/Wool using KBRM.
the twanksta
+1y
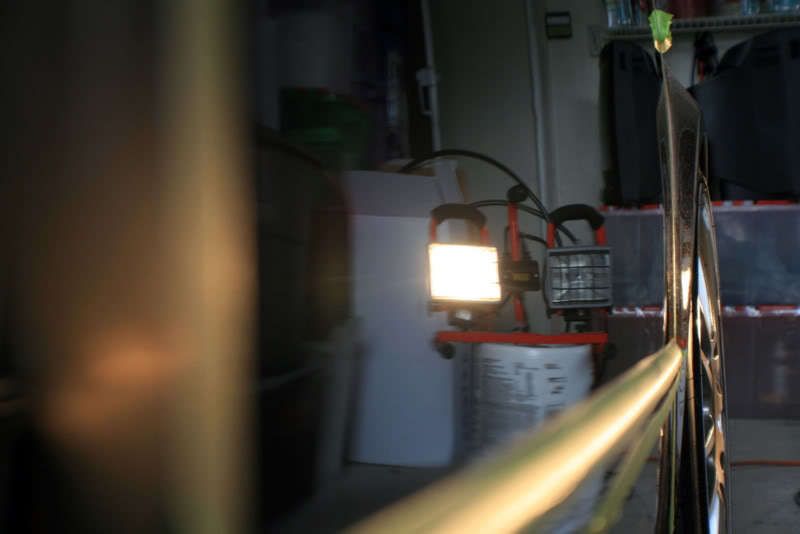
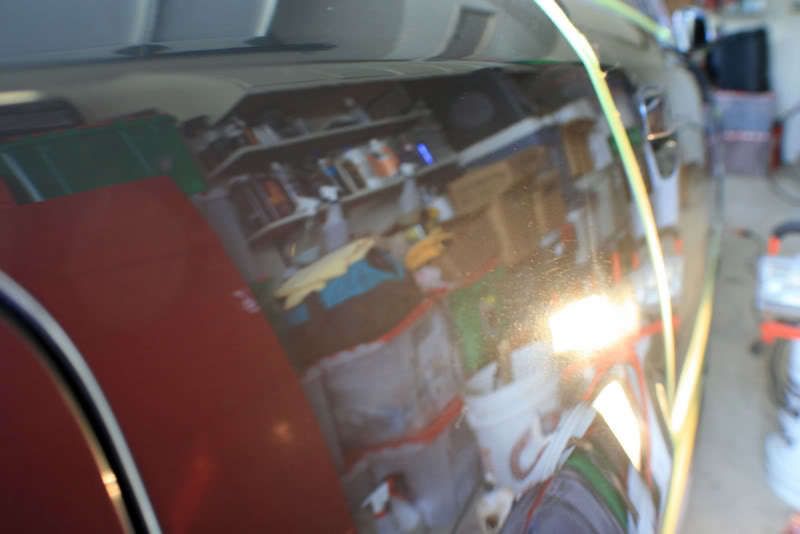
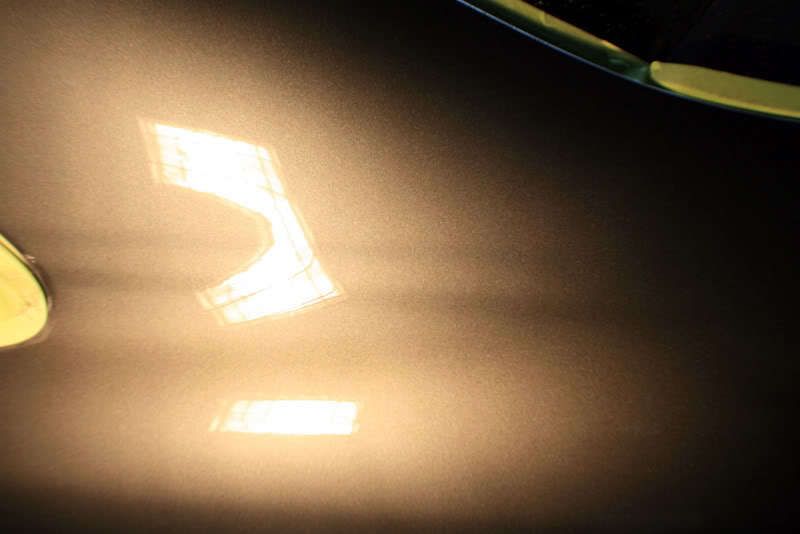
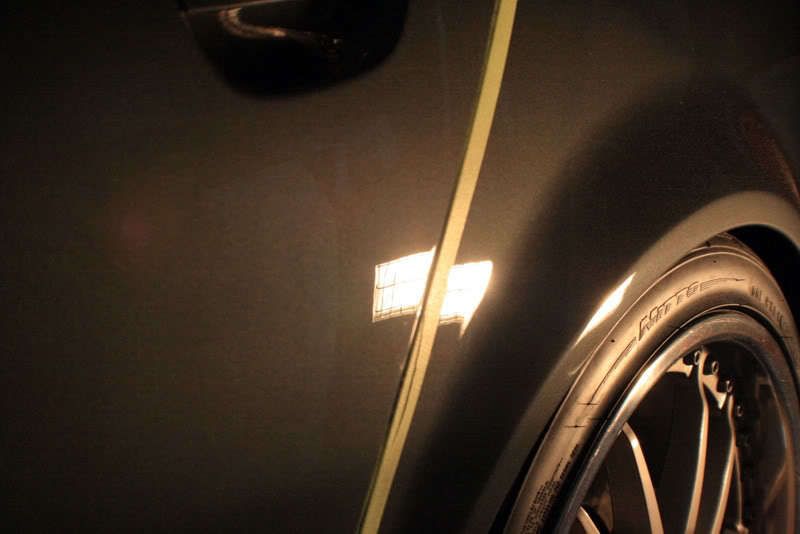
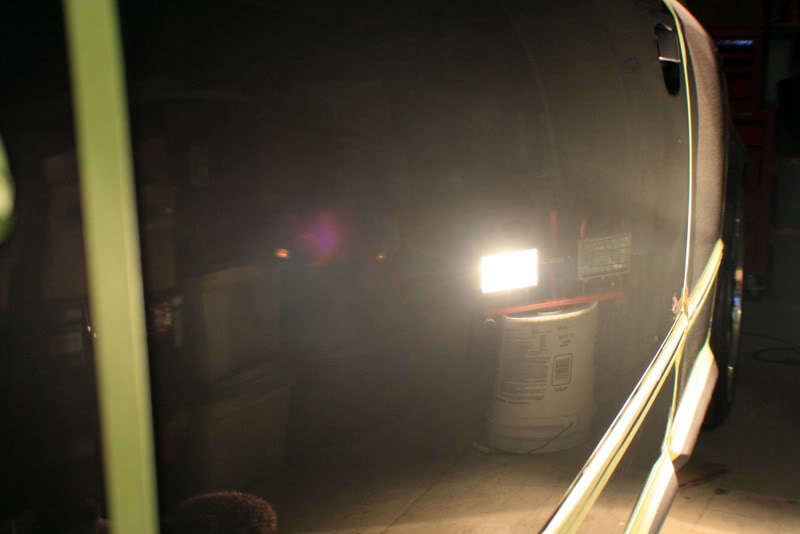
At this point I decided to pull the car outside just to recheck my process to ensure no holograms were being left after M105/Yellow Foam/KBPCM. all was good!
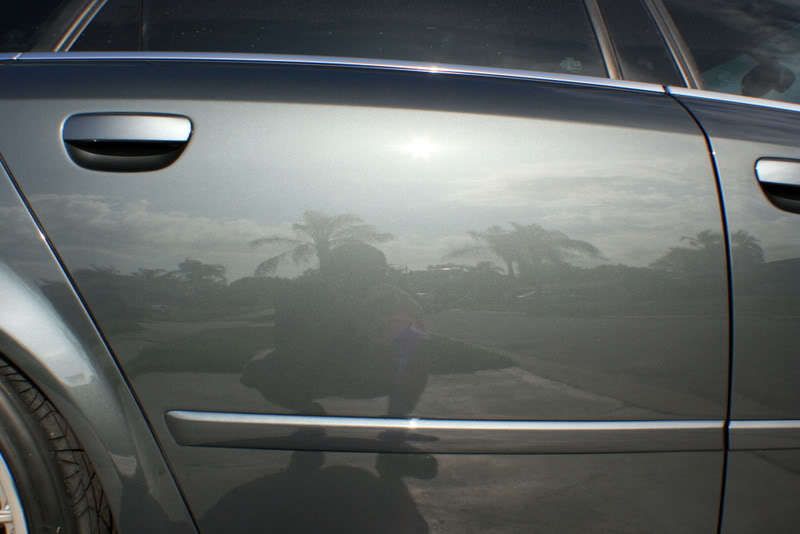
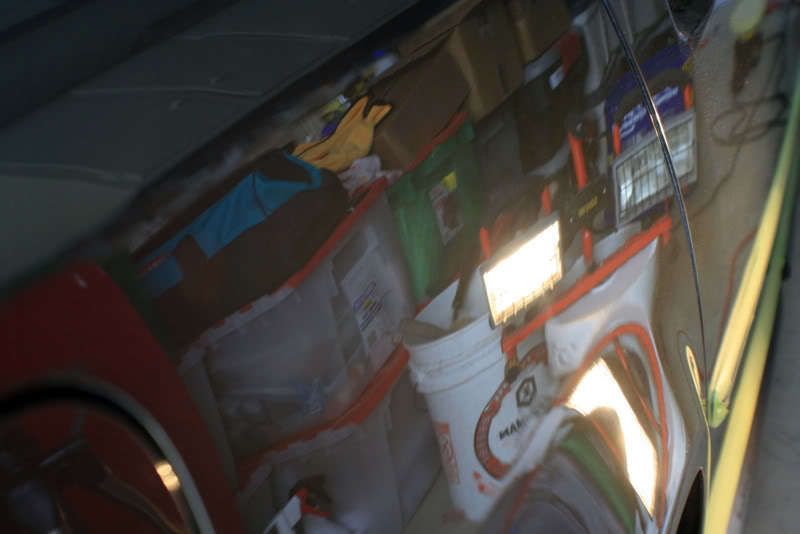
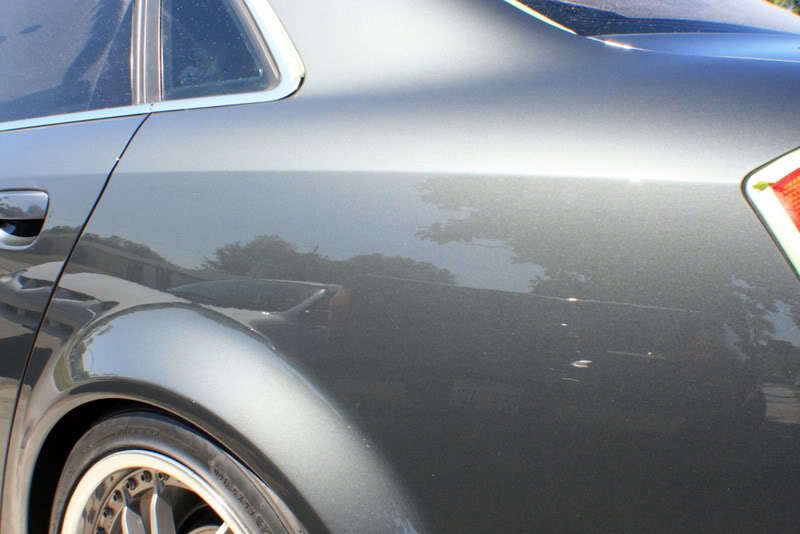
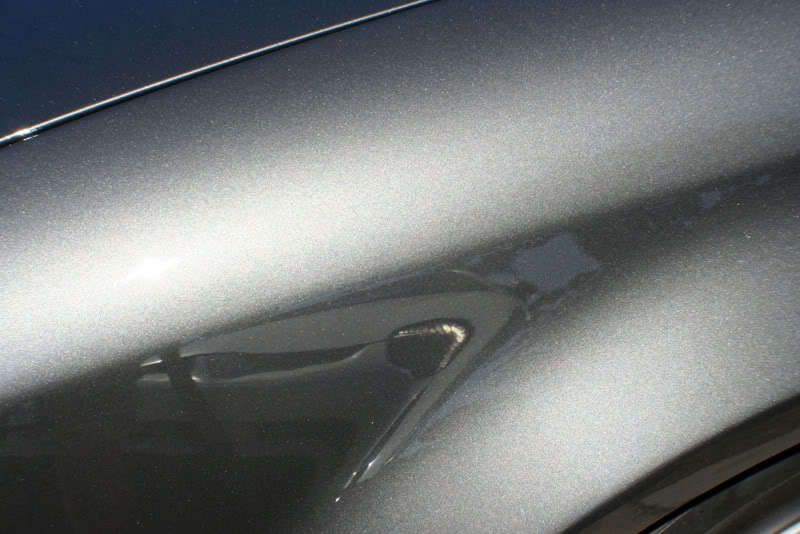
So I moved onto the passenger side. Passenger Side Rear 1/4 Panel.
Some pretty crazy hologramming going on here..
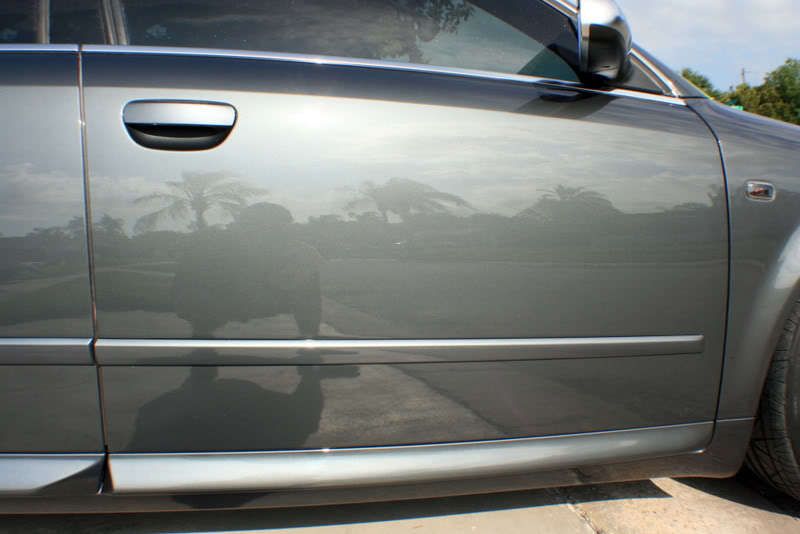
After M105/Wool using KBRM.
After M105/Yellow Foam via G110 and KBPCM.
So I moved onto the passenger side. Passenger Side Rear 1/4 Panel.
Some pretty crazy hologramming going on here..
After M105/Wool using KBRM.
After M105/Yellow Foam via G110 and KBPCM.
the twanksta
+1y
Moving on to the rear passenger door.
Corrected.
As with the other doors, the bottom was corrected as well.
The front passenger door had almost as many defects as the drivers side door.
50/50.
Corrected.
Corrected.
As with the other doors, the bottom was corrected as well.
The front passenger door had almost as many defects as the drivers side door.
50/50.
Corrected.
the twanksta
+1y
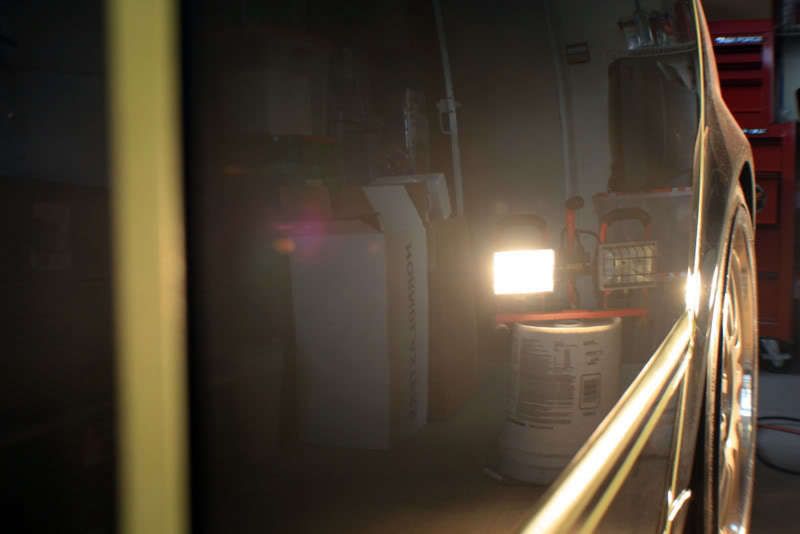
I pulled the car out once more to recheck my work.
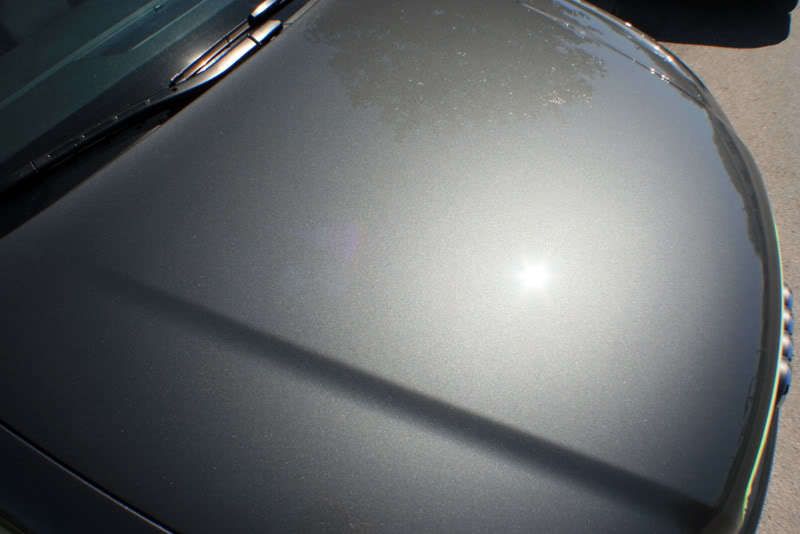
The front of the car was freshly repainted, so I didnt have much work to do here..
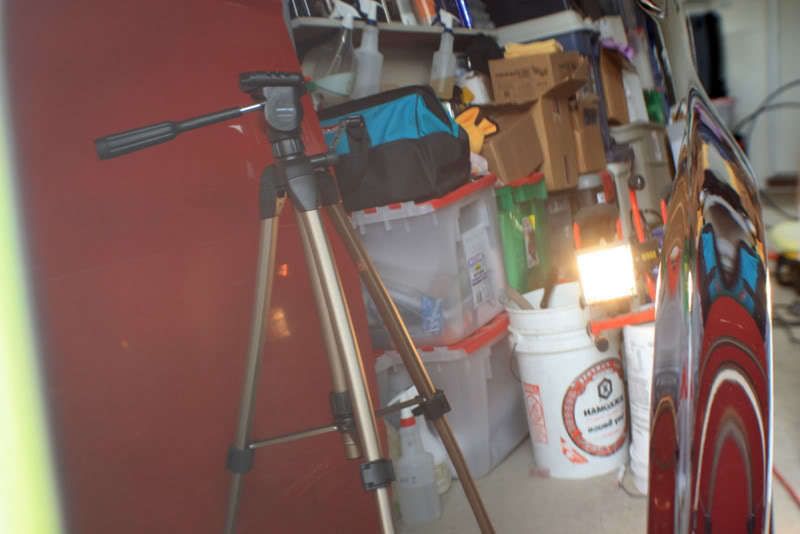
So I pulled the car back inside and started on the lower trunk panels. The trunk was propped using my trusty SIP bottle.
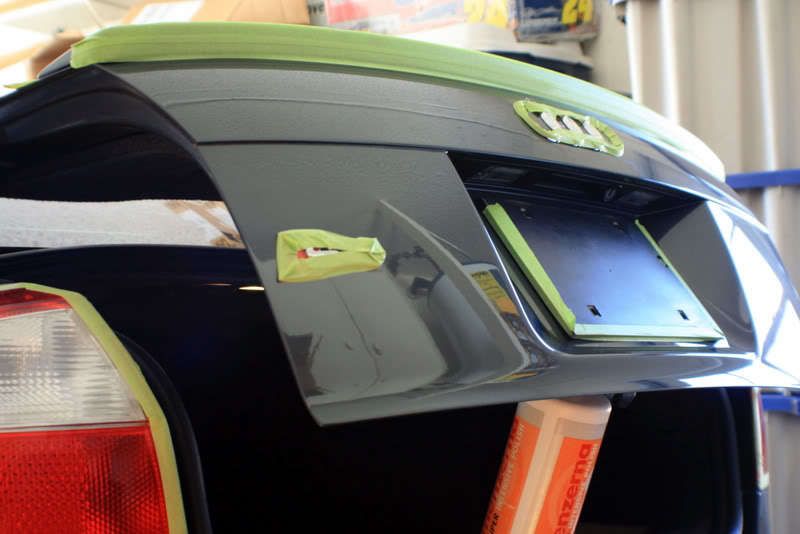
What is this? Yes, more sanding marks.
Corrected.
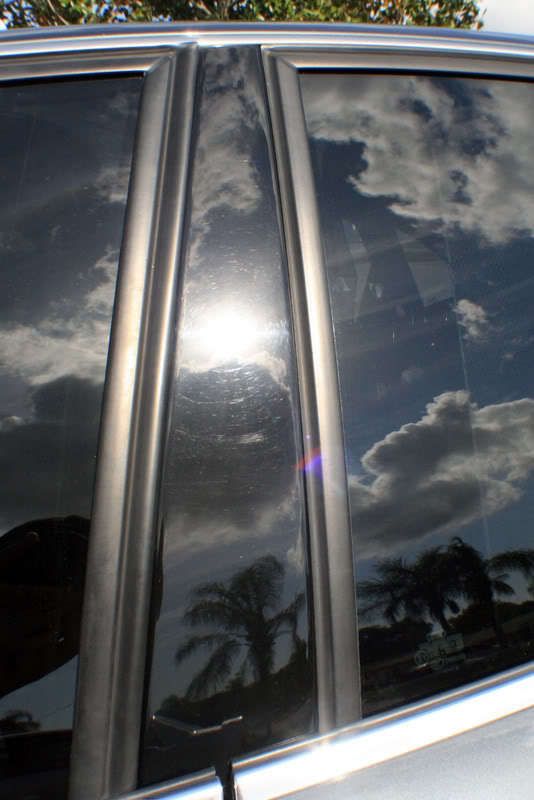
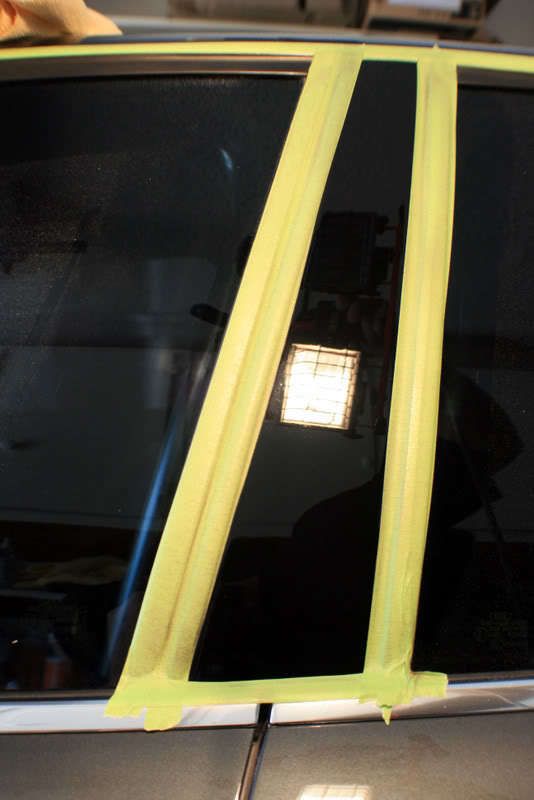
The painted pillars were also polished.
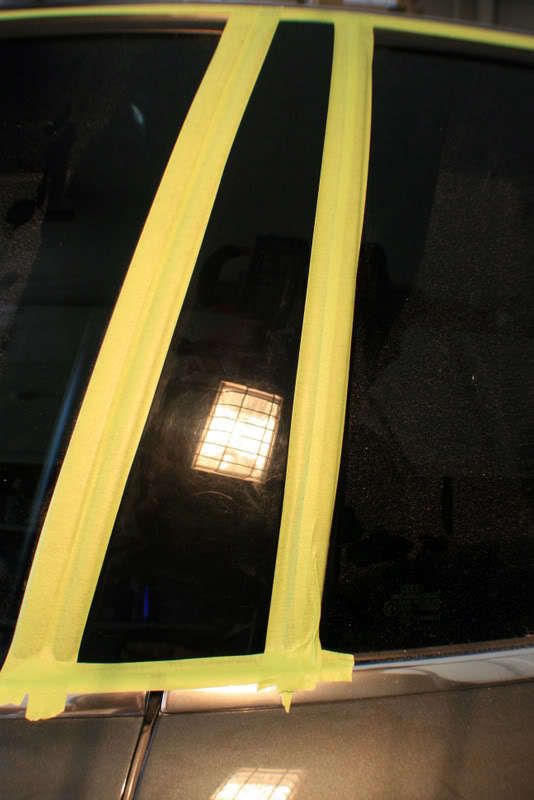
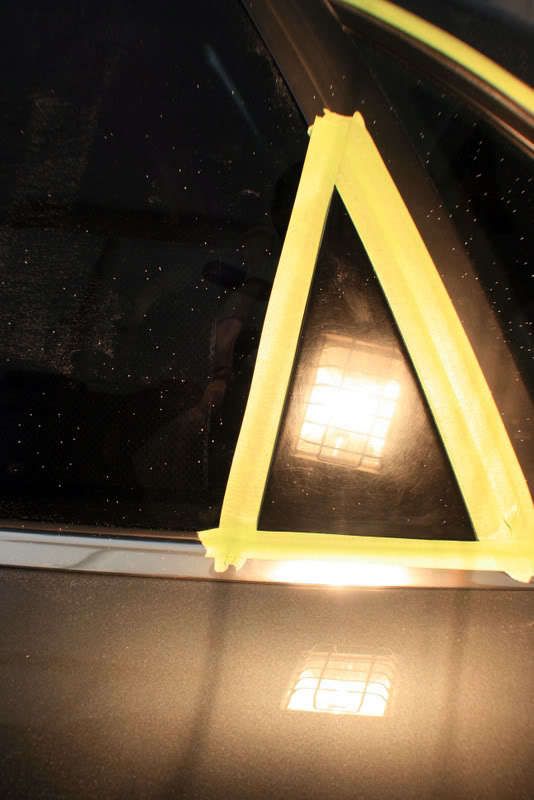
I forgot to take a picture of the smaller triangle after.
Rear bumper corrected.
Front bumper corrected.
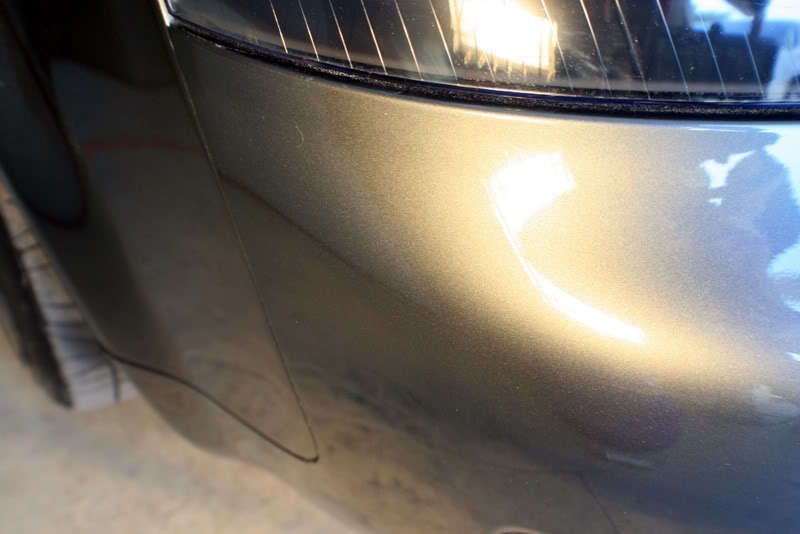
The front of the car was freshly repainted, so I didnt have much work to do here..
So I pulled the car back inside and started on the lower trunk panels. The trunk was propped using my trusty SIP bottle.
What is this? Yes, more sanding marks.
Corrected.
The painted pillars were also polished.
I forgot to take a picture of the smaller triangle after.
Rear bumper corrected.
Front bumper corrected.
the twanksta
+1y
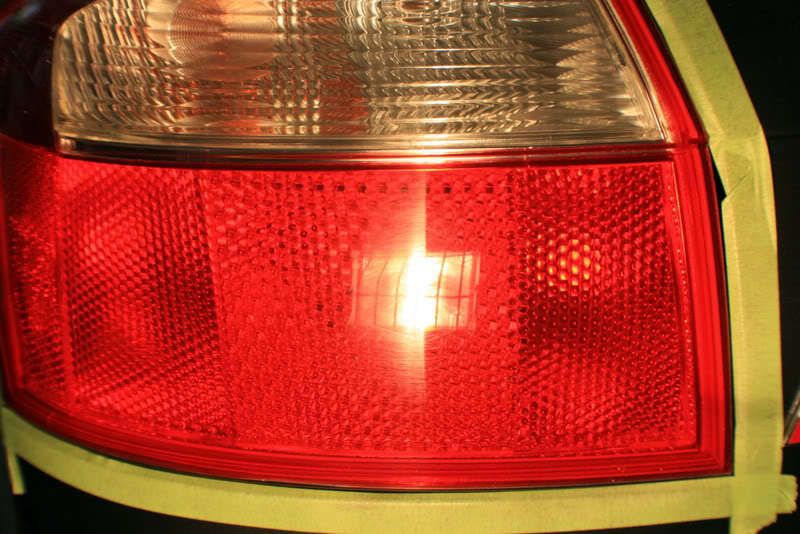
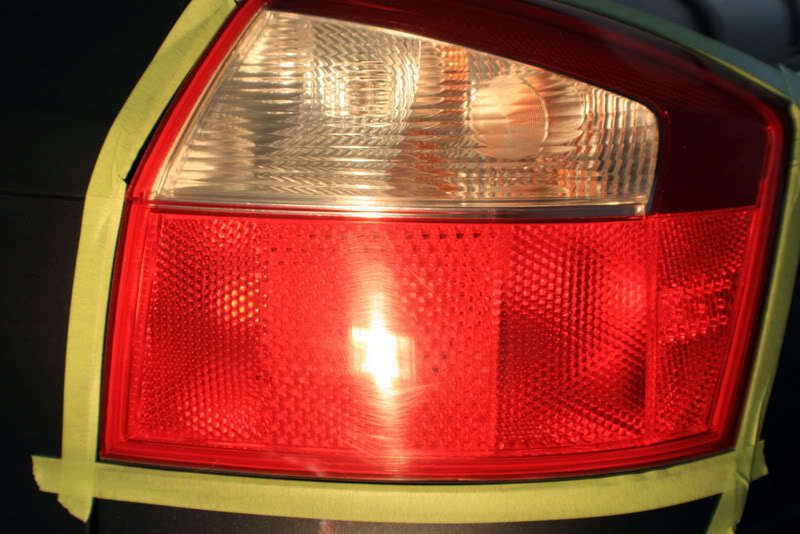
I proceeded to polish out the tail lights. They cleaned up well, but I was not comfortable going deeper to remove some of the remaining RIDS.
Drivers Side Tail Lamp.

50/50.
After.
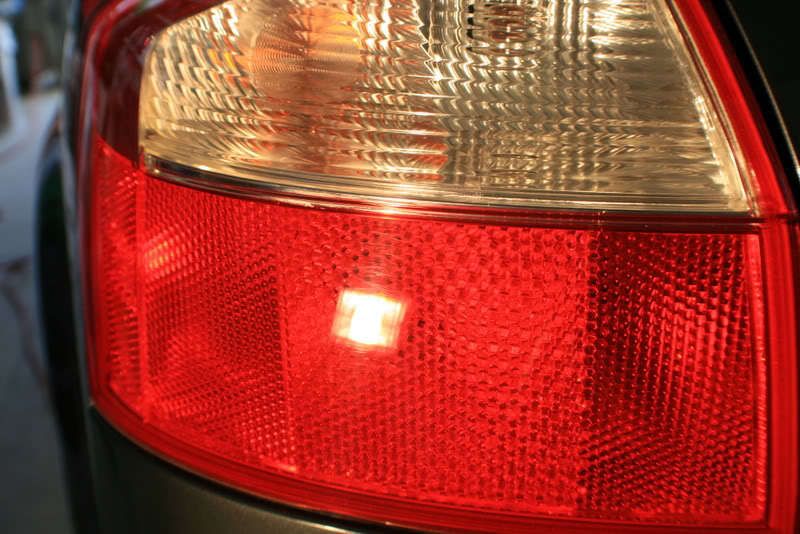
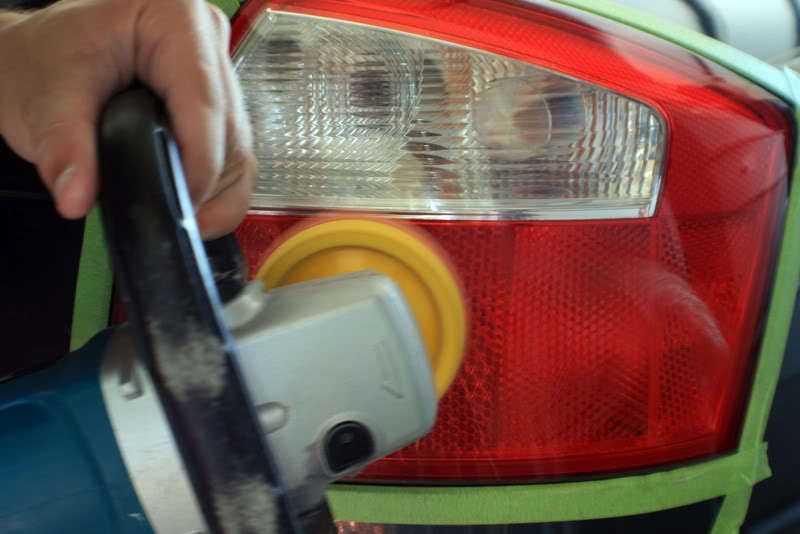
Passenger Tail Lamp.
Using a spot buff LC Orange Pad.
After.
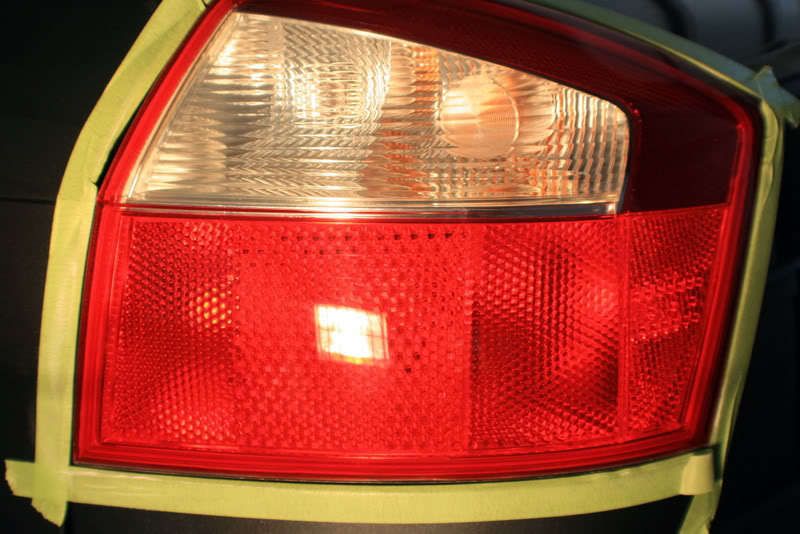
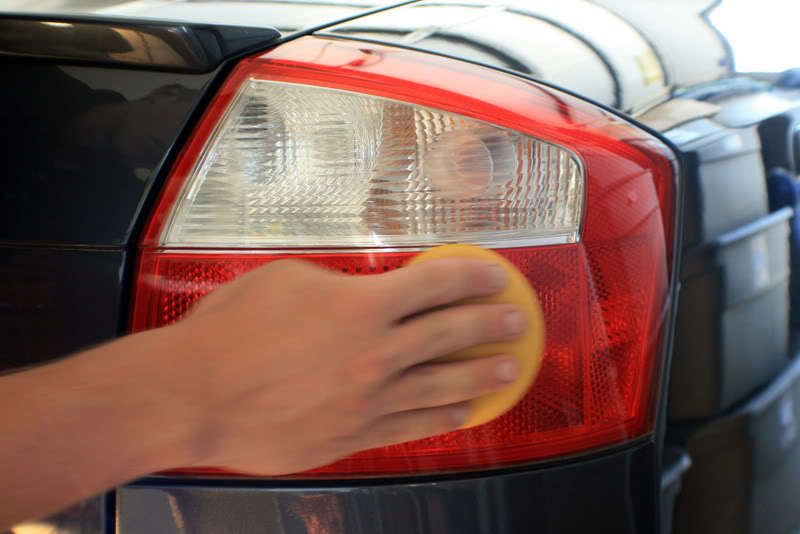
Both lights were then sealed using Optimum Opti-Seal.
Drivers Side Tail Lamp.
50/50.
After.
Passenger Tail Lamp.
Using a spot buff LC Orange Pad.
After.
Both lights were then sealed using Optimum Opti-Seal.
the twanksta
+1y
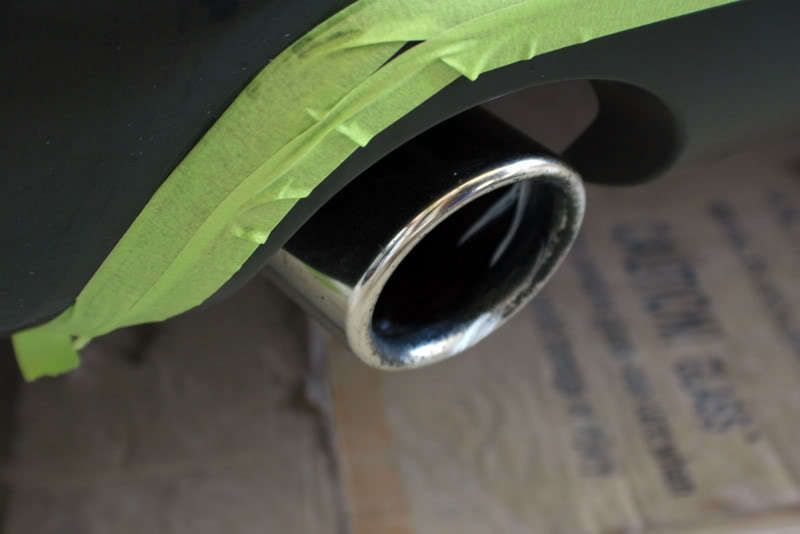
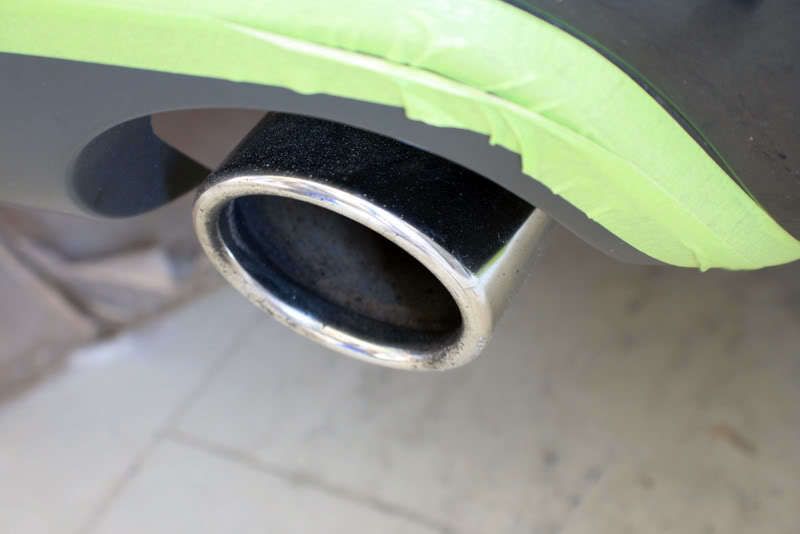
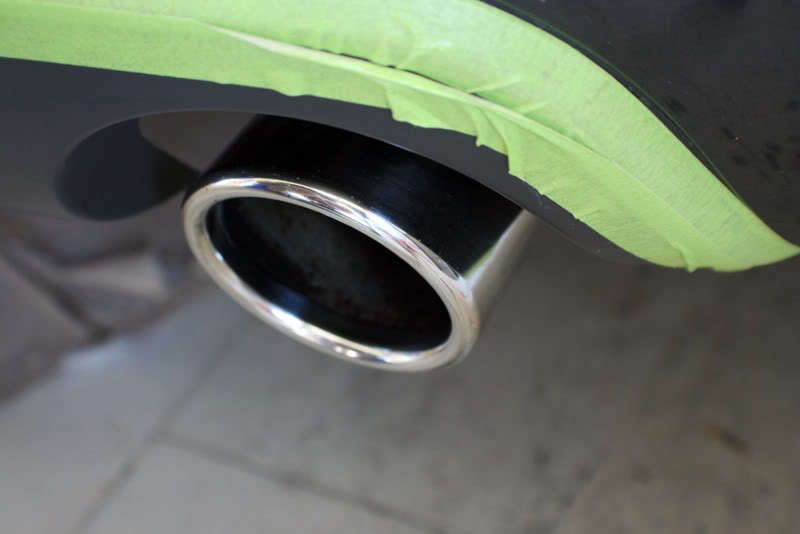
With the lights out of the way, I turned my attention to the exhaust tips. I used 3000 grit sanding paper to remove the stains and polished them with M105 on a MF Applicator.
Before.
After.
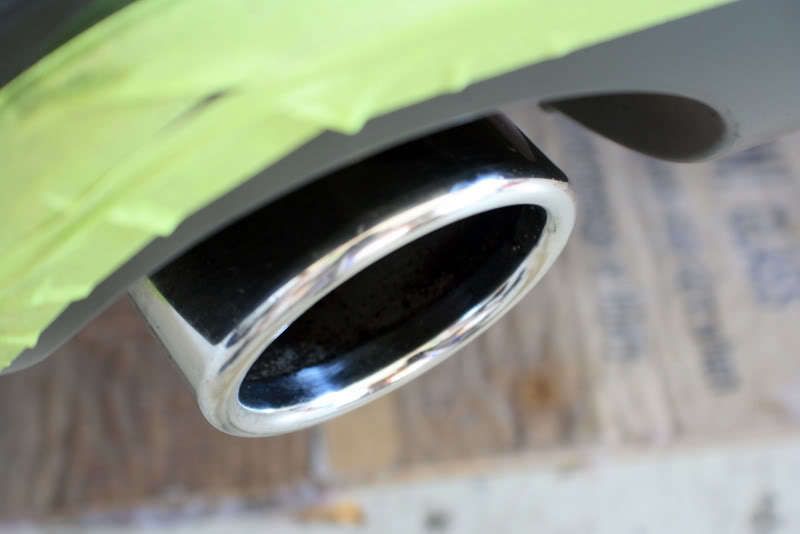
Before.
Sanding.
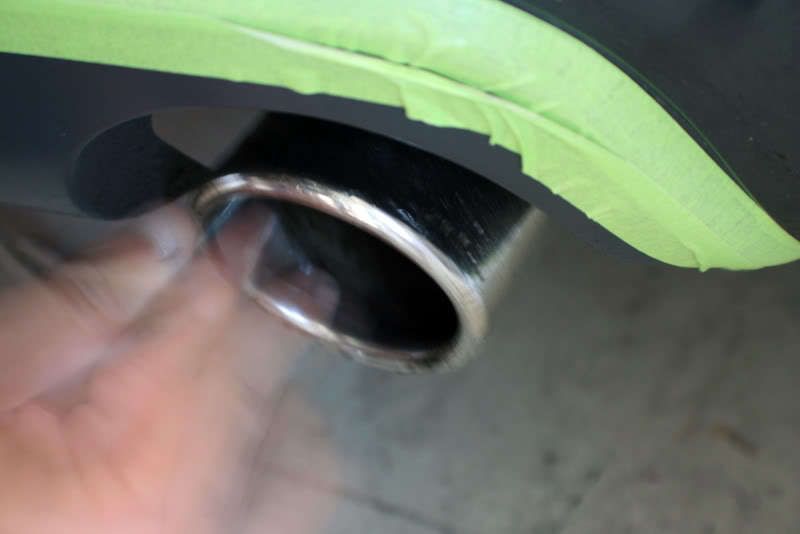
Polishing with M105.

Sealed with Opti-Seal.
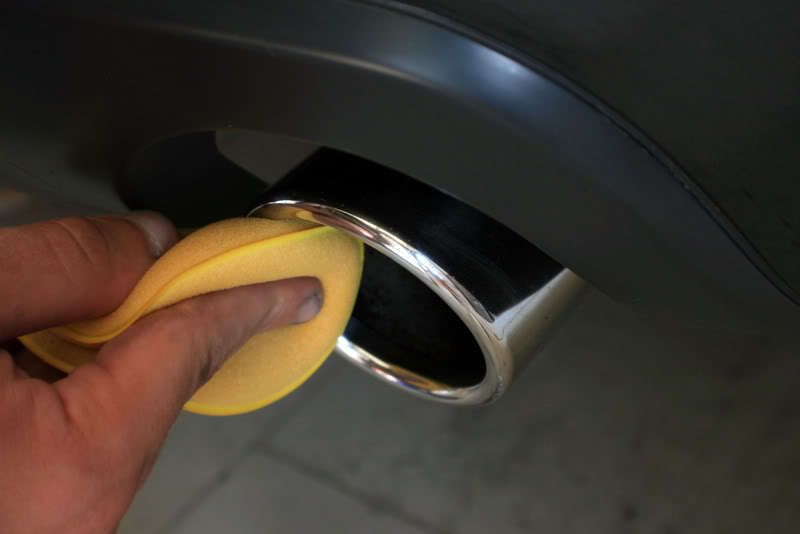
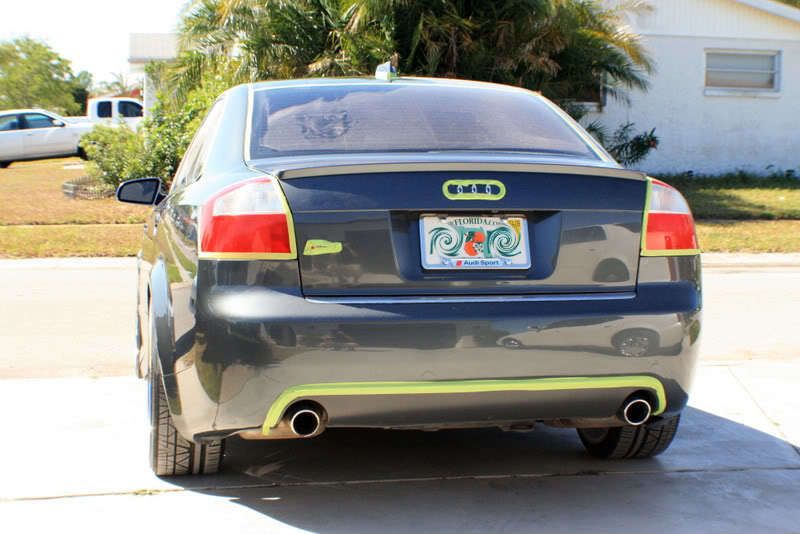
Final.
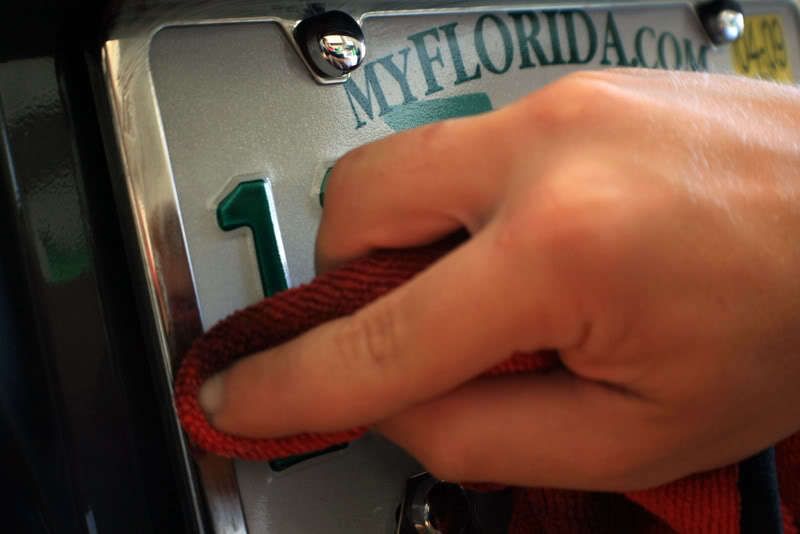
The license plate frame also got the "Presidential" treatment.
Polished with M105 using a MF.
Sealed with Opti-Seal.
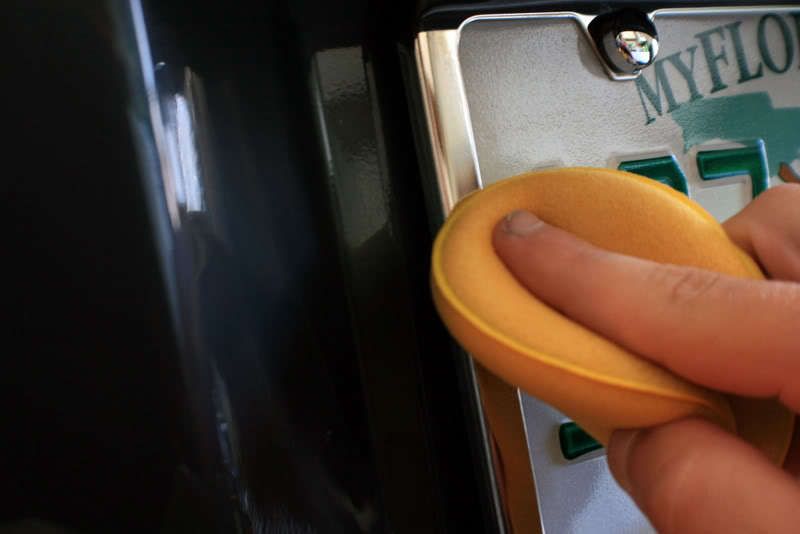
Final.
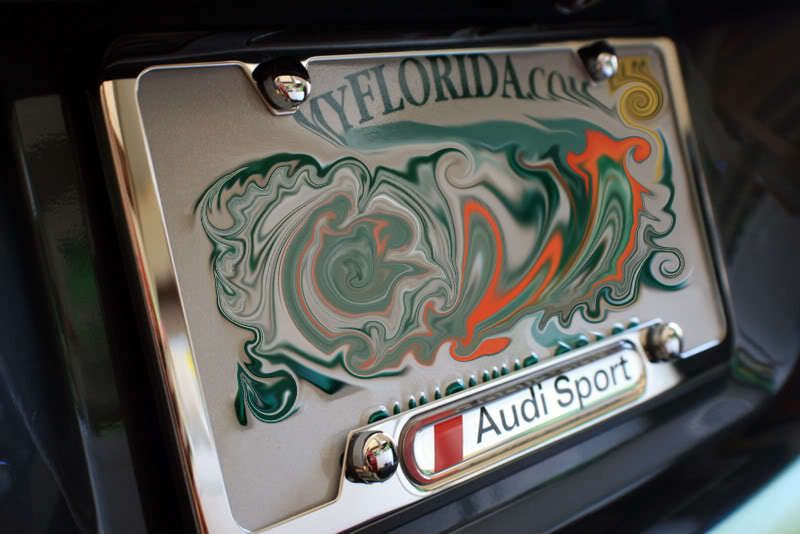
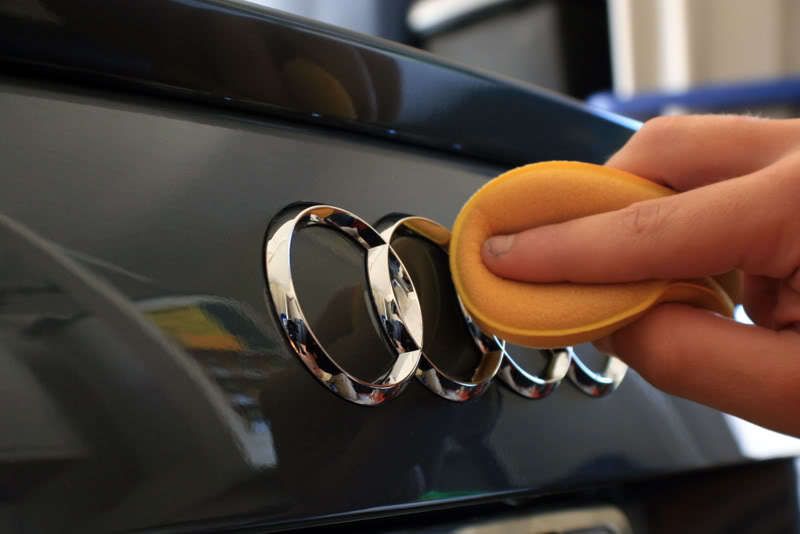
All the brightwork was also polished and sealed.
Before.
After.
Before.
Sanding.
Polishing with M105.
Sealed with Opti-Seal.
Final.
The license plate frame also got the "Presidential" treatment.
Polished with M105 using a MF.
Sealed with Opti-Seal.
Final.
All the brightwork was also polished and sealed.
Related Discussions in Presidential Automotive Detailing
Thread
Posts
Last Post

6
last post by
the twanksta +1y
4
last post by
the twanksta +1y