Street Source is shutting down April 30th, 2026. Read the announcement
AVS LED tailight install help

NorthwestS
+1y
What is the best way to body work these flush into the roll pan and not have them crack around the lights like my last ones did
NorthwestS
+1y
Nobody has done this before?
NorthwestS
+1y
Come on people, help a guy out. Looking to do this very soon.

DooredFord
+1y
mine are cracking around corners but they aren't AVS they recessed FBI ones.

chevygurly
+1y
Subject: LED LIGHT INSTALLATION
LIGHT CUTOUTS
MOST OF THE STEPS BELOW REQUIRE THAT YOU WEAR SAFETY GLASSES FOR YOUR PROTECTION!!!
#1. Figure out where you want to mount your lights. Check for proper clearance behind the panel where you are wanting to mount them. Note: LED's have a sort of "spot light" projection. Basically, the higher up on your vehicle you mount them, the brighter they will appear.
#2. Now that you know where you want to make your cutouts, measure and mark a horizontal line across the back of your vehicle with tape, marker, or pencil, where the top edge of the LED cutout will be.
#3. Match up the line you just made with the top inside edge of the supplied sheet metal template, adjusting the template from left to right where you want it. You will want to tack weld one tack on each side of the template (make sure to remove any paint where you will be welding. Take care of the template as you will be reusing it for the other side.
#4. Drill a hole on each end of the long opening where the lens will go. To avoid dimpling the panel, start with small bits and work your way up with larger bits, or if you have a Unibit or step-bit that will work too. Drill the hole as big as you can without having the bit come in contact with the template.
#5. Using an air body saw, jig saw or cut off wheel, start to cut from the edge of one hole to the other staying as close to the inside of the template as possible, but again, without coming in contact with the template. Repeat your cut again so that the cutout completely falls through.
#6. To finish of the radiused corners, use a die grinder with a straight bit. Keep the die grinder as perpindicular to the template as possible (you don't want to end up with an angled edge). Gently remove the metal with the die grinder up to the edge of the template. Again, do not grind or cut into the template!!! You will be reusing it not to mention you do not want to go outside of the template and end up with a distorted cutout!
#7. Clean up any high spots with a small high speed angle sander with a 50 to 36 grit wheel and/or metal files.
#8. Once the inside of your cutout is flawless, grind off the tack welds from the template and remove. If you are installing your LED's in a tailgate you will need to cutout an access panel as your lenses and lights will mount in from behind the cutout. Now place the template on the inside of the body panel where your cutout is and line it up with the cutout. Mark the outer two holes on the template with a scribe or marking pen.
#9. Now that your marks have been made, take the supplied allen head screw and center it onto one of your marks with the head contacting the sheet metal. Tack weld into place (remove paint first). Repeat for the other side.
#10. Repeat steps 1-9 for the other side.
LENS INSTALLATION
All of our lenses, including the ones that you have now, are flush mount lenses. They stick out so you can sand them down flush and to the contour of your vehicle. Here's what you need to do:
#1. Epoxy the lenses down to the sheet metal with an epoxy that will adhere to both metal and acrylic (you can purchase from us for $5)
#2. Let the epoxy set for a day. Fill in any gap around the edge of the lens with body filler.
#3. Next you want to DA them down with 180 grit paper. Do not take it down all the way!!!!
#4. Continue to sand them flush by changing up to 220 grit, then 360 grit until it is flush.
#5. Now finish them off by wet sanding them with 400 grit. (the lens will not be entirely clear, so don't worry. When you spray your clear or candy in the next steps it will clear up on it's own).
#6. Mask off the lens with masking paper, making sure to overlap the mask past the lens. Have someone step on the brake pedal so the LED's light up. The shape of the lens should glow through your making paper. Now take an exacto knife or razor and trim off the excess paper, leaving just the exact shape of the lens.
#7. Spray your base color. Before you spray your clear or candy top coat, unmask the lenses and GENTLY wet sand the edge of the paint left by the masking paper with 600 to 800 grit paper.
#8. Now spray your clear or candy top coat followed by clear.
NOTE: Candy paint is TRANSLUCENT (see through), not opaque like all other paints, so your lens with not be seen until your lights are on, making it appear like you do not have any tail lights. You don't have to candy the entire vehicle. You can lay down some candy graphics and hide the lights in the graphic
NorthwestS
+1y
thanks a bunch

Marcos_65
+1y
Edited: 9/2/2011 9:48:25 PM by Marcos_65
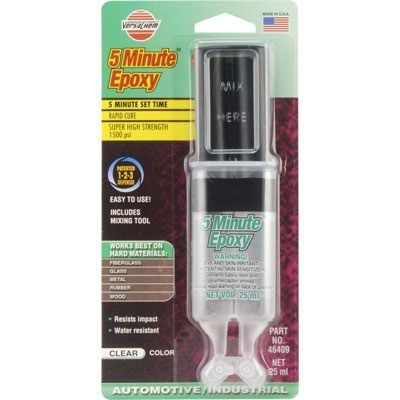
I know its an old thread, which epoxy would use if I just went down the Autozone?
Thishttp://www.autozone.com/autozone/accessories/ITW-Performance-Polymers-25-ml-syringe-crystal-clear-5-min-epoxy-system/_/N-25y6;jsessionid=029669E5D34D644F7940C7401B32E9E6.diyprod4-b2c8?counter=0&itemIdentifier=417321_0_0_
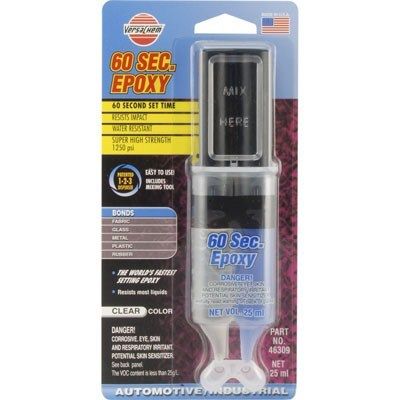
Or this one
http://www.autozone.com/autozone/accessories/ITW-Performance-Polymers-25-ml-syringe-clear-60-sec-epoxy-system/_/N-25y6;jsessionid=029669E5D34D644F7940C7401B32E9E6.diyprod4-b2c8?counter=7&itemIdentifier=417320_0_0_
Or can someone point me in the right direction?
I know its an old thread, which epoxy would use if I just went down the Autozone?
Thishttp://www.autozone.com/autozone/accessories/ITW-Performance-Polymers-25-ml-syringe-crystal-clear-5-min-epoxy-system/_/N-25y6;jsessionid=029669E5D34D644F7940C7401B32E9E6.diyprod4-b2c8?counter=0&itemIdentifier=417321_0_0_
Or this one
http://www.autozone.com/autozone/accessories/ITW-Performance-Polymers-25-ml-syringe-clear-60-sec-epoxy-system/_/N-25y6;jsessionid=029669E5D34D644F7940C7401B32E9E6.diyprod4-b2c8?counter=7&itemIdentifier=417320_0_0_
Or can someone point me in the right direction?
Related Discussions in Body work and Paint
Thread
Posts
Last Post
4
G
last post by
gkc301 +1y
5

last post by
Bizzo +1y
0
R
last post by
Racer911 +1y