Street Source is shutting down April 30th, 2026. Read the announcement
B2200 fuel sender replacement
Last Updated: Feb 24, 2015
OK, this is my fuel sender replacement thread. I cleaned/bent mine a few years to restore its operation, and it became intermittent again. So Mrs. Cusser bought me a factory sending unit from board sponsor Dan Atkins ( " target="_blank) for my birthday (and Dan and his mother even included a birthday card, thanks !!!).
OK, mine's a 1988 B2200 Cab Plus; there are different sending units for the various models so provide Dan with your VIN.
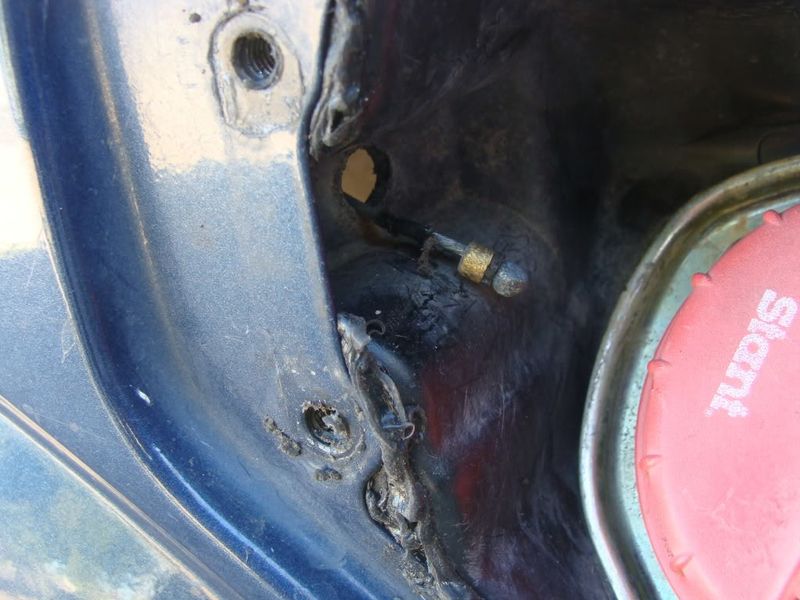
Disconnect cable release and pull rearward through the hole, and loosen the cable clamps on the hoses that connect on the metal fuel filler.
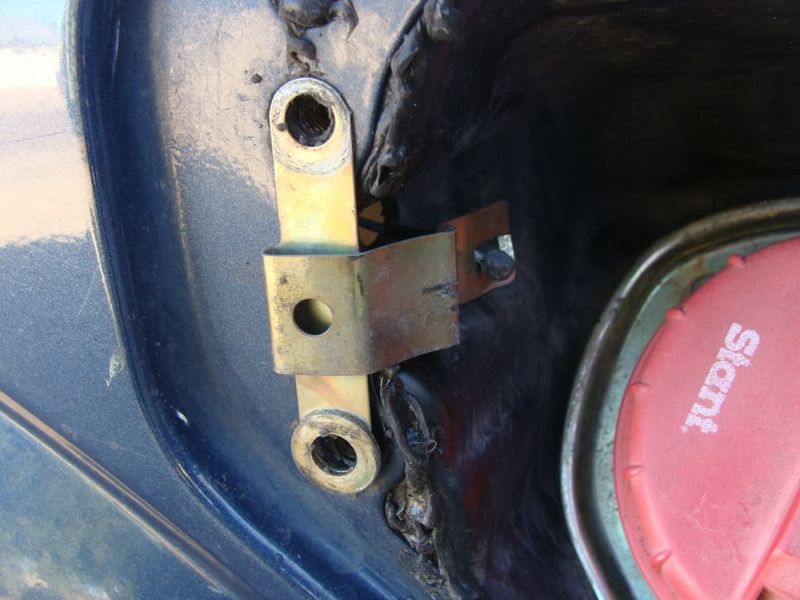
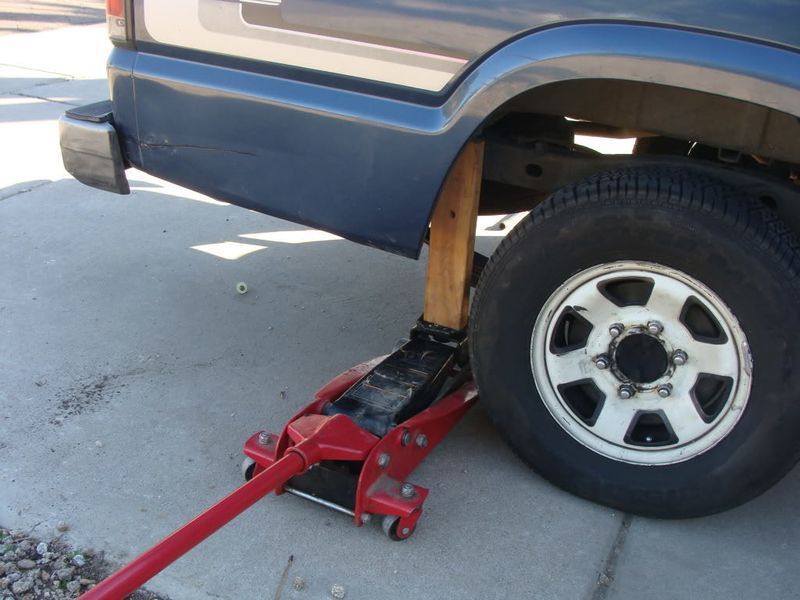
Remove the three 17mm-head bolts on the passenger side bed frame. Loosen the corresponding bolts on the driver's side, about about 2/3 of the way.

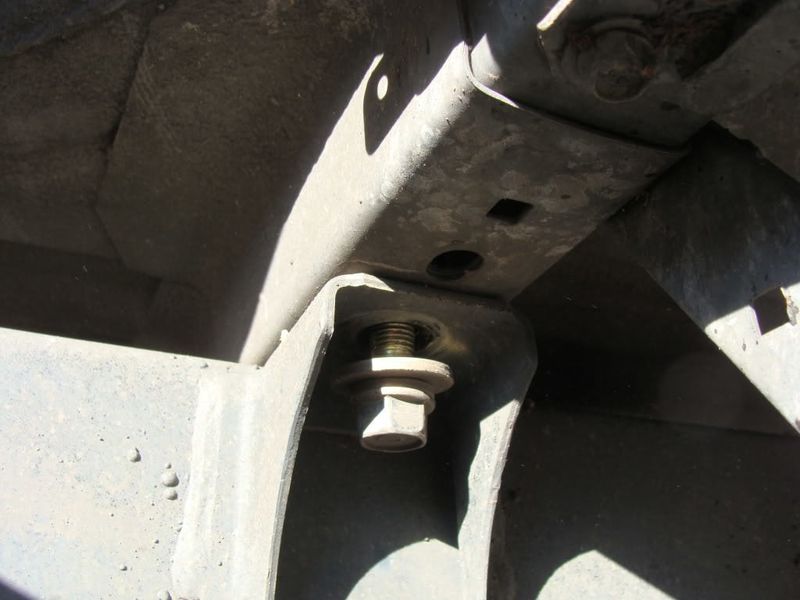
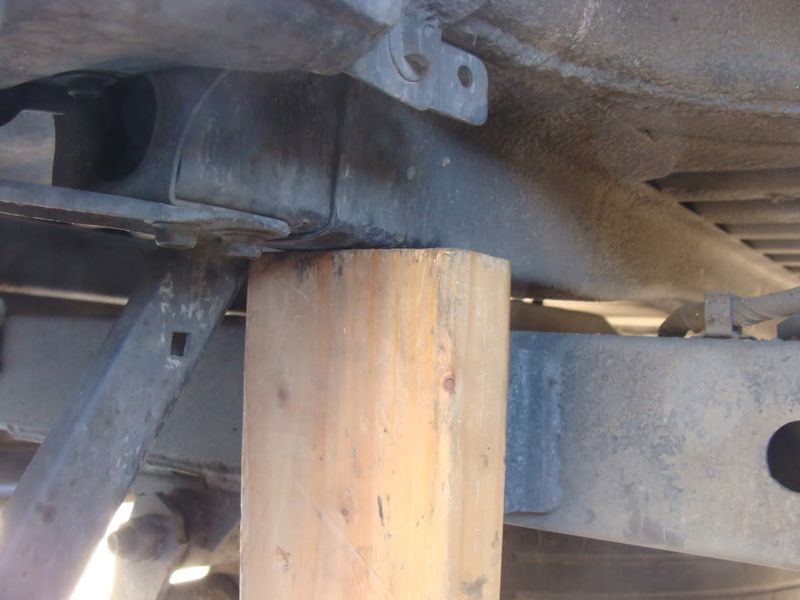
Use a 16 inch 2 x 4 on a floor jack to lift up the passenger side of the bed. Tighten the jack, tilt the bed up a little.
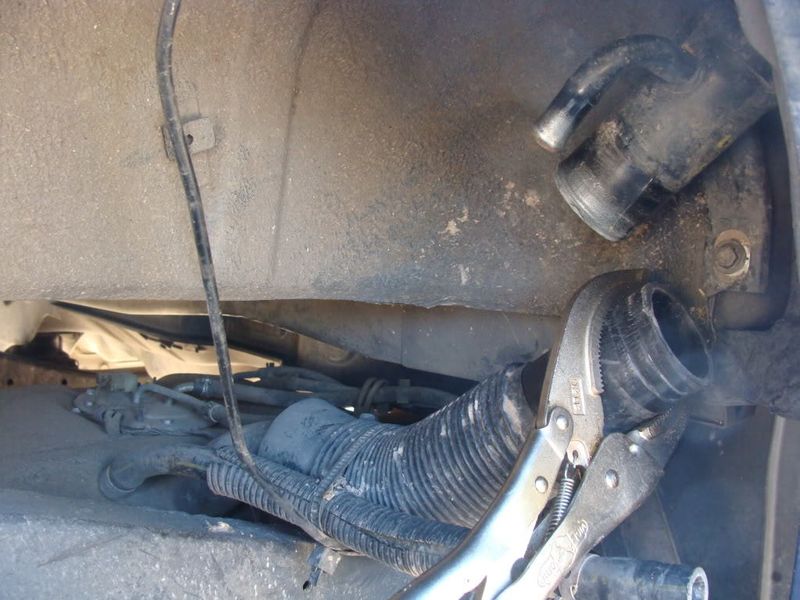
Disconnect the two rubber hoses at the gas fill assembly; I used a large whale-shaped Vise-Grips #LC-12 to loosen/remove the larger one.
Jack up the truck bed more. Remove the two hose clamps and hoses.
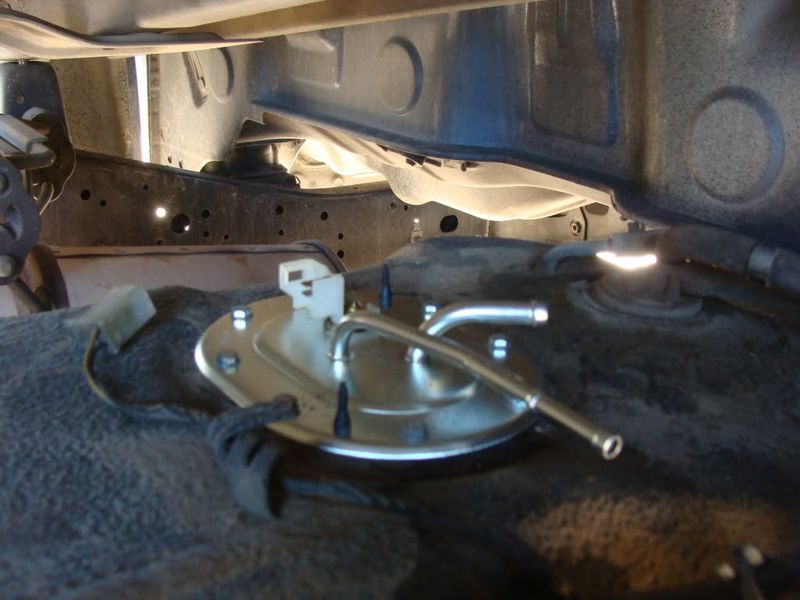
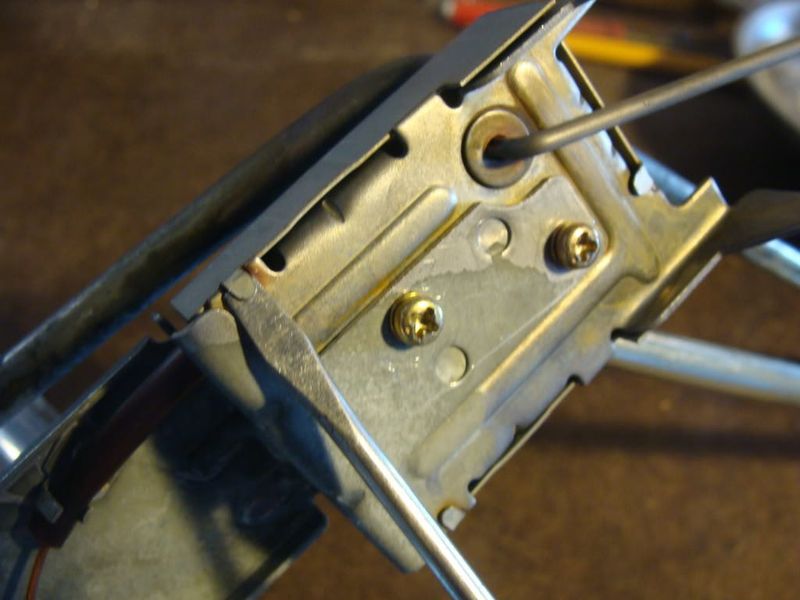
Remove the electrical connector. Loosen the sending unit attaching screws.
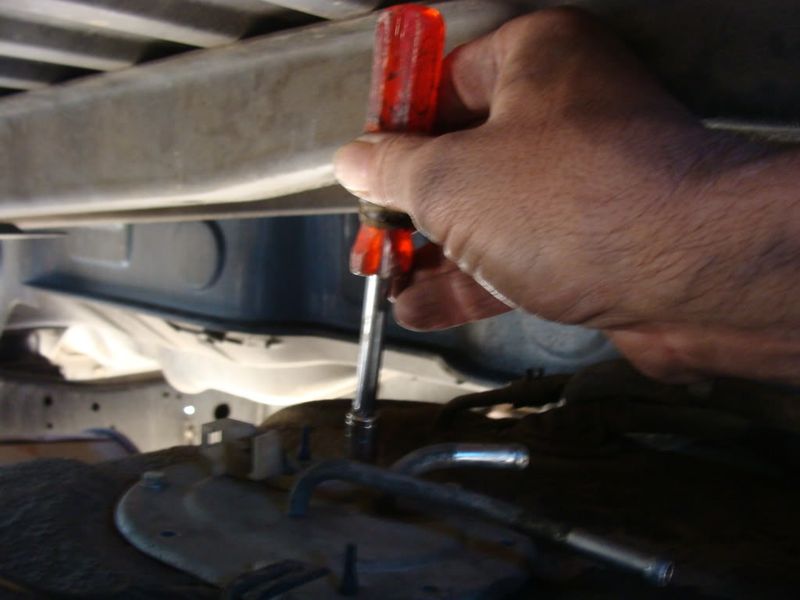
I already have 7mm head hex head screws from Ace Hardware (4mm thread x 8mm long, with a wavy washer) on my sending unit from last time, recommend that. If you have the stock screws, use a 1/4 inch drive ratchet, with 1/4 inch socket and a #2 Phillips bit (and two hands to hold it straight). Then lift out the old sending unit, tilting it for clearance.
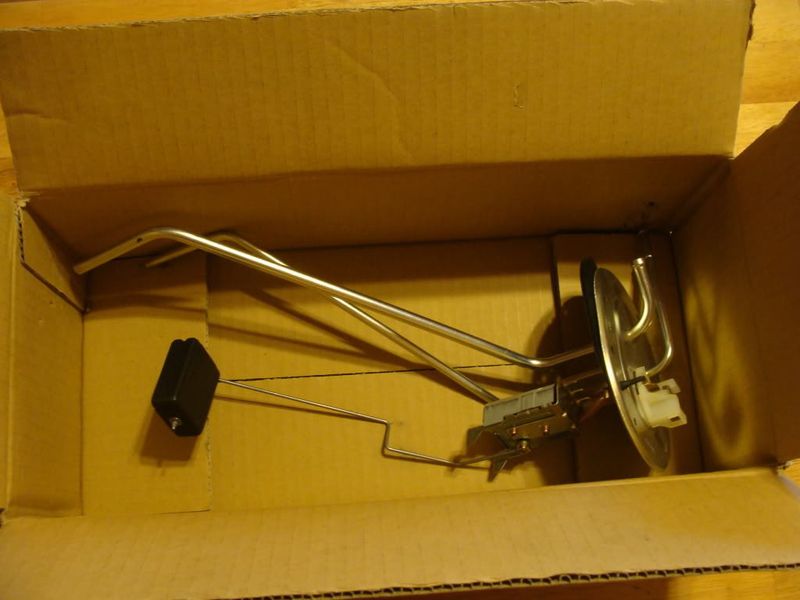
Comparison of old and new sending units.
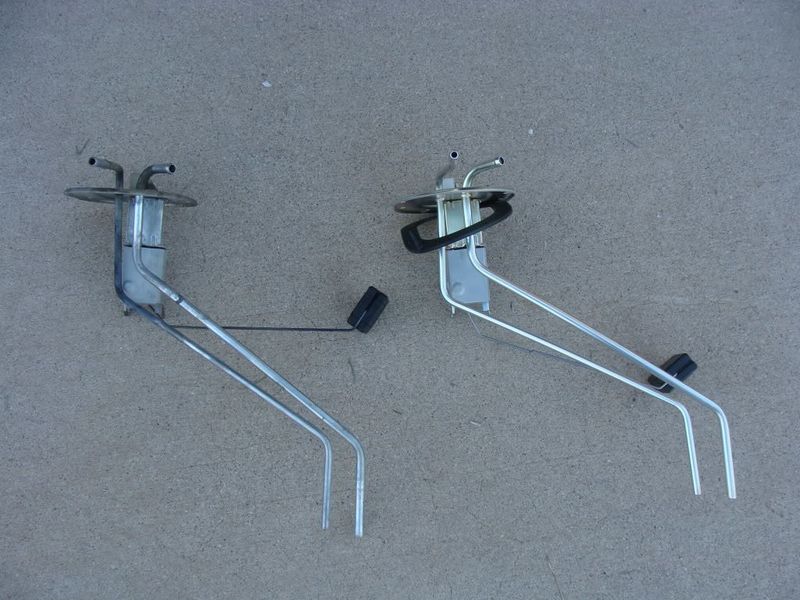
Checking ohms; there were "open" regions on the old sending unit with no resistance as I moved the float through the arc. New factory unit was graduated resistance, like it should be, with no "opens".
New sender installed, using the new rubber gasket which was included. New fuel sock, also from Dan Atkins used, as the stock one wouldn't stay on any longer.
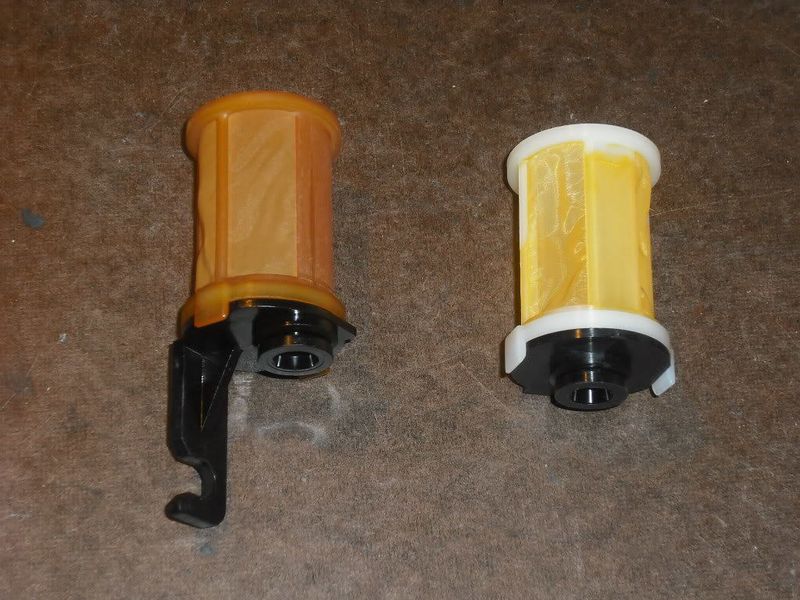
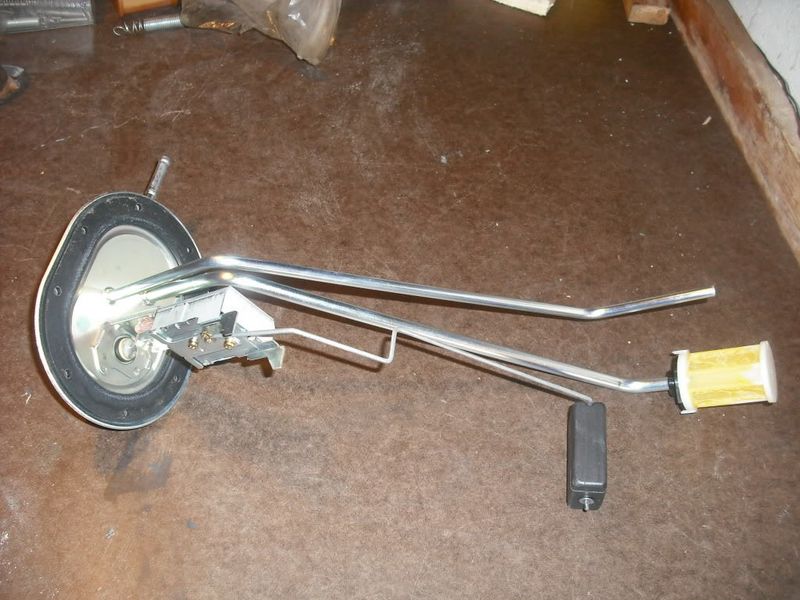
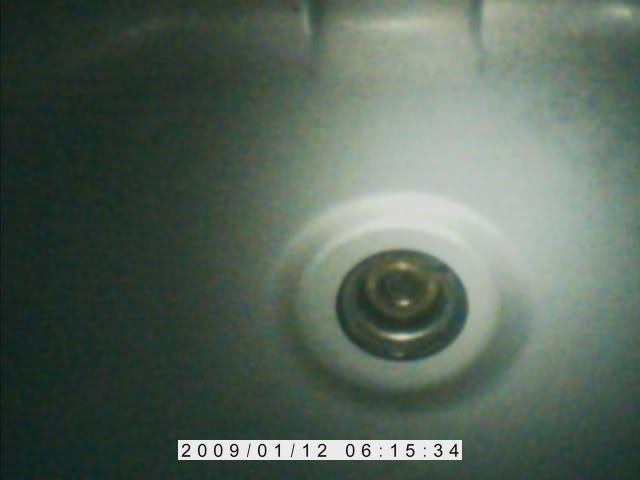
Photo of inside of fuel tank, using special inspection camera, a gift from daughter. Photo shows no rust or debris, GOOD !!!
After lowering the truck bed a little to attach the two fuel filler hoses, I lowered the bed further then lined up the bed so I could get the three 17mm head bolts back in on the passenger side (I used my weight to shift the bed a little from one side to the other).
If one was going to try to clean the old unit and bend the contact arm (like I did a few years ago), do NOT remove the two screws. Pry back the three little tabs and slide the cover off for access.
Credits
Created By: Cusser
Related Articles

Sanden 708 on-truck AC clutch or clutch bearing replacement
My 1988 B2200 developed a bad AC clutch bearing. A shop would typically just replace the entire com...
Easy Peasy Lemon Squeezy Distributor Replacement NO TIMING N
Alright Gentlemen, Here's how to replace *MOST* of your distributor, I did this with my truck toda...
Dual Tanks on a 88 b2200 cab plus
Doing a dual tank tank setup on my truck. I live in NC but make frequest trips to south florida and ...
My October 2011 B2200 Engine Rebuild
My October 2011 B2200 Engine Rebuild, salvaged from my MazdaTrucking.com thread. At 182,900 miles, ...