My October 2011 B2200 Engine Rebuild
Last Updated: Feb 24, 2015
My October 2011 B2200 Engine Rebuild, salvaged from my MazdaTrucking.com thread. At 182,900 miles, my 1988 B2200 Cab Plus was smoking too much and burning/using oil, time to "go in" and be environmental. Oh yeah - need to add that I purchased new NPR pistons, rings, and bearings from online retailer. I bought a few exhaust gaskets locally, and the Mazda bypass hoses locally as well. The original two heater hoses were replaced with Gates hoses from Rock Auto, and I used Fel-Pro head gasket set from them as well. Rock Auto also provided the flexible lower clutch line, which I replaced when my slave cylinder (local lifetime warranty) started leaking in the middle of all this. Cylinder head was machined locally ($260), used my existing lifters. Hone and ring compressor were loaners from AutoZone.
Out of pocket cost was about $700. It took me 1.5 days to dismantle and get the cylinder heads and the connecting rods/pistons to the machine shop, who also hung those. It took me 2.5 days to put together, but that also includes fussin' with the vacuum leak under the Weber carb, I had tried to re-use those gaskets once too many times.
Before starting, I got my calculator and camera phone ready.
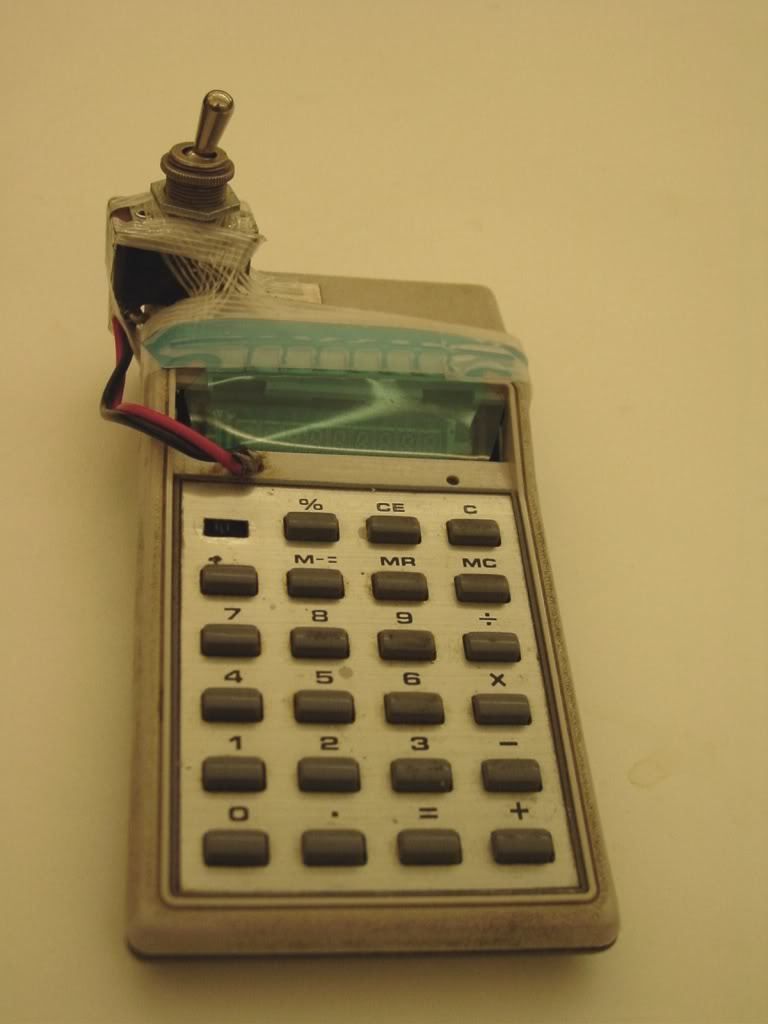
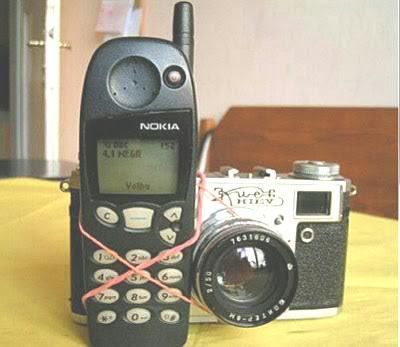
Before starting.
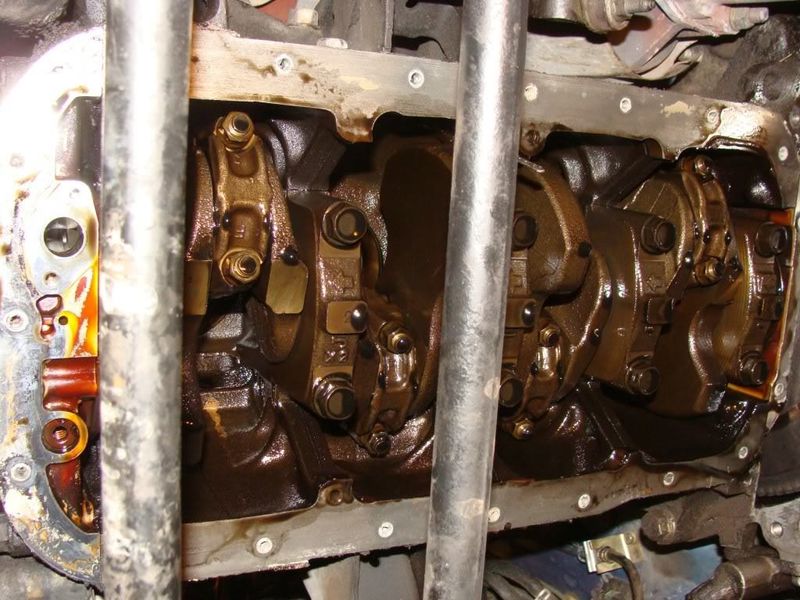
Pan and baffle off; looked pretty clean, and no junk in the oil pan at all:
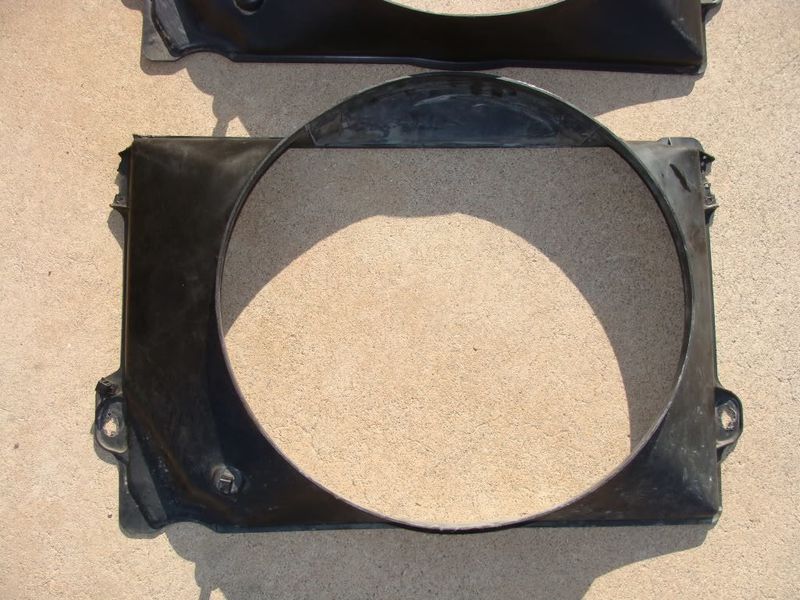
My old broken fan shroud:
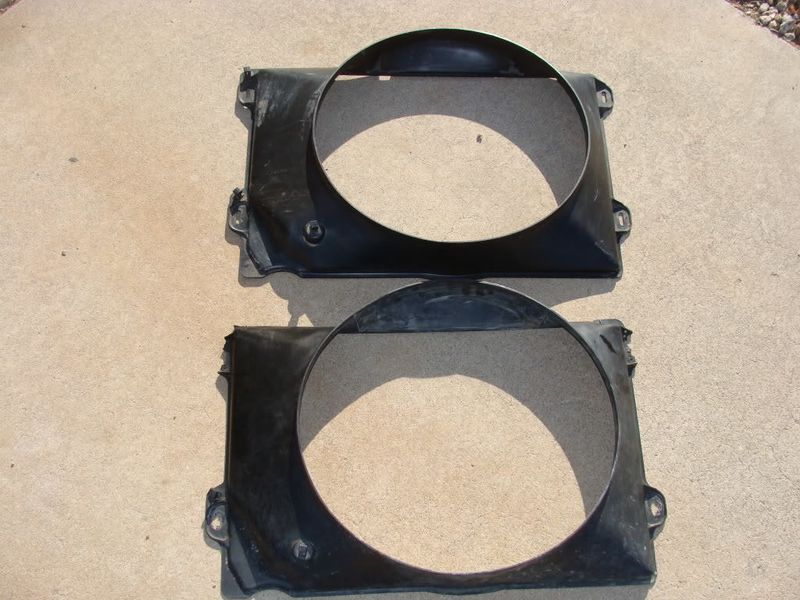
New (parts yard) top and old fan shroud bottom:
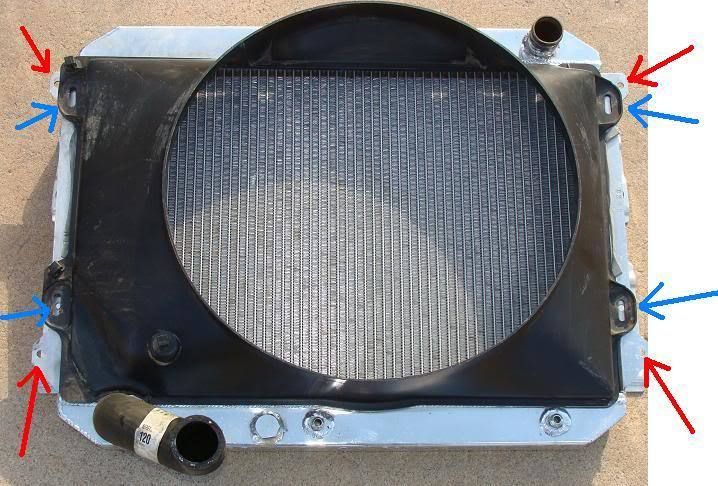
"New" fan shroud overlaid on the Murray 2-row radiator. Red arrows show Murray shroud mounting holes. Blue arrows show where I drilled my own 1/4 inch holes, so I can use 6.0mm x 1.0mm bolts/nuts.
My engine set to TDC for #1
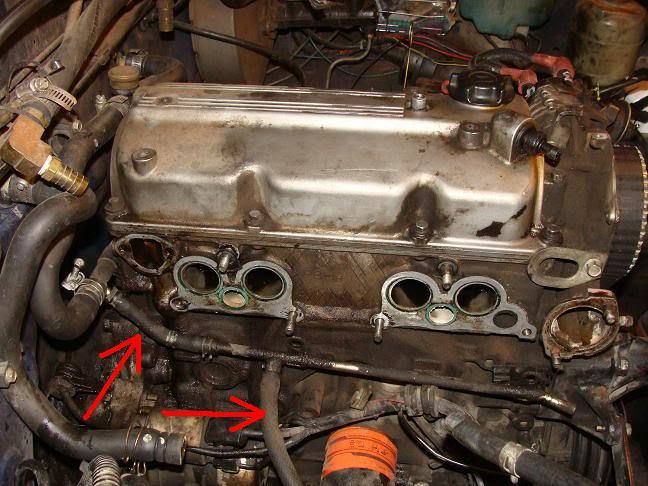
My Weber/adapters/intake manifold taken off as a unit (those 12mm gear wrenches are great). The two arrows point to the small 8mm i.d. bypass hoses that I need to buy new.
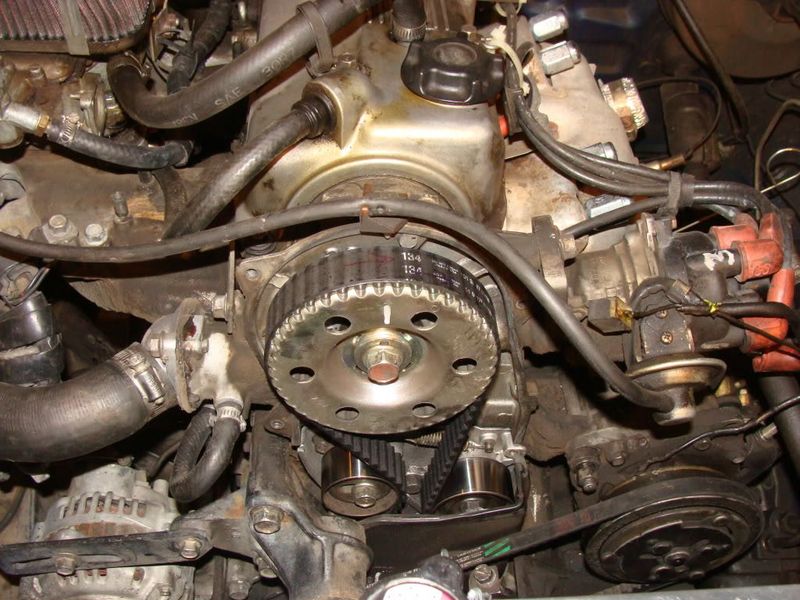
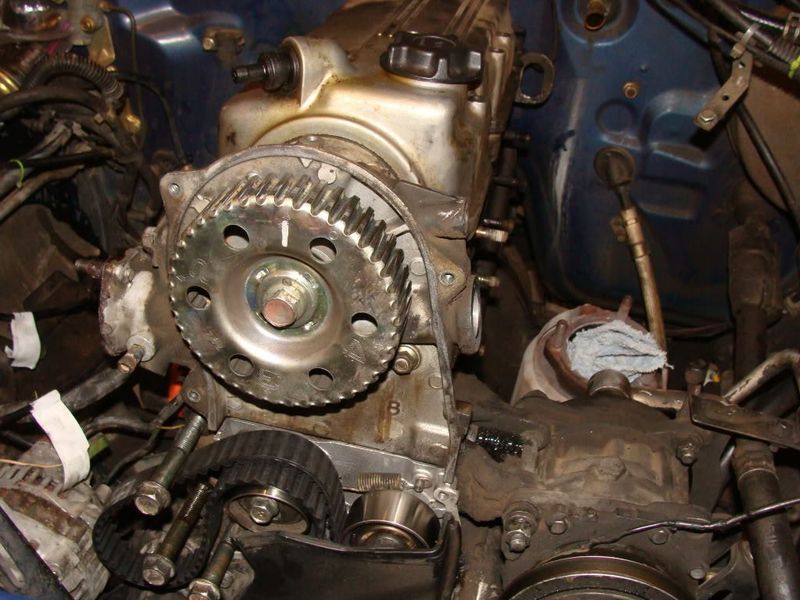
Fan bracket removed and timing belt off camshaft pulley.
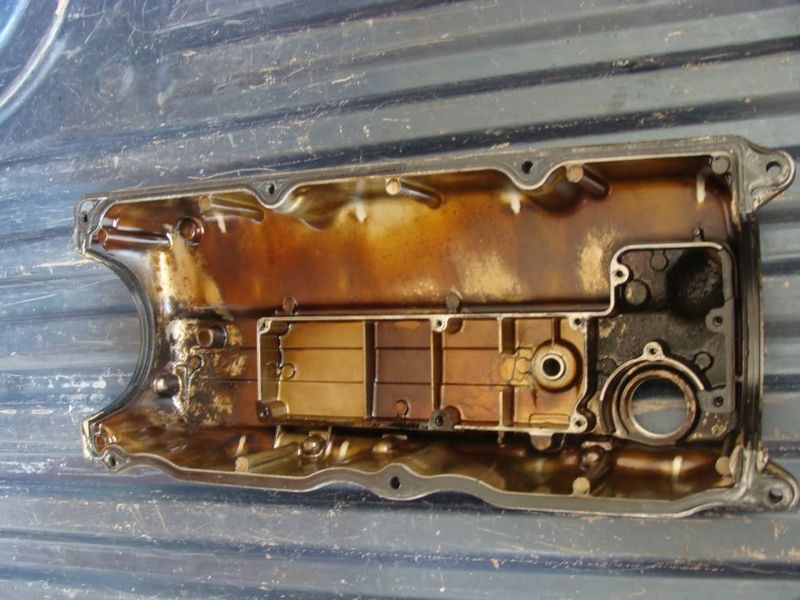
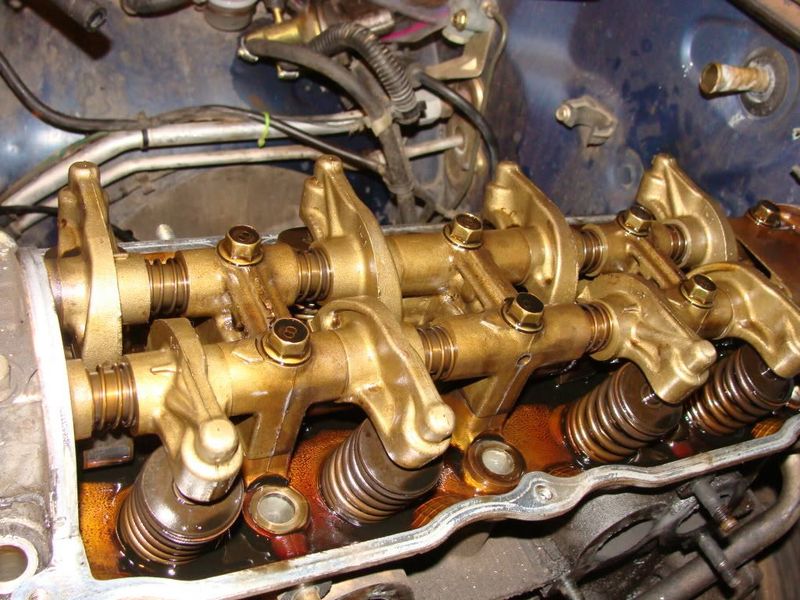
Underside of valve cover after baffle removed. I'll need to get a new PCV grommet.
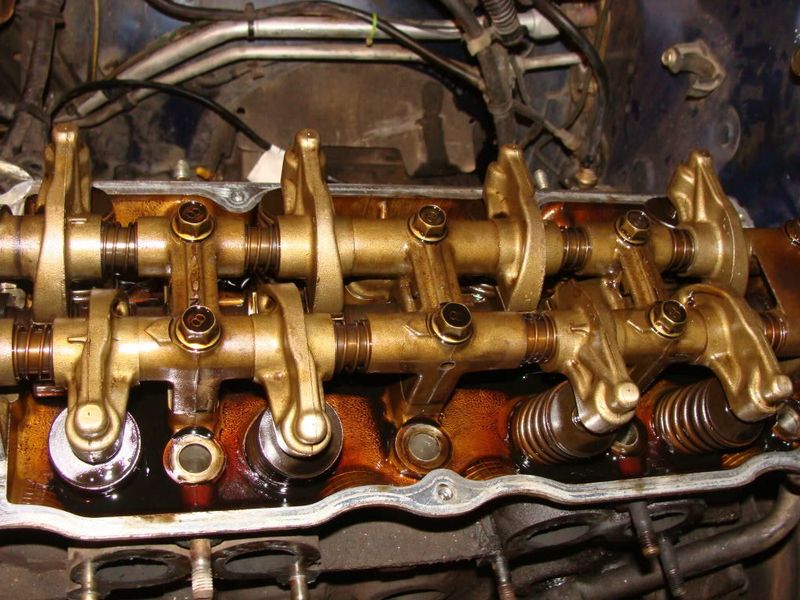
Rocker arms and under valve cover.
Cylinder head off.
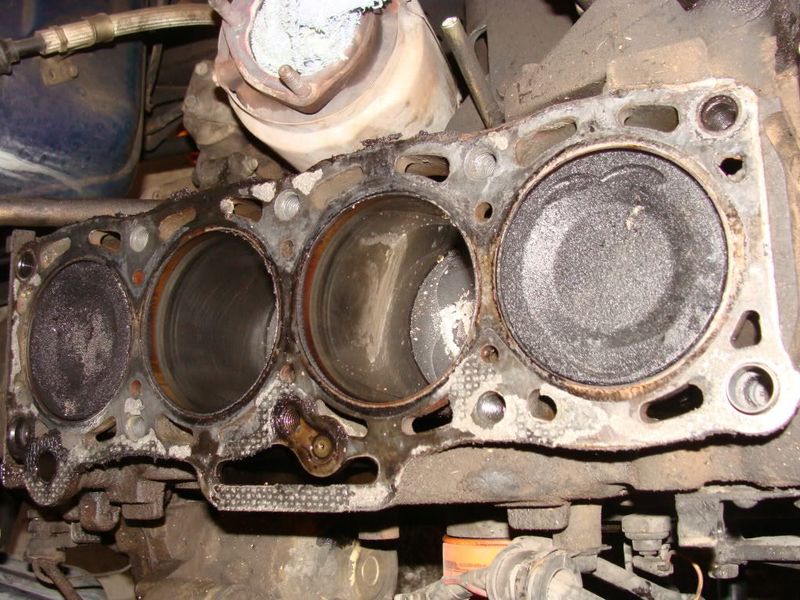
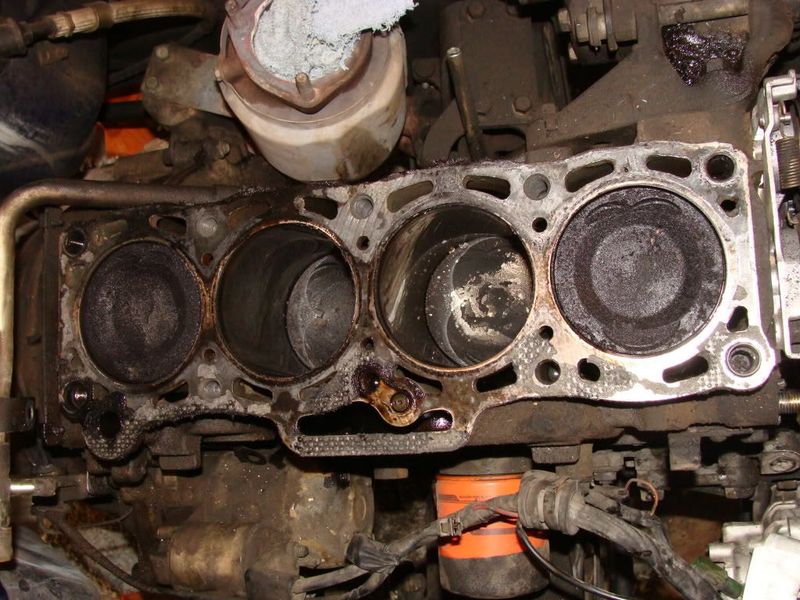
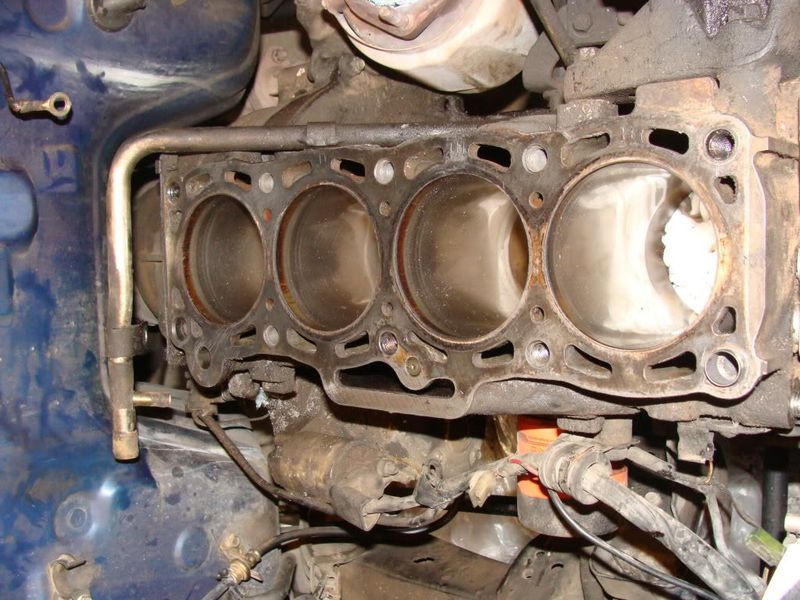
Second view of engine block
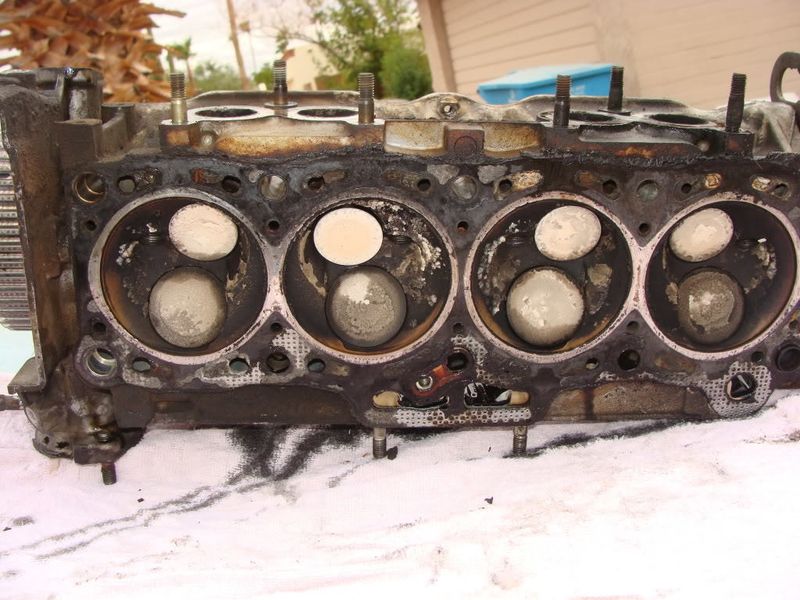
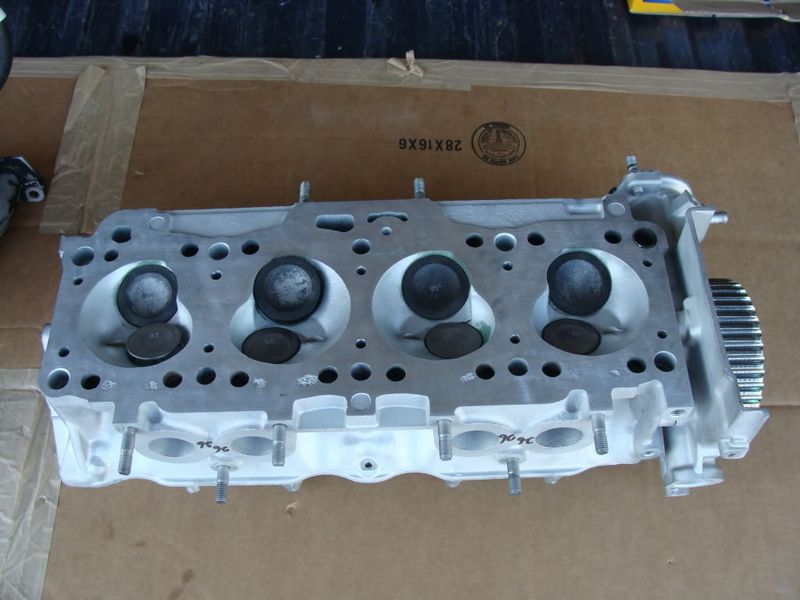
Underside of cylinder head. I don't see any cracks (good).
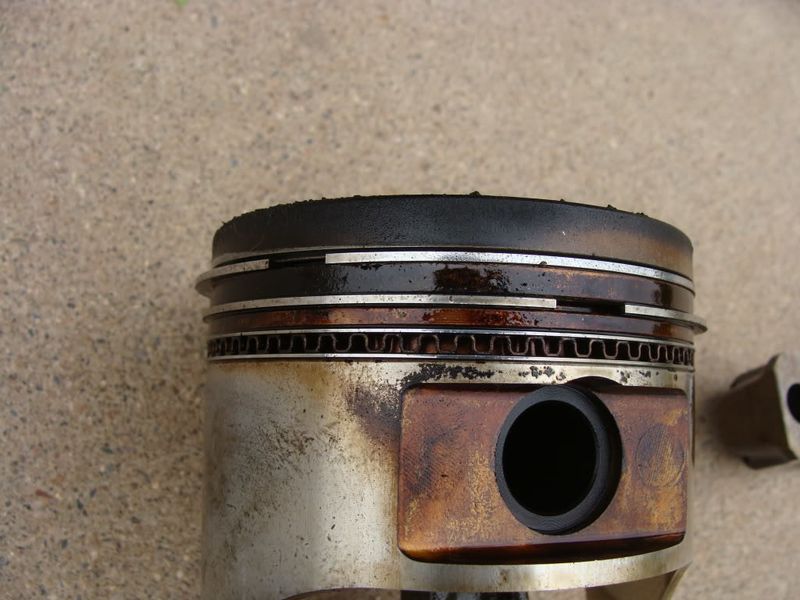
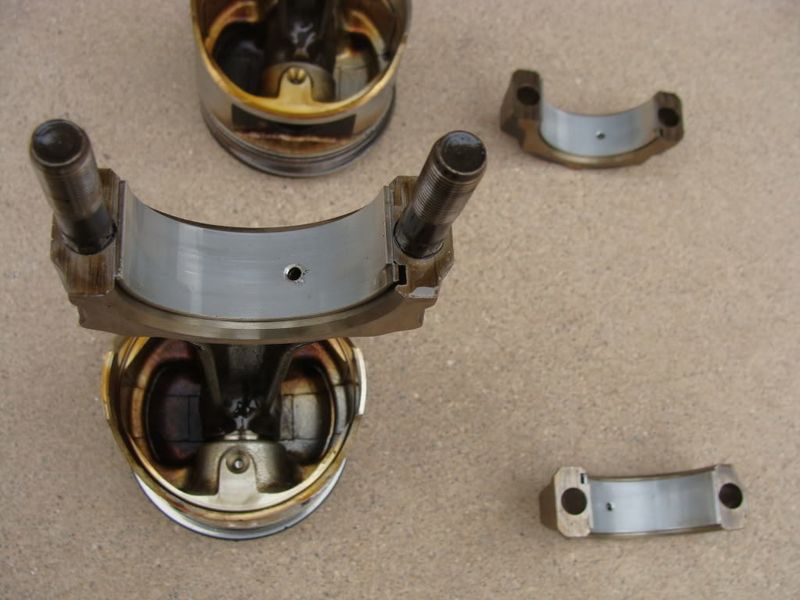
Oil rings stuck in piston groove, source of oil getting into and/or staying in cylinder
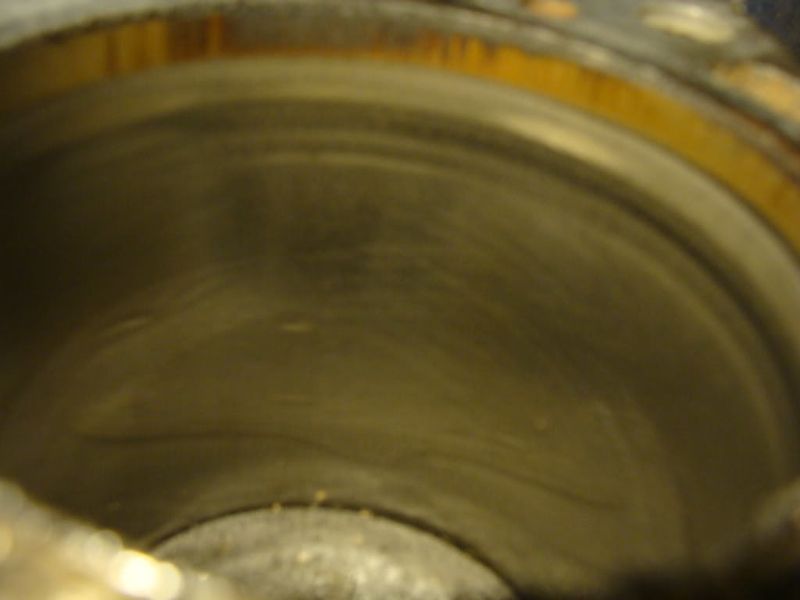
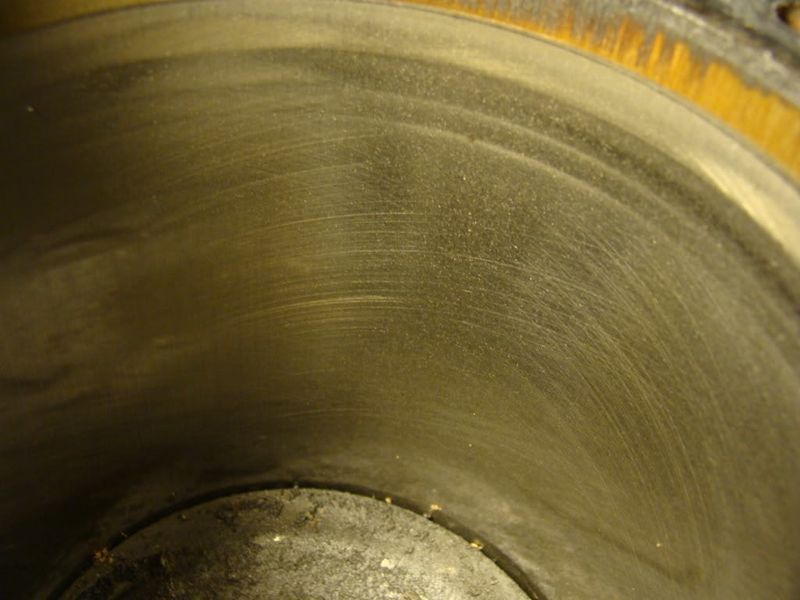
Also, I could still see the original honing marks on the cylinders, and there was no ridge.
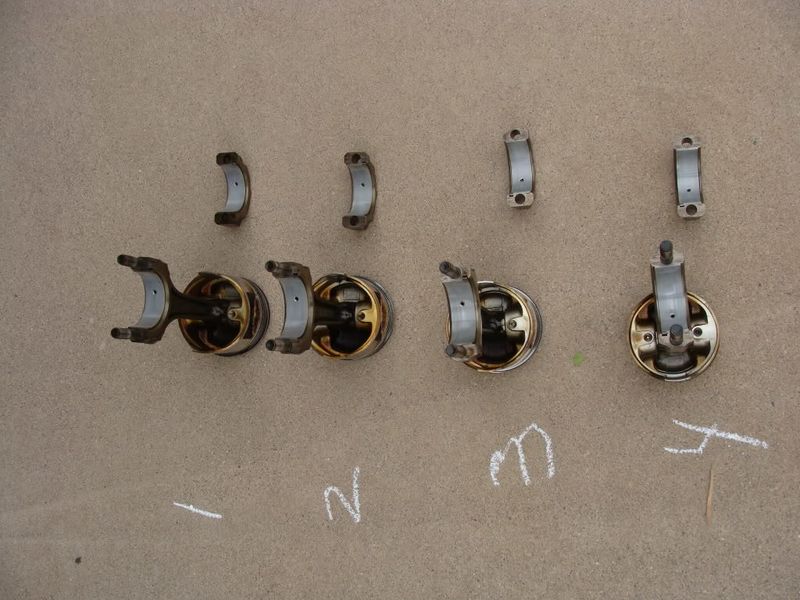
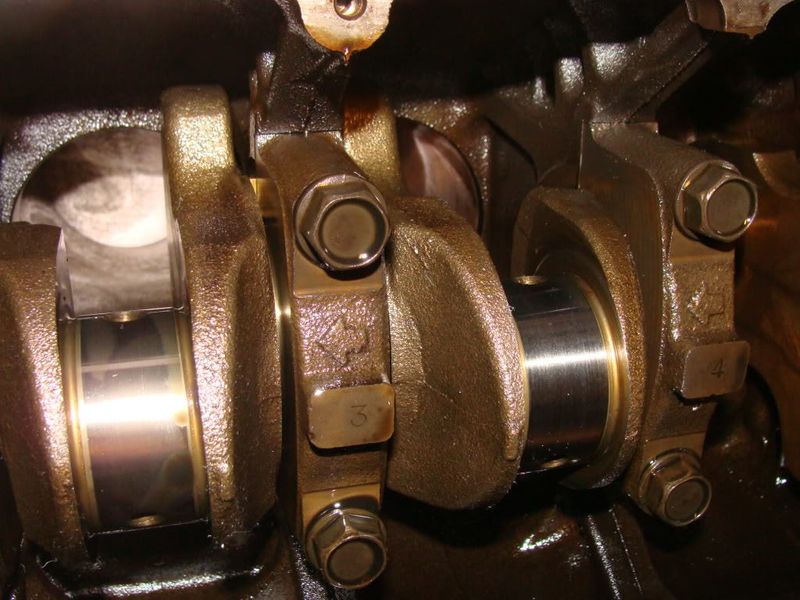
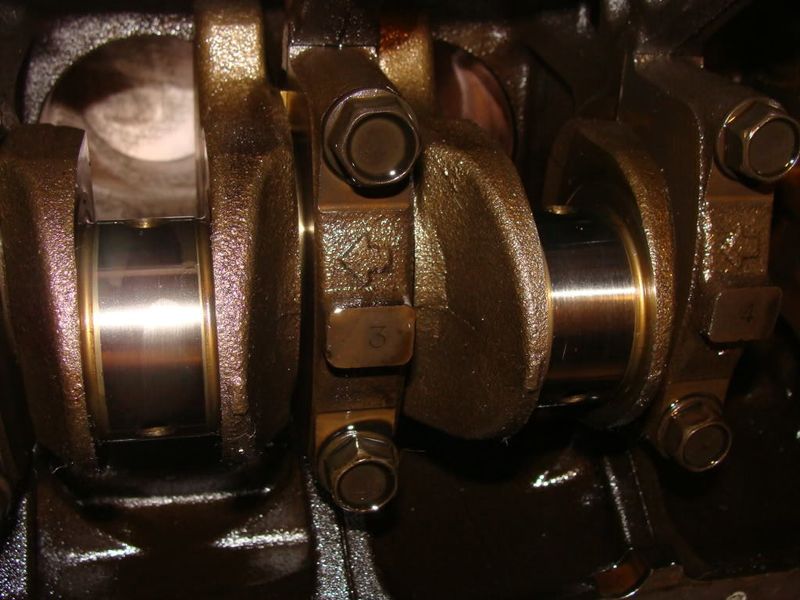
Bearings looked in great shape for 183K miles !!!
Crankshaft journals also looked real good, not getting this reground or doing new main bearings
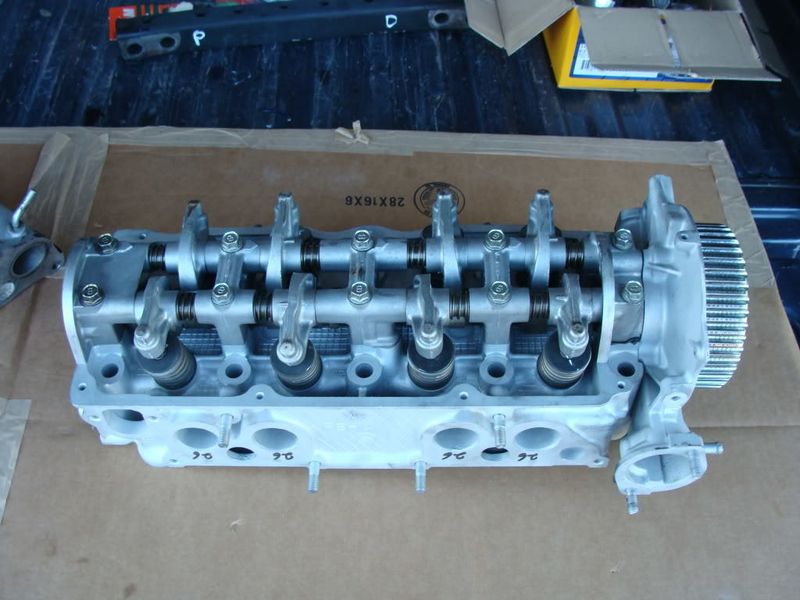
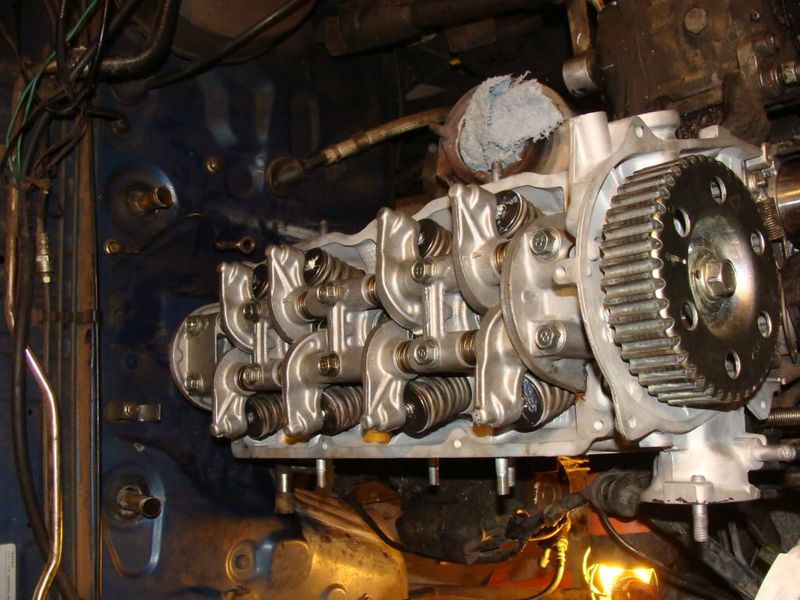
Refurbished cylinder head back from the shop
I had to remove the rocker arms to add sealant and assembly lube

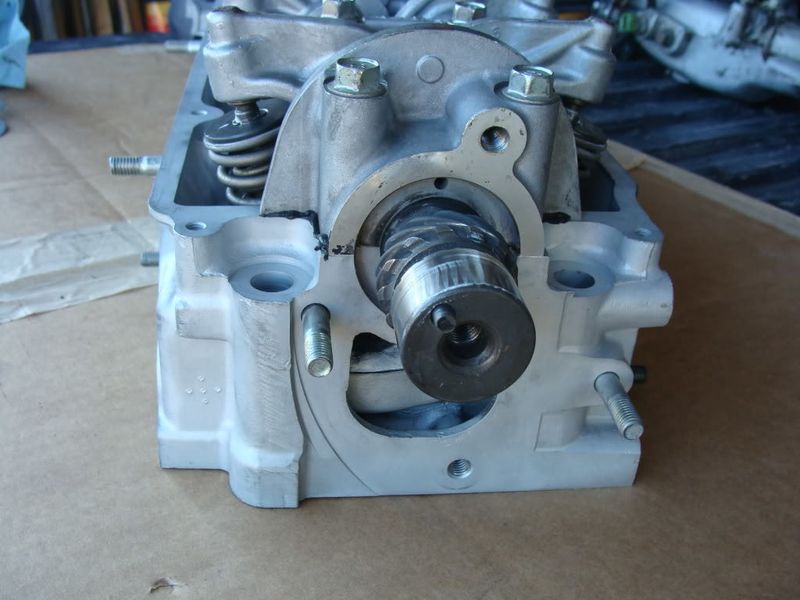
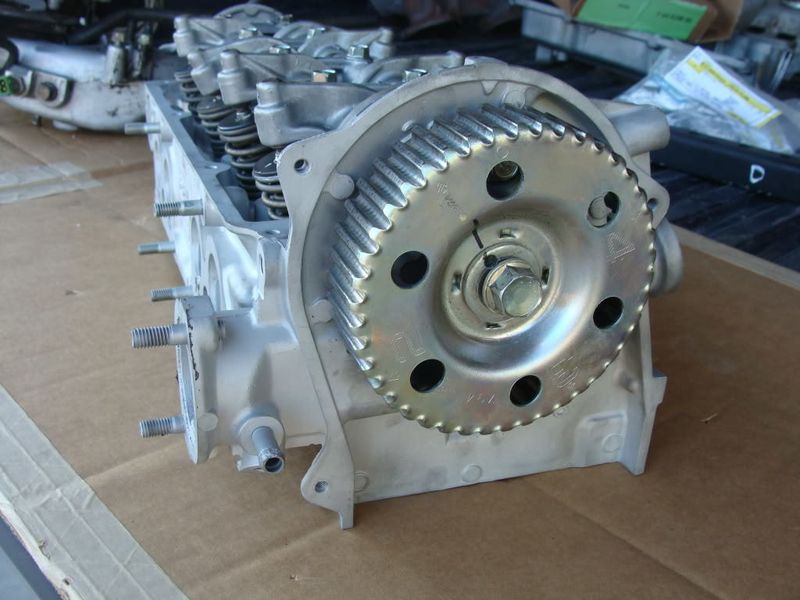
Cylinder head front piece added with camshaft seal and
camshaft gear
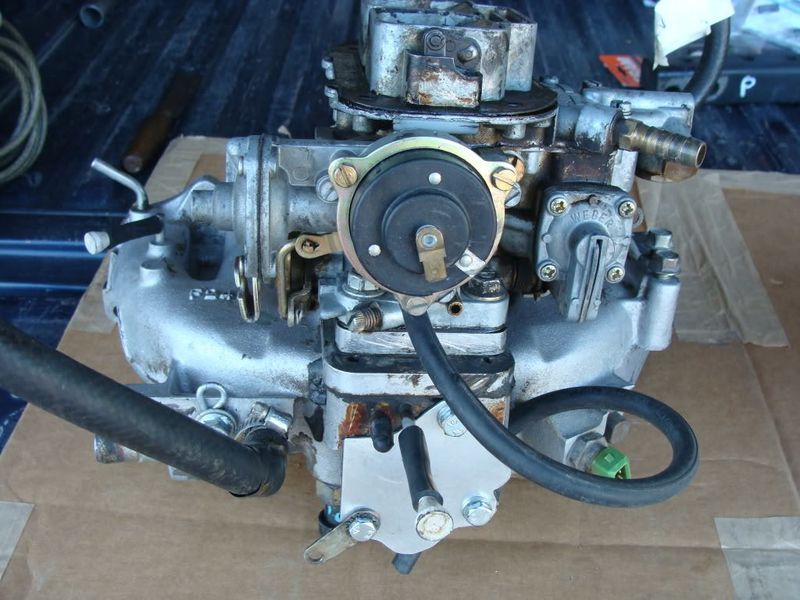
Intake manifold and Weber 32/36 DGEV carburetor back on
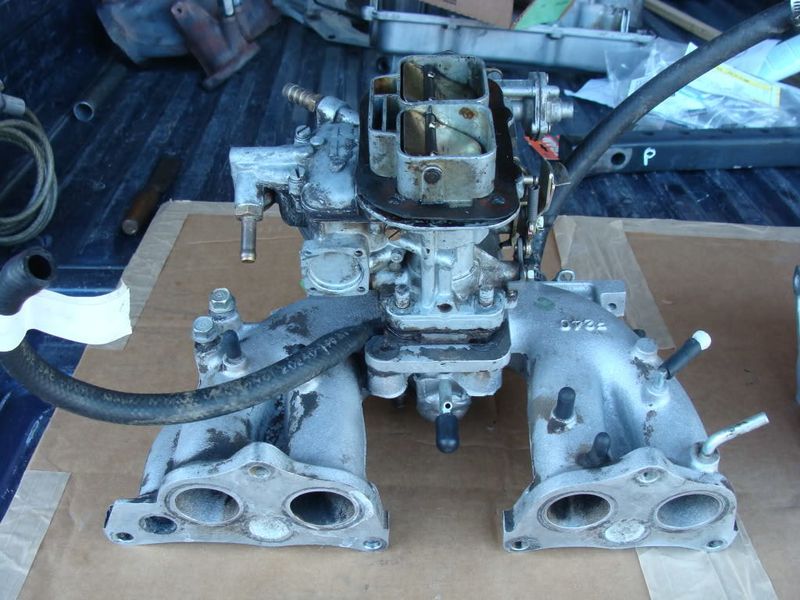
Weber 32/36 DGEV carburetor with EGR block-off plate
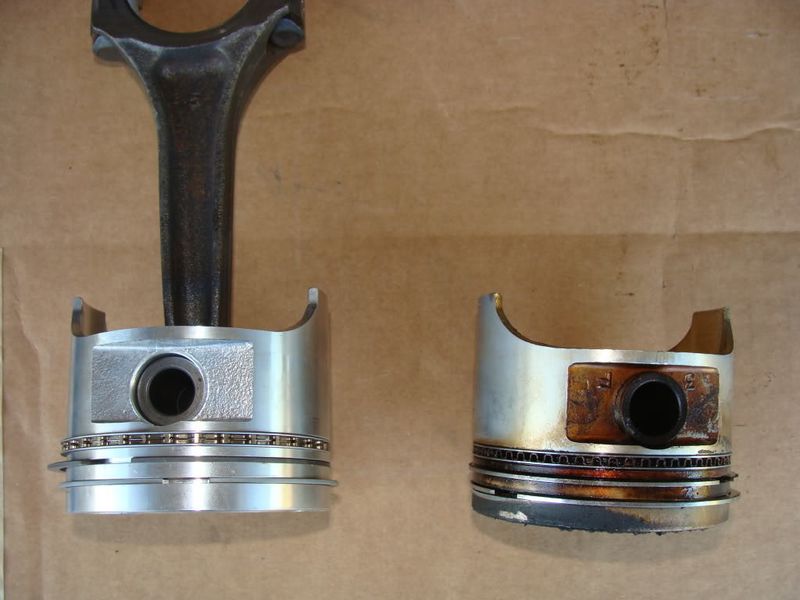
New piston and rings v. old piston. Again note that oil control ring is not out any further than the piston on the old
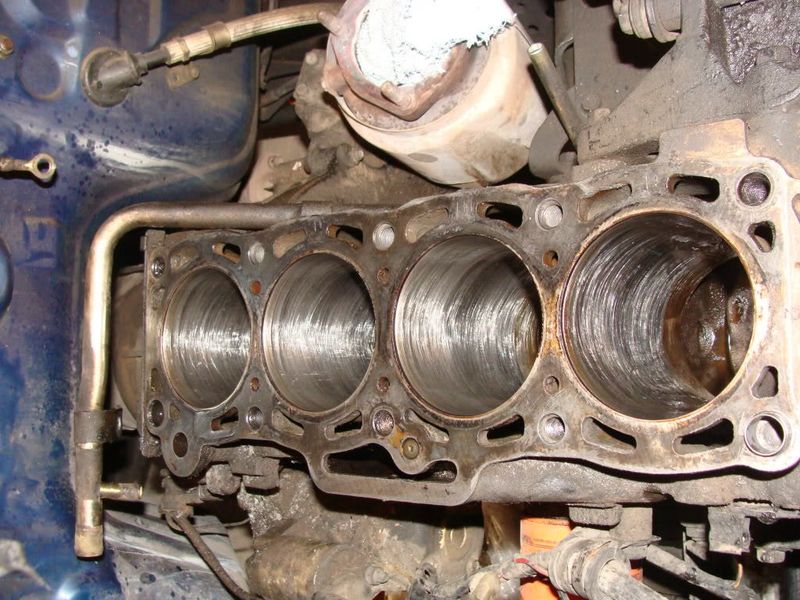
Engine block before light honing with electric drill
After honing with electric drill, hone marks visible
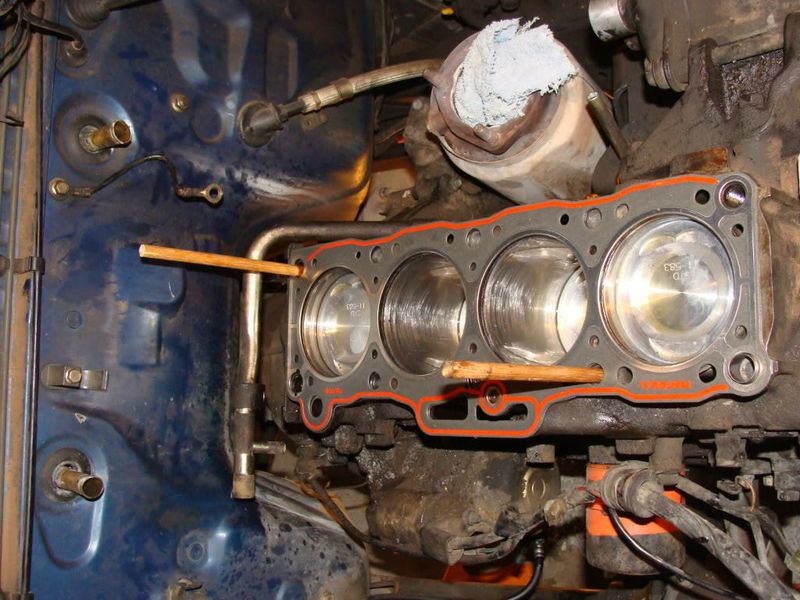
Using wooden dowels to keep head gasket aligned and to
aid cylinder head alignment
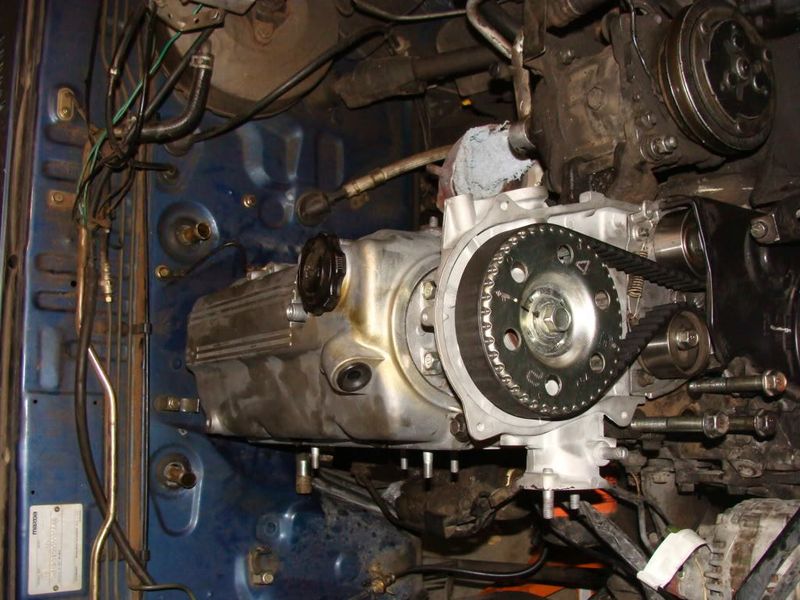
Cylinder head, valve cover, timing belt installed
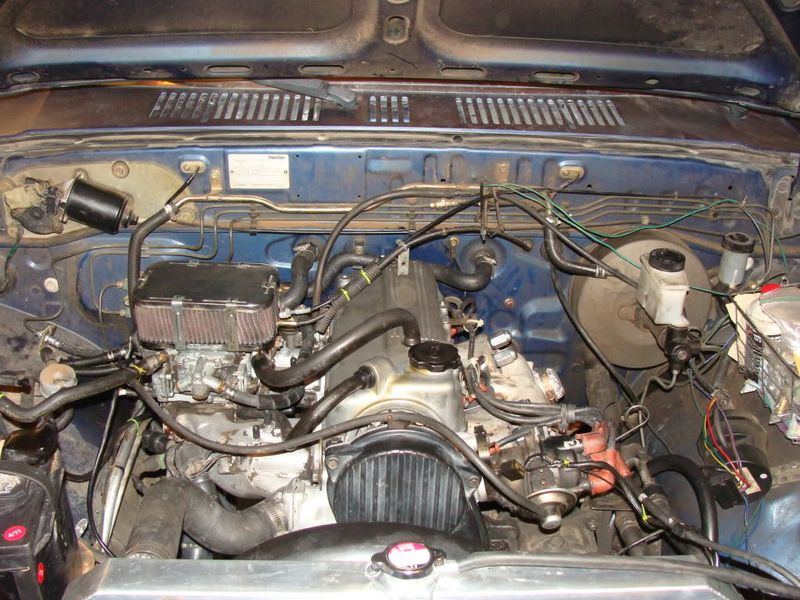
Finished view of engine compartment: The B2200 runs good, NO SMOKE, and no leaks so far.
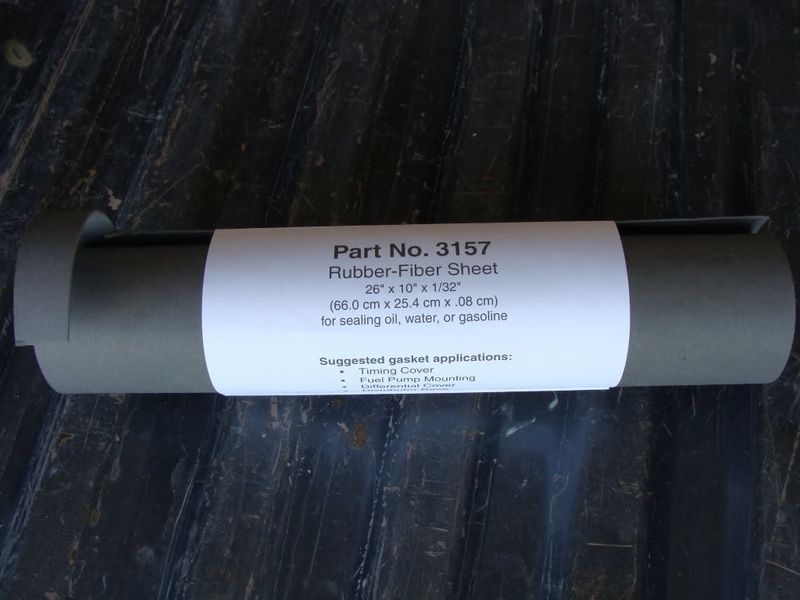
Had big-time stalling issue after starting up, traced to vacuum leak under carburetor, as I had re-used (too many times) the carburetor base gasket. New gaskets are available only from California or NY, so I bought this rubberized gasket material and made my own
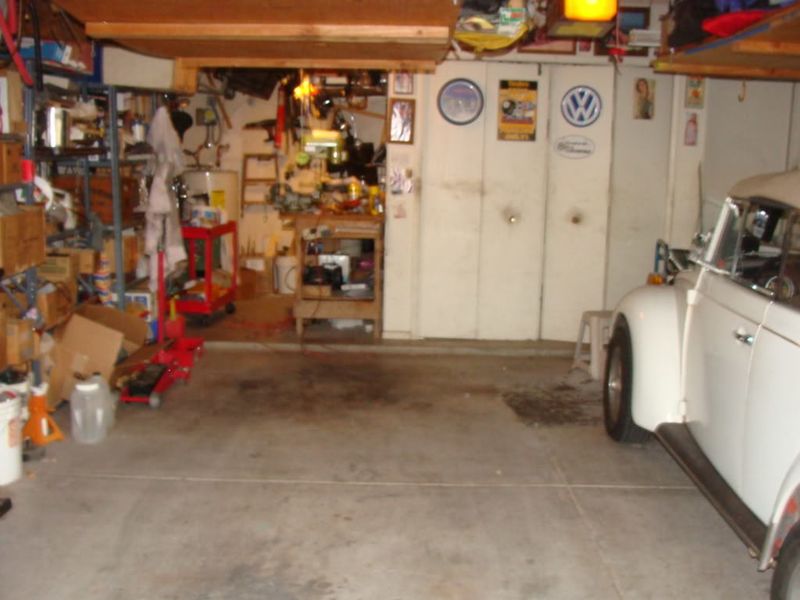
The garage space where I did all this.
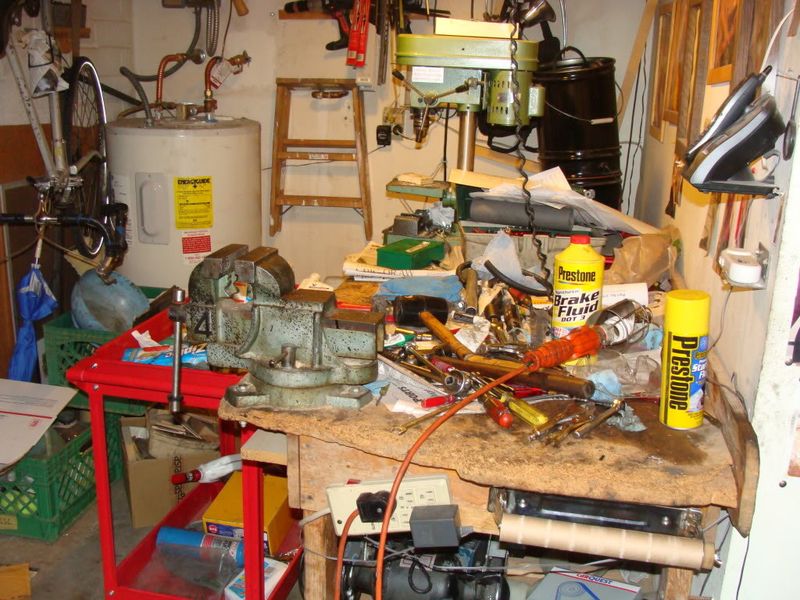
Workbench after completion, before cleaning up. Note oil spill of
Credits
Created By: Cusser