Street Source is shutting down April 30th, 2026. Read the announcement
How to fix scratches in paint!
Last Updated: Feb 24, 2015
About 1 month ago we came out of the local homedepot and found the nice 2 big scrapes in the side of our focus... Well we didnt know who did it... Tough luck. Anyways, the quote to repair the two big scrapes on the right rear quarter was $1,000 CAD. I did it for about $10 CAD.
Now the reason it was soo cheap was because I already had the materials, if you were buying everything it would cost about $100 CAD and would last for years.
Anyways, here is a picture how to of the repairs I did.
(Edit: I used wayy more compound then needed.. But it wasn't mine.lol)
First is some Before and after pictures, then follows the how to.
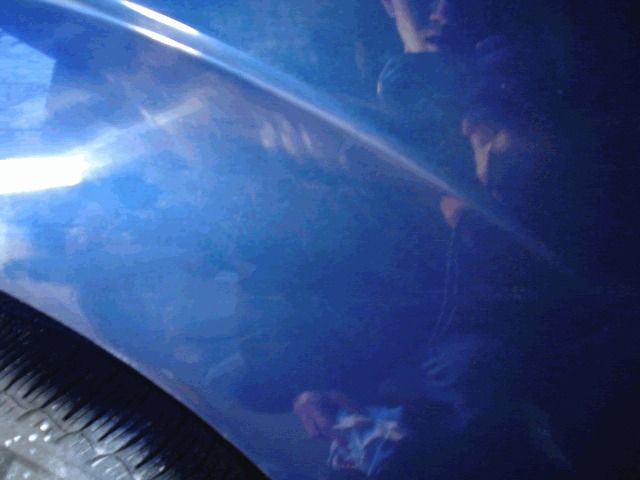
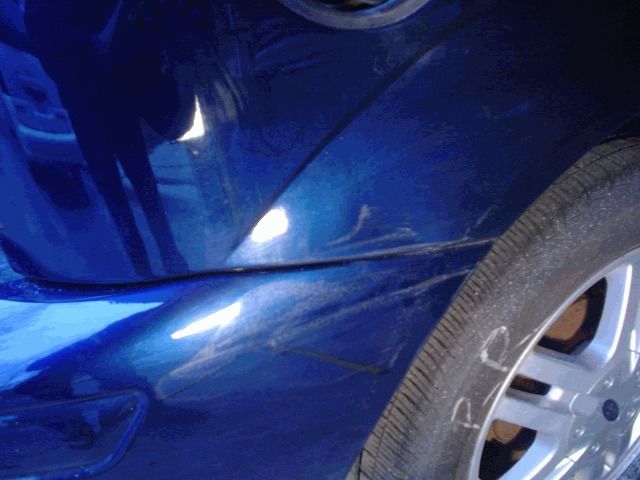
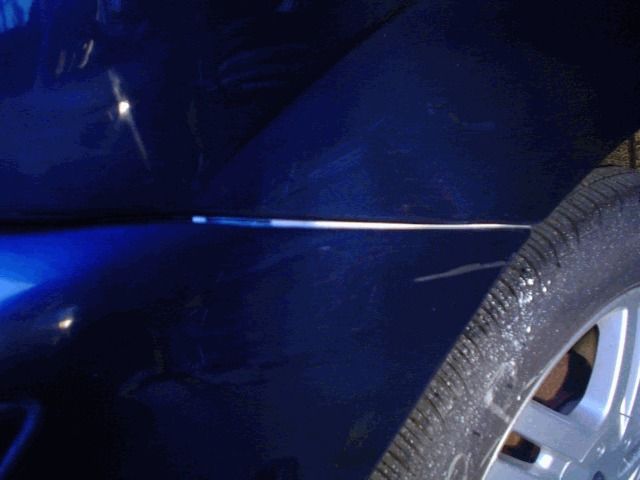
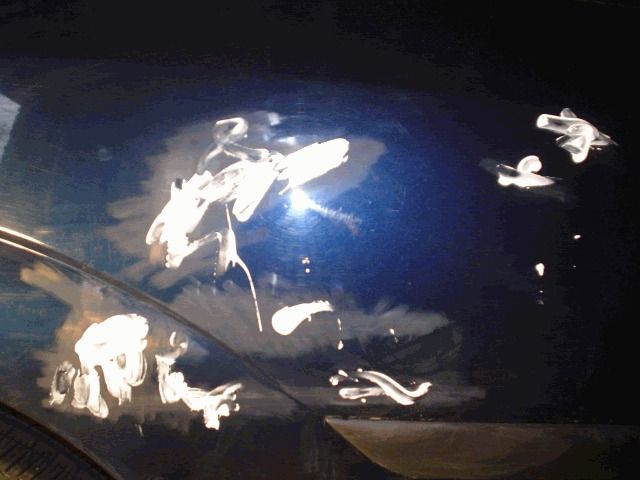
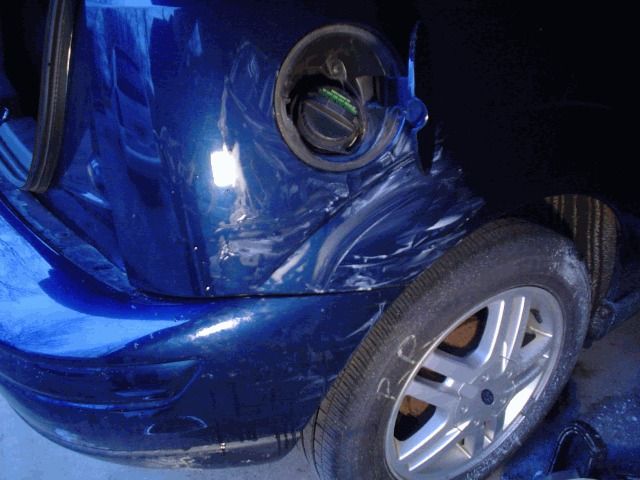
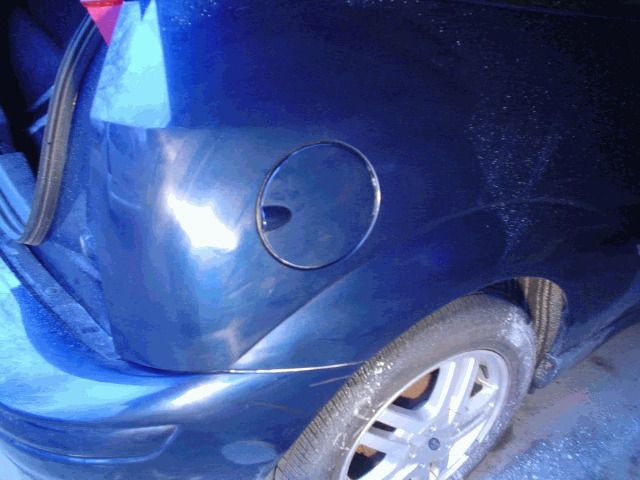
Rear Quarter Before:

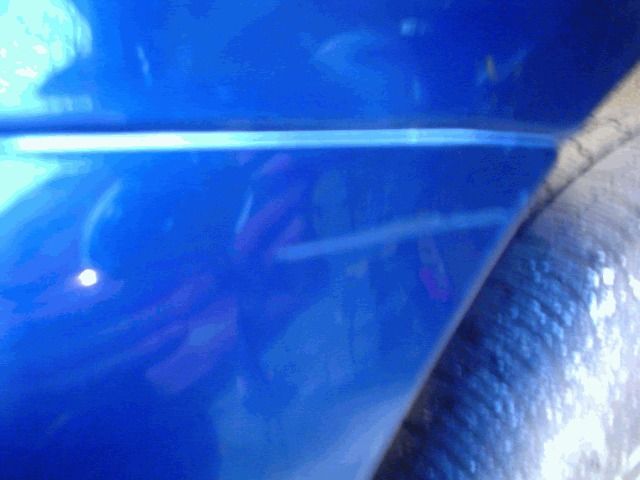
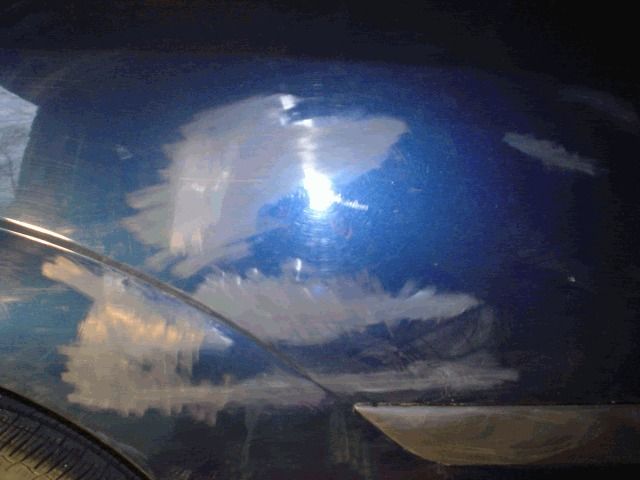
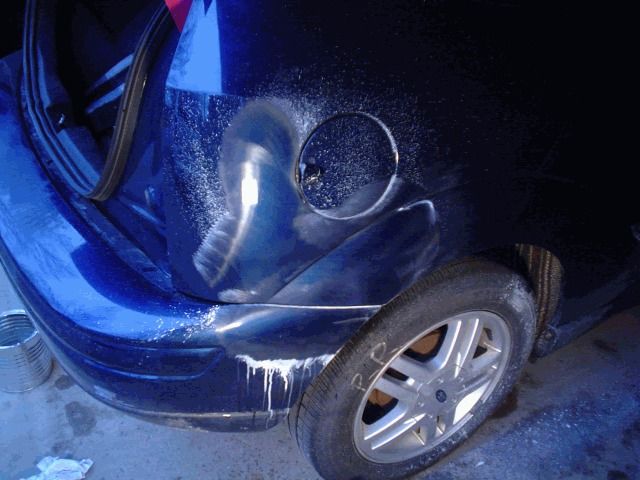
After:
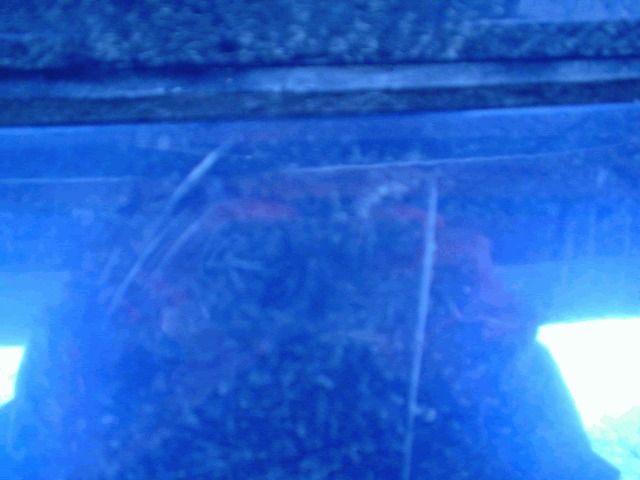
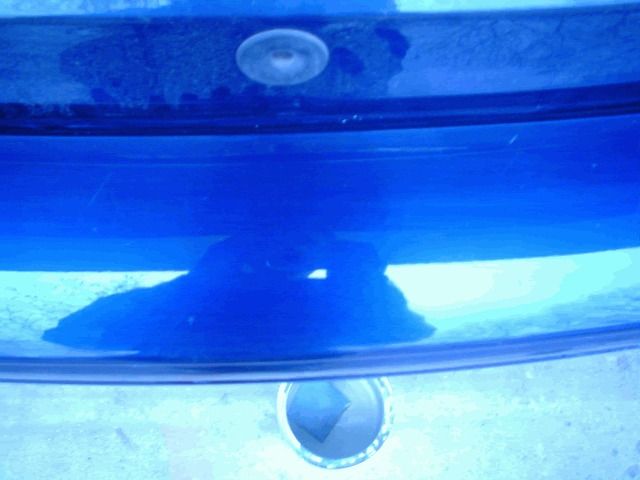
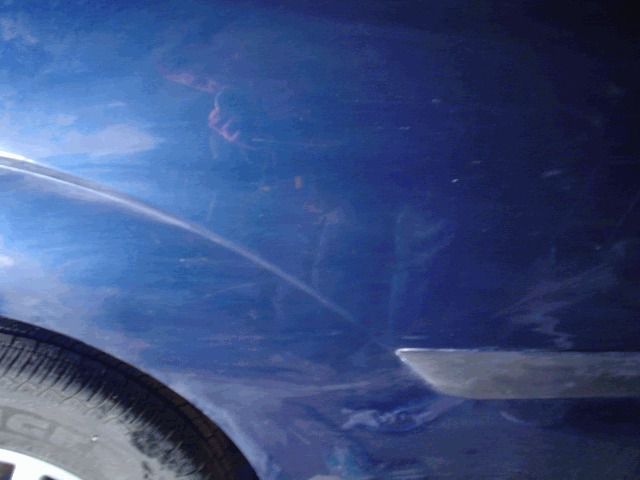
Before:

After:

Before:
After:

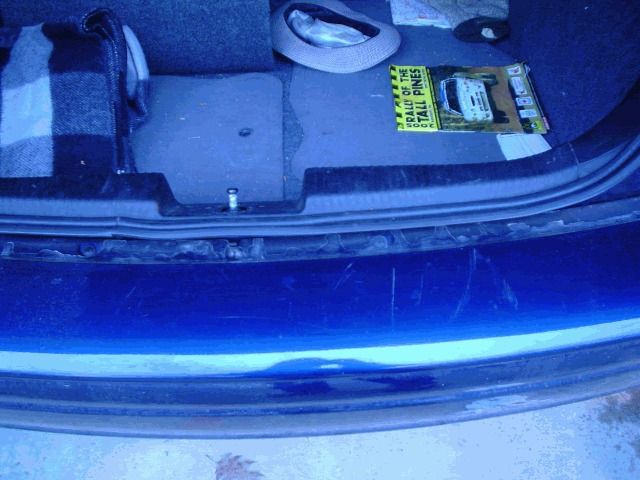
Bumper and Rear Quarter Before:
After:
Before:
After:
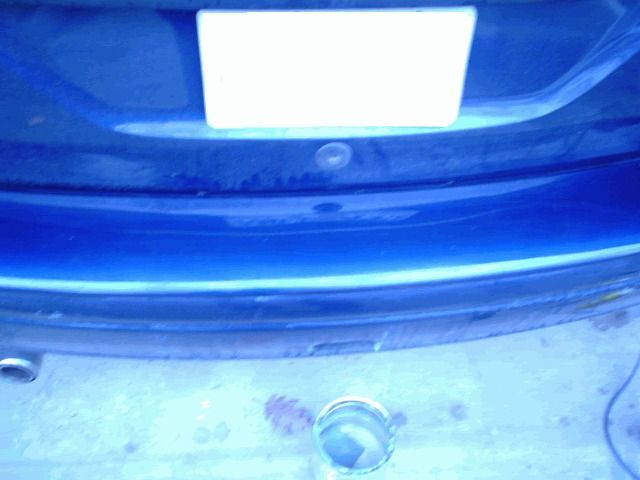
Bumper Before:
After:
Before:
After:
Skill Diffculty 2/5
Time 1-5 hours depending on size and skill level.
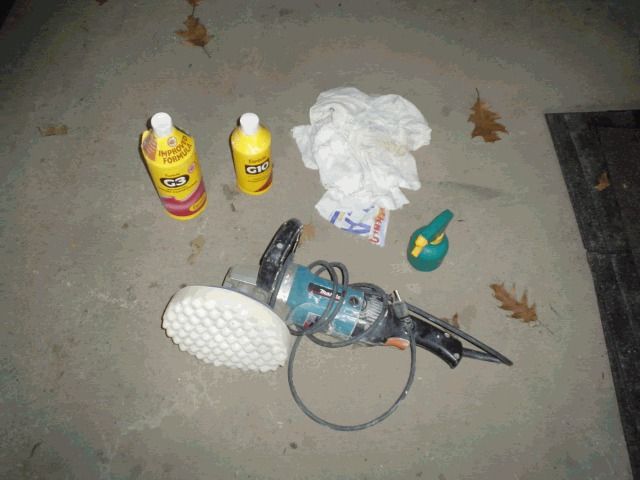
The Items needed are:
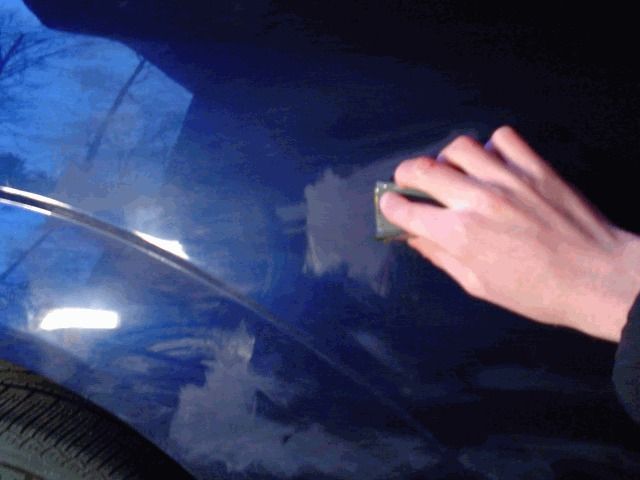
An electric or air powered polisher
Many rags
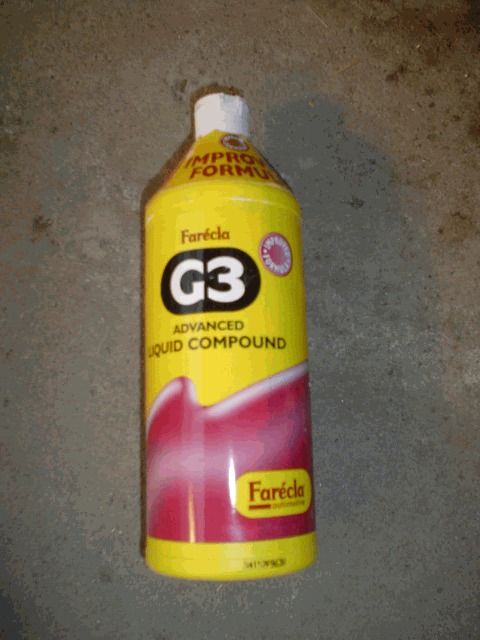
Farecla G3 Advanced Liquid Compound " target="_blank" target="_blank" target="_blank" target="_blank" target="_blank" target="_blank" target="_blank Click there, Go to Recitification to find G3 and G10
Farecla G10 Advanced Liquid Compound
2000 grit 3M Imperial Wet or Dry sand paper
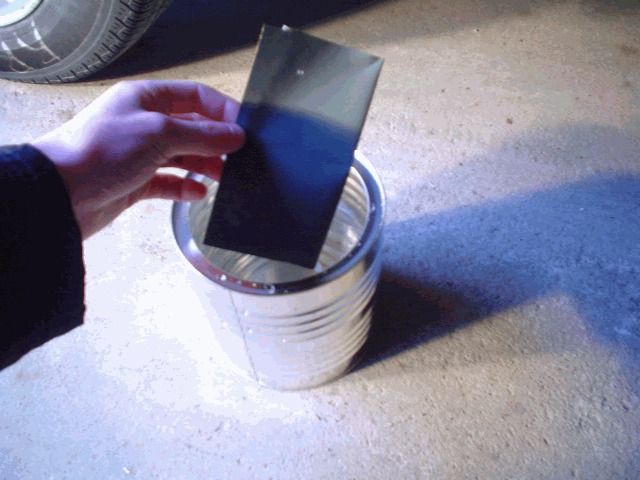
A container
Water
Spray bottle of water

1. Ok to start of, take a wet rag and clean the area to be able to see it better.
2. Take your 2000 grit paper and fill the container half full with water.
3. Put the paper in to let it soak for 5 minutes.
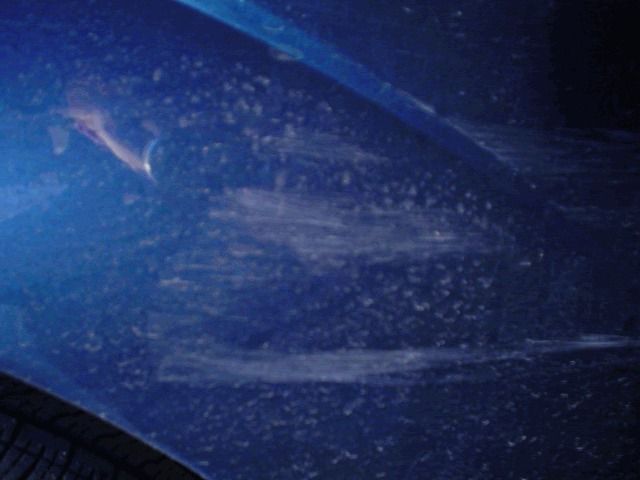
4. When you are ready, start to sand the scratches. Do not send very hard and keep your paper wet. Sand a little bit then wipe with a dry rag, if you still see scrathes keep sanding. But only sand 1-3 short times, it is always a risk of buring through the colour. keep in mind that SOME SCRATCHES ARE TOO DEEP! Don't push it.
It will look like this:
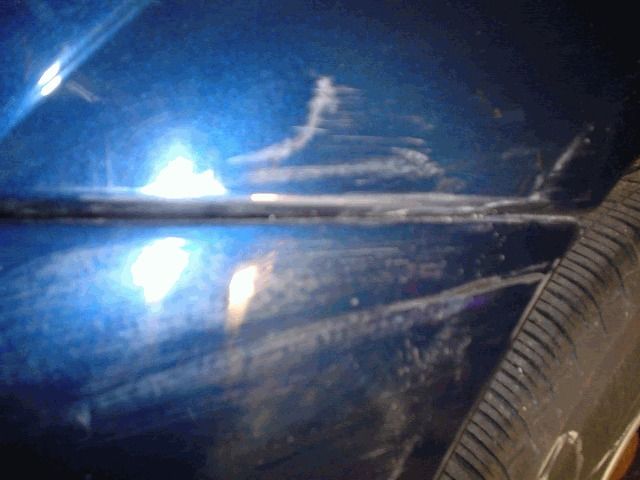
5. Dry the area off and it will look like this.
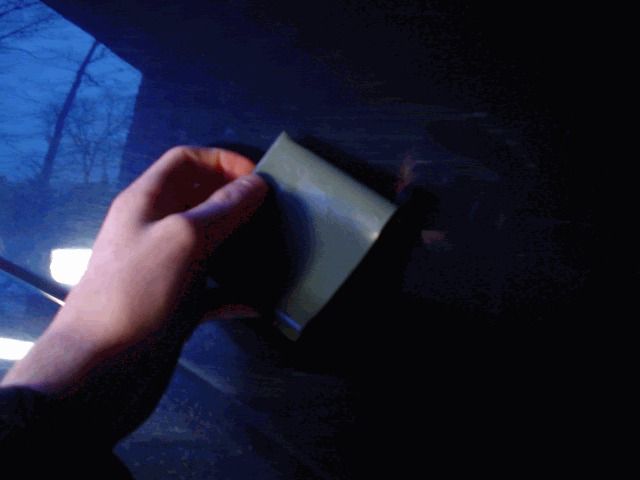
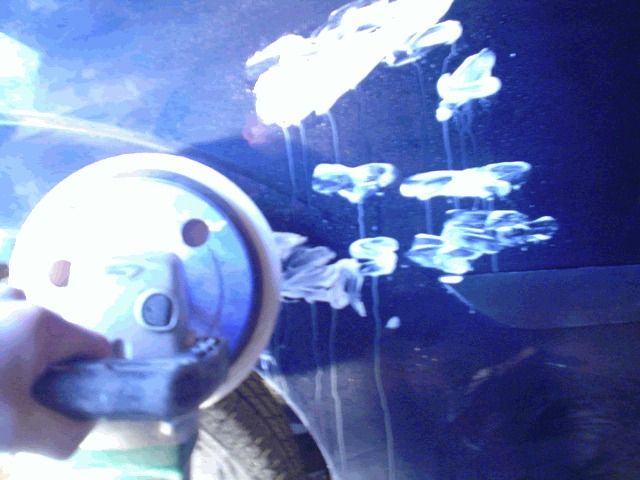
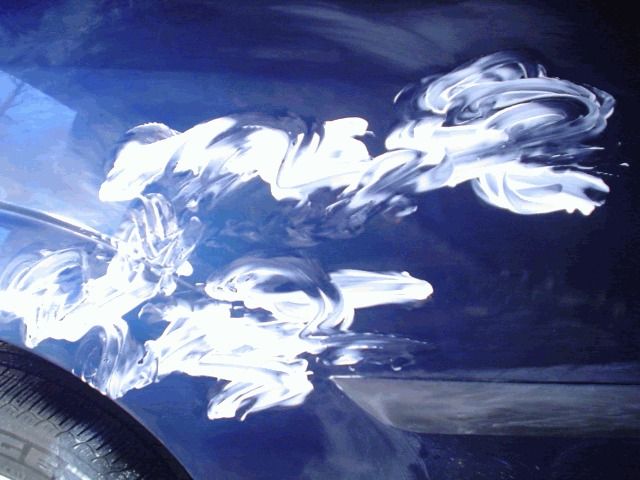
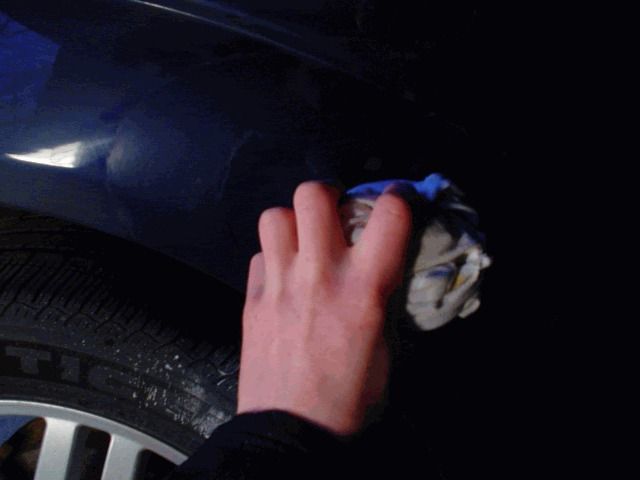
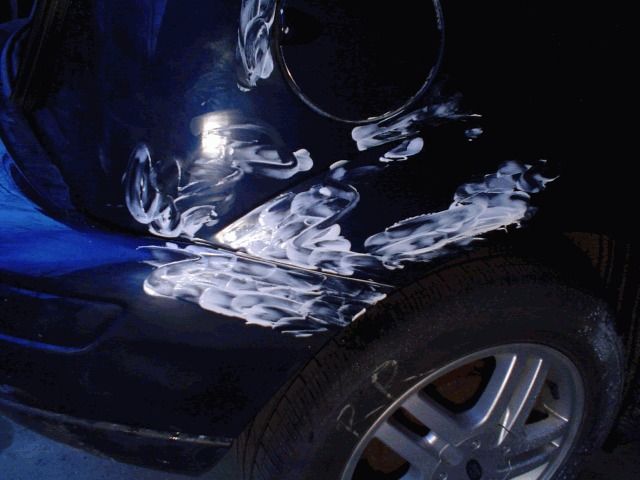
6. Take the G3 and squeeze a generous amount on your finger. Anywhere that you sanded, smear it on.
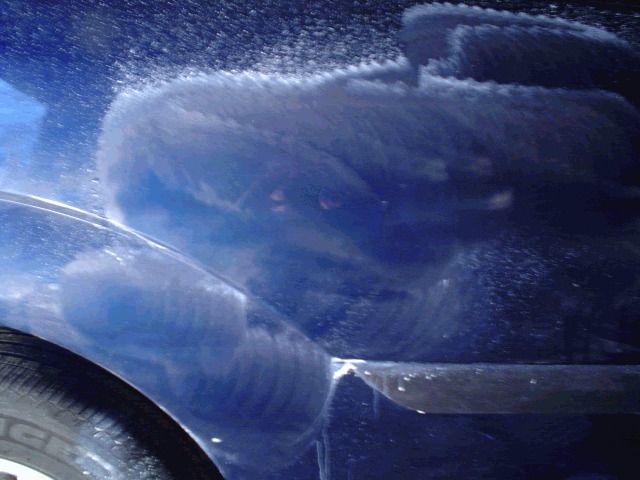
7. Get you're polisher ready. With some polishers you will have to spray the car (over the compund) and the polisher itself, with water. Consult the package. Work your way with the polisher over the compund from left to right. DO NOT KEEP IT IN ONE PLACE, KEEP IT MOVING OR YOU WILL BURN THROUGH. Also, DO NOT POLISH EDGES, IT WILL BURN THOUGH.
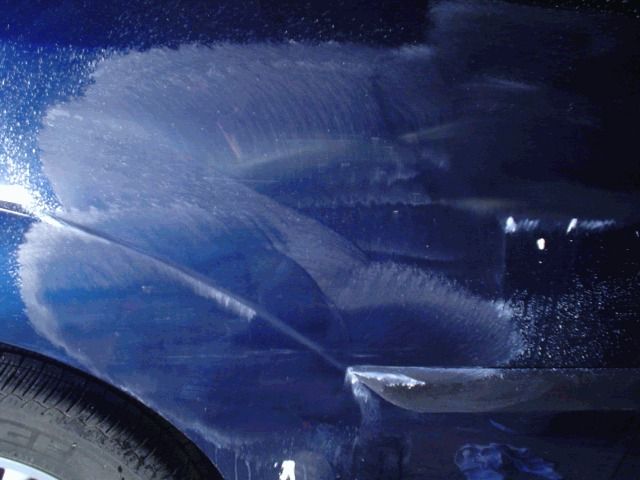
8. Wipe it off. It will look like this.
9. Wet sand once again if you see more scratches, be careful again not to go to deep.
10. Apply more G3 and polish like last time.
11. Wipe off area again.

12. If need be, apply more G3 and polish off.
13. Apply G10 in same mannor.
14. Wipe off and it should look fairly good now.

15. Now to finish it off. Apply G10 on a balled up rag and rub it over the area in a circular pattern. Try to rub it on fairly hard. Immediately wipe it off with a clean rag that is also balled up.
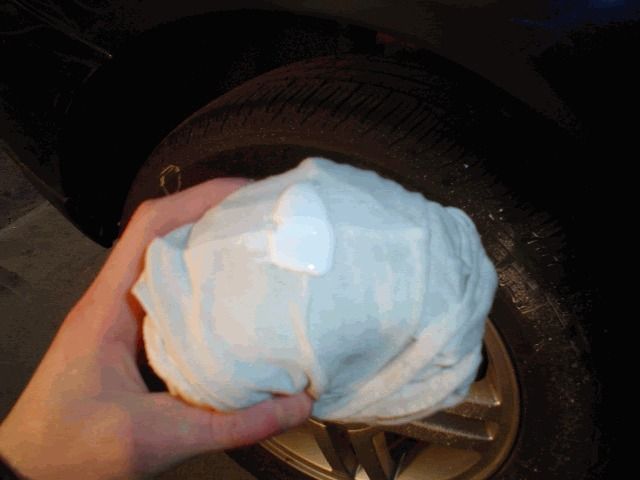
16. Now it should be done. All you need to do is wash it. I also recommend getting a wax.
Now, to do the other areas, follow the same steps.
Wetsand:
G3:
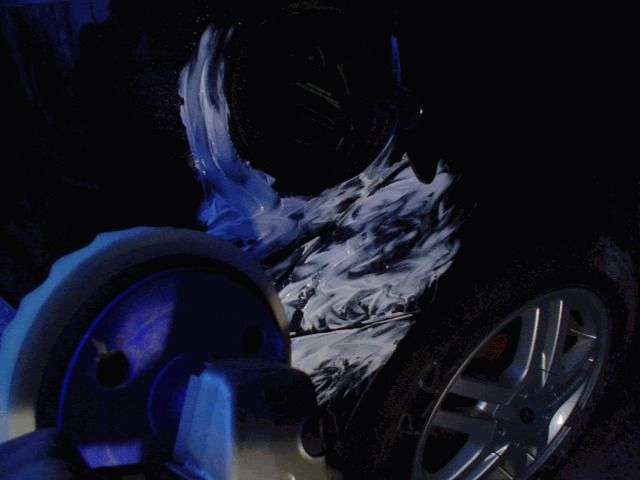
Polish:
Do G3 a few more times, than G10:
Polish and cleanup:
Then you're done:
Follow the steps over for the bumper:
Wetsand:
G3...etc...

Finished:
You may find that the polisher flings the compund alot and it may end up all over the car. It does wash off but is easier to wash off before hand.
I hope I haven't missed much... Use your own discretian and I am not liable if you wreck your paint... Like I said before, use this method when you are SOL and already have to paint, so if it gets screwed up there is no loss and you can paint it.
If you have any questions then just ask.
Thanks,
Zac
Credits
Created By: zaccutt
Related Articles
How to: custom shifter boot
I thought i would make a thread about the shifter boot i made but although its really easy i wanted ...

How To: Chevy 105amp 3wire Alternator Swap
A.J. "SpaceMonkee" Demiar Bay Area, California 1992 B2200 (2.2 EFI) Standard Cab As t...
Seat lever fix
On my Cab Plus 1988, passenger bucket seat lever to slide seat forward just snapped off, see photo a...

How To Tighten Up Loose "Tow Mirrors"
This fix is for the members that have the "tow mirrors" or "large mirrors" on yo...