Street Source is shutting down April 30th, 2026. Read the announcement
How To: Chevy 105amp 3wire Alternator Swap
Last Updated: Feb 24, 2015
A.J. "SpaceMonkee" Demiar
Bay Area, California
1992
B2200 (2.2 EFI)
Standard Cab
As the title says: 1965-83 GM 105amp 3 wire Alternator swap.
This may not be exact for those who are running a stock Carburetor because of the choke but this write up may help. This write up will consist of a 2.2 EFI B. My stock Alternator had a connector with 2 wires and the bolted wire to the battery. I have recently done a GM 3 wire alternator swap and took pics during my install.
Disclaimer: I hold no responsibility for work done following this write up. It worked for me. Read thoroughly before doing any work.
Tools Needed:
- Basic hand tools (sockets, Wrenches, etc.)
- Drill and drill bit set
- Soldering gun/solder
- Hand held grinder (or comparison i.e. Dremmel or Boaring bits for your drill - for widening your stock alternator bracket)
- Pry bar (or comparison - for tension on the alternator/belt)
- Digital Multi-Meter (or test light)
- Wire strippers/cutters
- Heat shrink tubing
- Heat gun (or lighter)
Parts Nedded:
- 1965-83 GM 3 wire alternaor 105amp (I got mine off Ebay for $70 - " target="_blank" target="_blank" target="_blank" target="_blank" target="_blank)
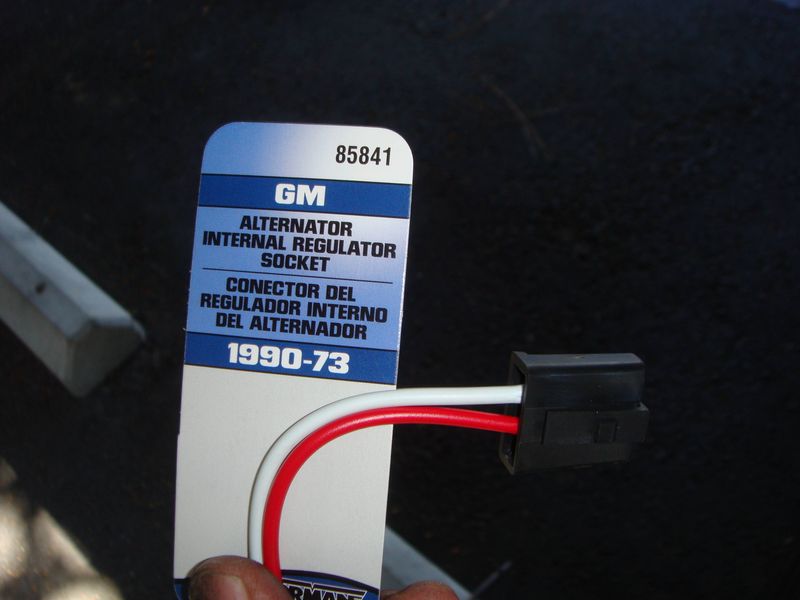
- Generic GM alternator connector with wires (Local parts store had it, Dorman Part#85841 - Pic in write up below)
- Thinner alternator/fan belt (Gates Part#7365)
- about 2 feet of 4 gauge amp power wire and ring connectors (optional)
- Heat shrink tubing
- M10x80 bolt, Nut, 2 washers (or any Grade 8 - 3 inch bolt to mount through the stock alternator bracket with washers and nut)
- Spray paint (used for rust prevention)
Instructions:
1. Disconnect the battery
* Steps 2-4 are to remove the stock alternator Skip to step 5 if you already know how to do this...
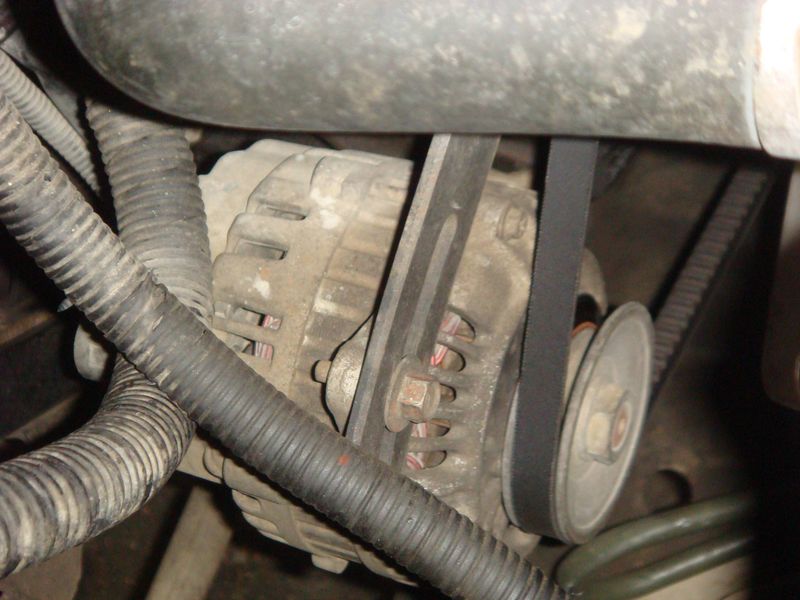
2. Disconnect the stock alternator connector and also unbolt the main power wire from said alternator.
Back of the stock alternator:

3. Remove the upper alternator bolt at the bracket.
Upper bolt:
4. Loosen/remove the lower bolt/nut from the alternator and pull the alternator out of the engine bay. Also remove the alternator adjustment slider bracket off the block (obviously the belt too).
*if you have power steering you must also remove that belt to get the alternator belt off.
-For the power steering belt you need a 22mm socket or crescent wrench to loosen the adjustment pulley and a 12 mm socket to lower the adjustment pulley down to get the belt off)
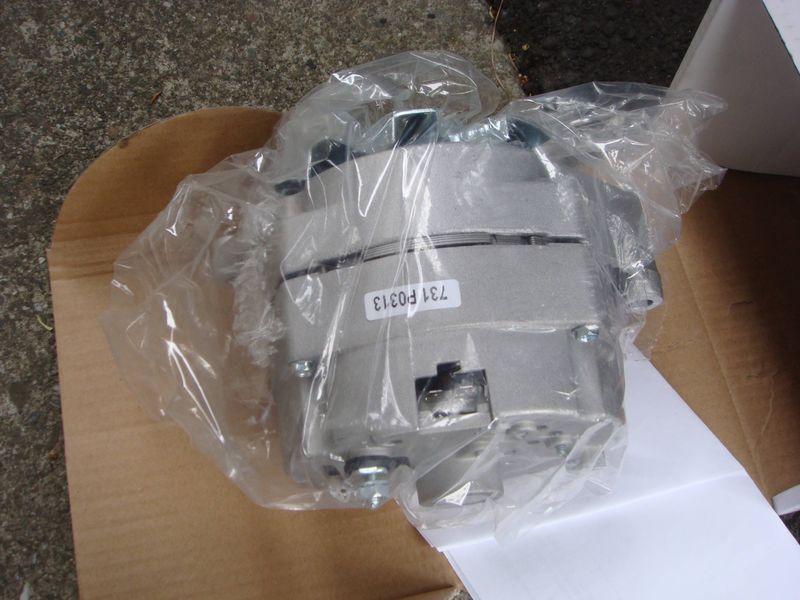
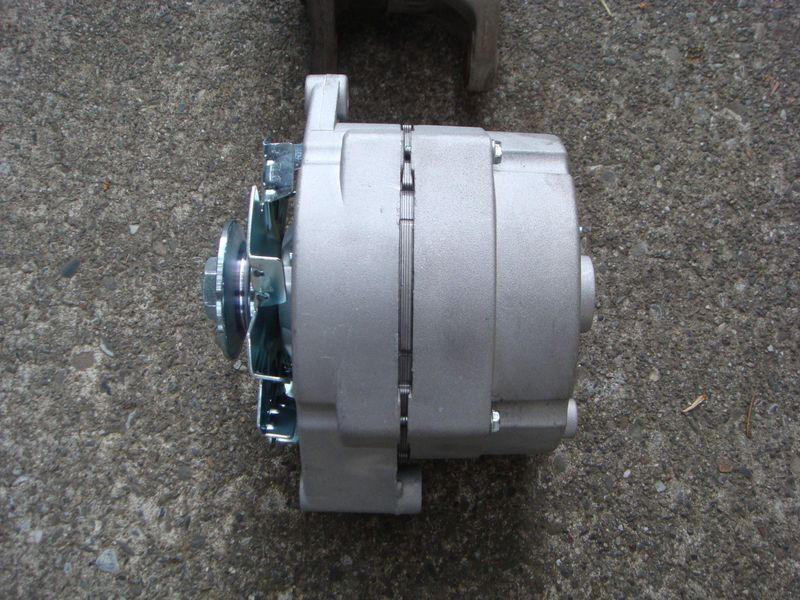
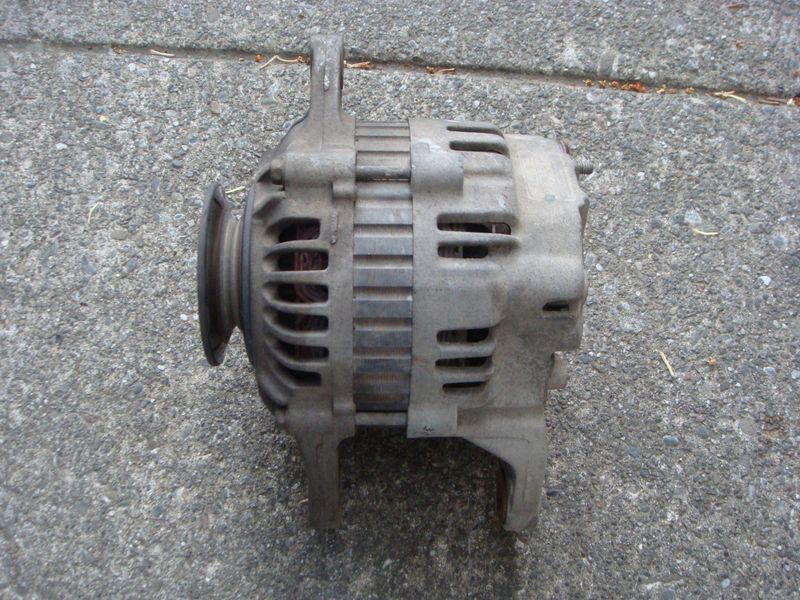
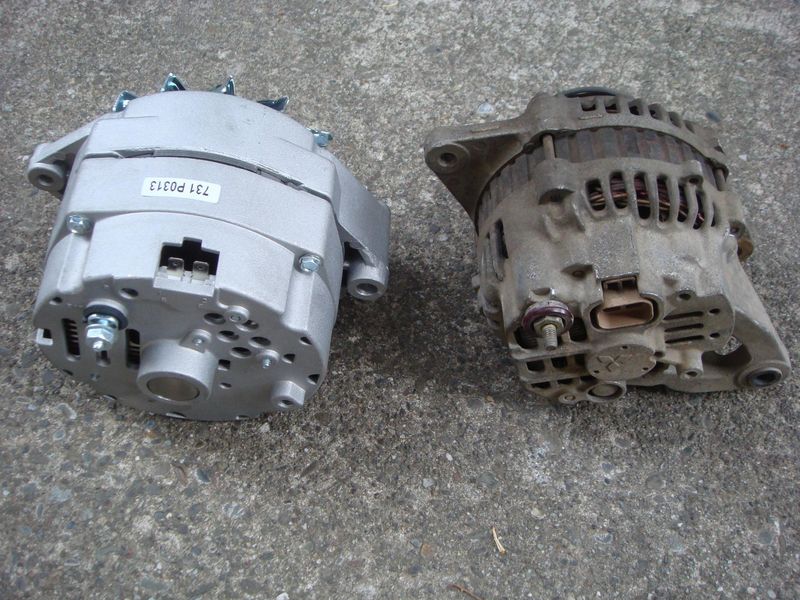
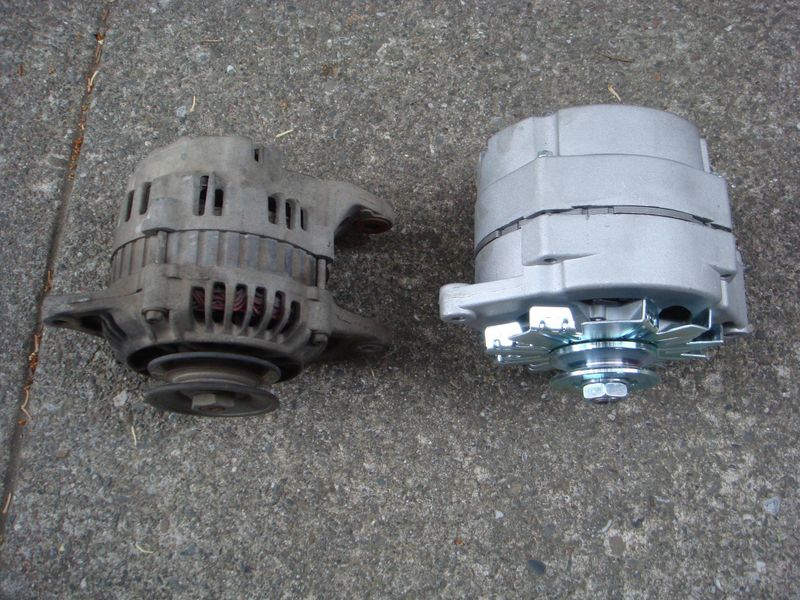
Pics of the new and old alternator:
New Chevy 3wire!
Stock Mazda Alternator
Side by side
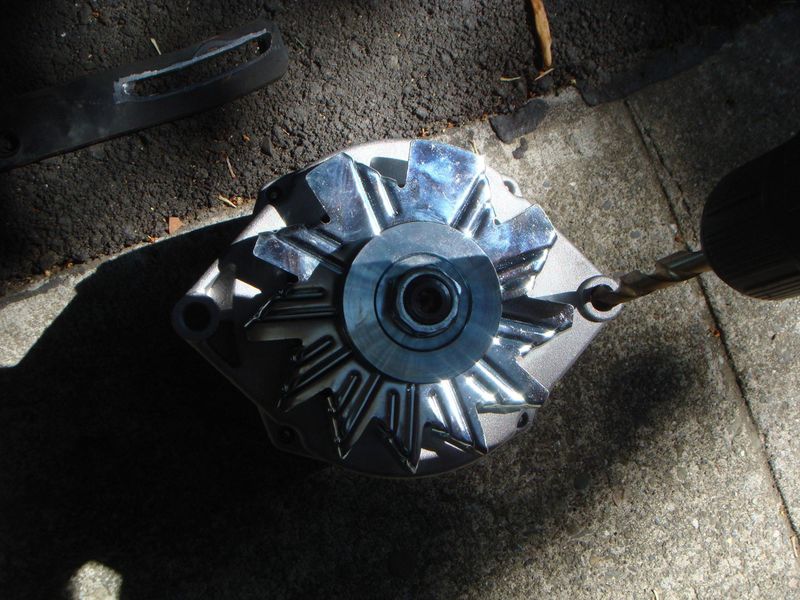
5. You will be mounting the new alternator upside down so a small mod needs to be done to make it work. With your drill bit set find the correct size that the stock lower alternator bolt will fit through (the long bolt). I don't remember the exact drill bit size.
6. Drill out the threaded hole on the new GM alternator to the larger size with the drill bit and test and make sure the bolt fits through. (there should be no more threads in any of the mounting holes)
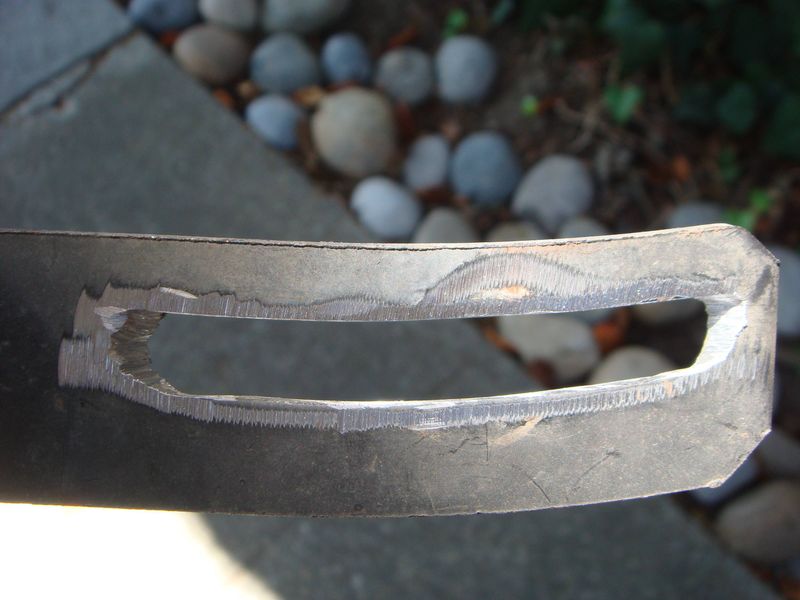
7. Now would also be a good time to widen the slot of the stock alternator adjustment slider bracket. (I used a hand held disk grinder, a dremmel will work or a grinding stone tip for a drill too but it will take longer) This will hold your new grade 8 - 3 inch long bolt. so make sure the bolt will fit/slide through the entire length of the slot you are widening.
Its a little sloppy but don't judge me
Again, make sure the bolt fits through the entire length of the slot.
Spray Pant it to prevent rust.
8. Now it is time to solder in the new $2 GM 2pin connector to the truck, for the new alternator.
9. Cut the stock alternator connector off the wiring leaving some wire to work with.
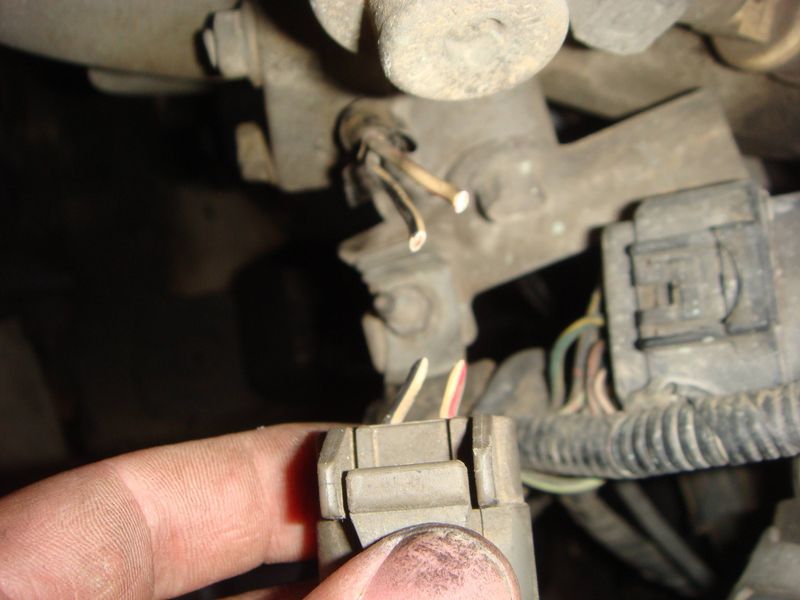
10. Temporarily connect the battery. Use you Multi-Meter/ test light to determine witch one is 12v constant and which one is switched on with Ignition. Wire colors may be different but for mine the white/red is 12v constant, white/black is switched Ignition source.
*******Disconnect the battery after you determine which is which*******
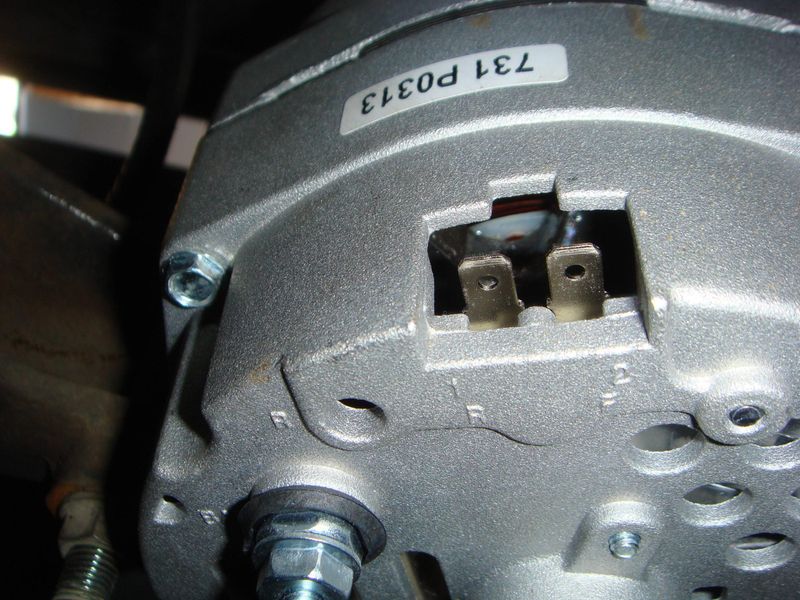
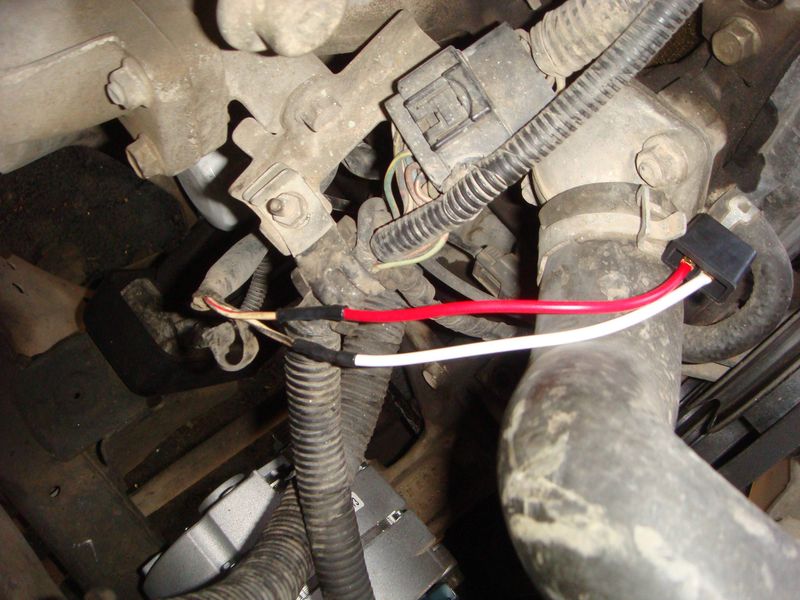
11. The GM alternator has the connector pins labeled with a #1 and #2 on the housing. #1 (white wire on the new connector) is for the Ignition and 2 (red wire on the new connector) is your 12v constant. Strip your wires and slide on the heat shrink tubing, solder the wires in place and use a heat gun or lighter, to shrink the tubing down for a water tight seal.
- white/red to RED... white/black to White.
*EDIT* Quote from SinCityLocal
GM housing marks #1&#2
Wiring should look something like this
READY FOR INSTALL
12. Lower the new GM alternator into the engine bay - Remember you are installing it upside-down so the hole you drilled out earlier (the thinner mounting tab) will now be bolted through the lower bolt hole. Bolt it through and hand tighten the bolt/nut in place so the alternator pivots freely.
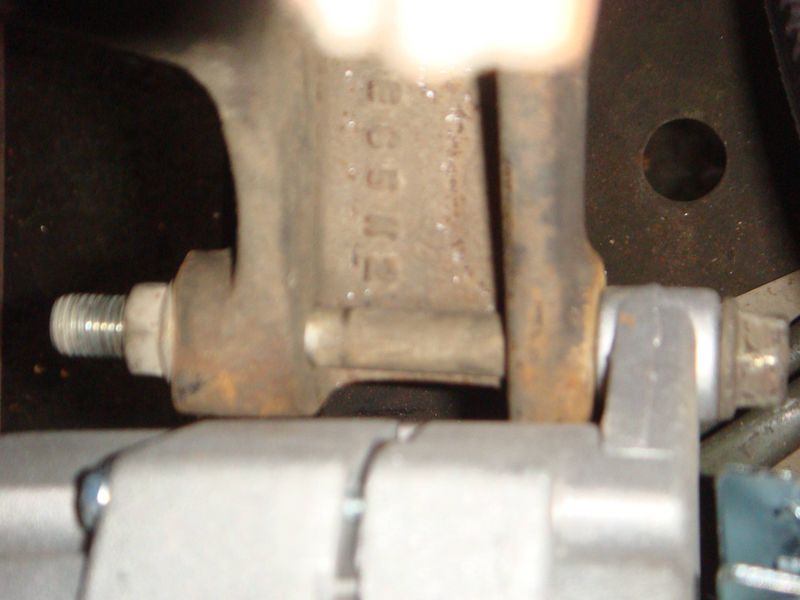
lower bolt hand tight (sorry for the blurry pic)
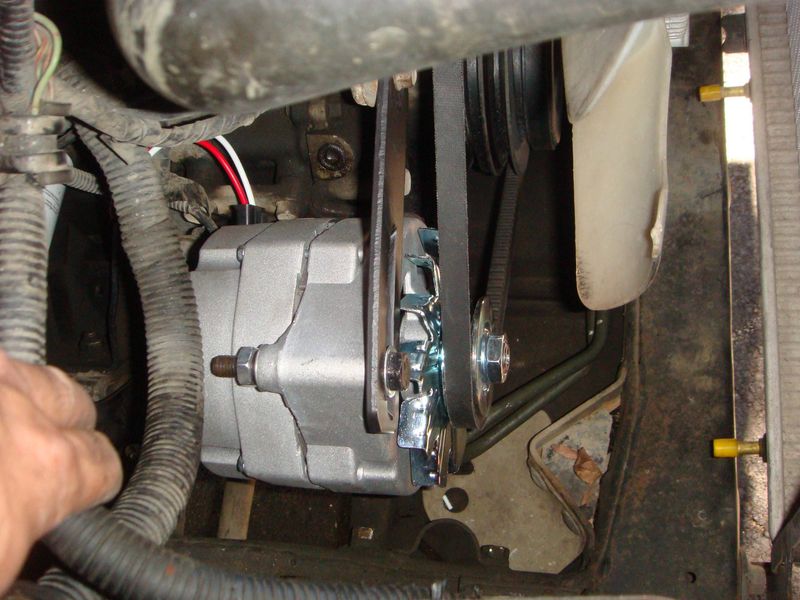
13. Bolt the "modified" adjustment bracket to the block, also hand tight. And use the new Long bolt, nut and washers through the top alternator mount bracket and put the new belt onto the alternator. The pulleys line up perfectly!
my stock alternator belt is in the pic because I thought it would work, but because the pulley thickness is smaller it started melting the thicker stock belt. The thicker belt was melted and shredded by the end of the week. Don't use the stock belt and get the new thinner on belt at this point to avoid a headache down the road - literally.
14. You can now tighten the slider bracket to the block.
15. Use your pry bar or comparable prying tool to tension the alternator/belt and tighten all mounting bolts.
16. Plug in your new connector to the GM alternator double check that the wires are going to the correct pin.
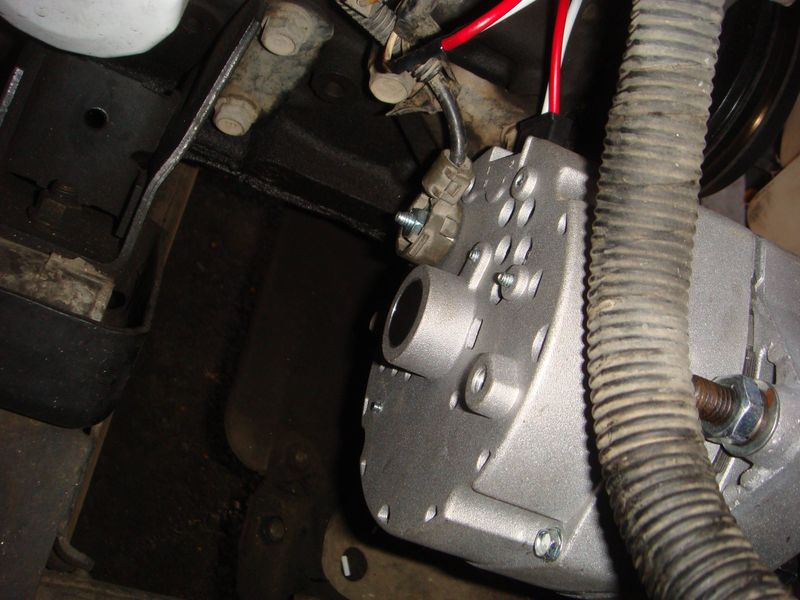
17. Bolt the Battery power wire to the alternator. I used the stock wiring for the bolted Power wire when I did this install. The stock plastic cover even clips into the GM alternator for the bolted wire.
factory bolted battery power wire with plastic.
I have since installed a 4 gauge wire from the alternator to the battery (extra from a sound system I installed in my buddy's car)

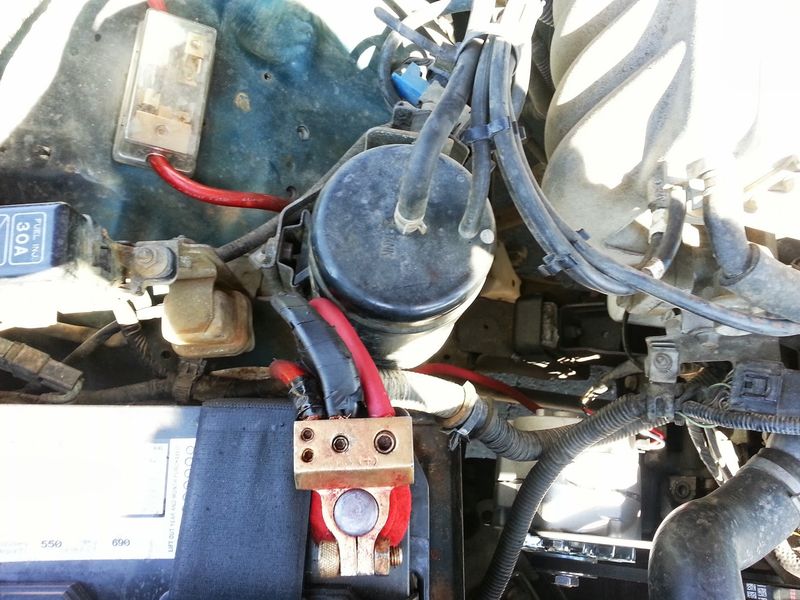
The right red wire is to my alternator and the left is to my sound system, center is factory to ign/starter etc.
Also you can kind of see the thinner belt on the alternator in the pic below.
18. Re-install power steering belt if applicable.
19. Check all bolts are tightened on both alternator and PS pulley tensioner.
20. Connect battery start the truck, connect your Multi-Meter to the battery to see if the alternator is charging properly, mine reads around 14.2-14.6v. With heavy loads on it, it runs around 13.8-14.2 (head lights, heater, sound system)
No more dimming lights or power starvation!!!
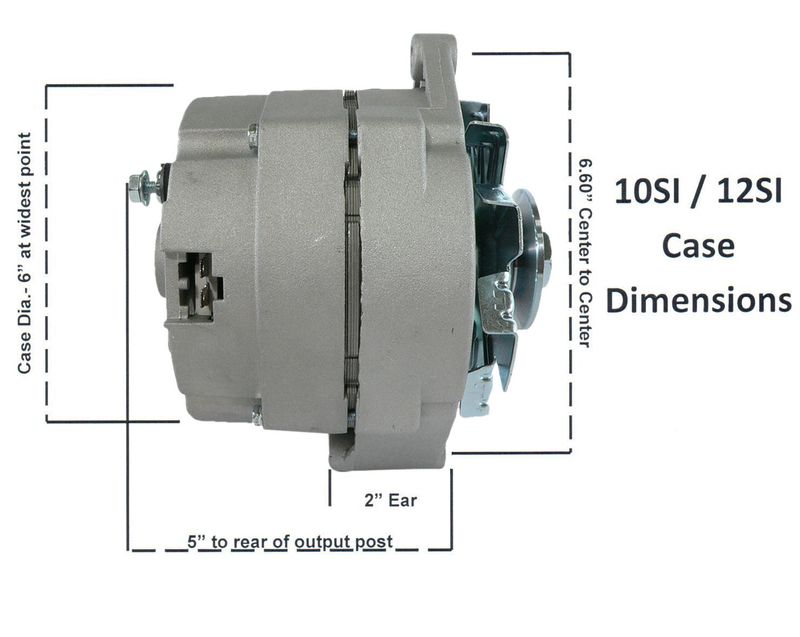
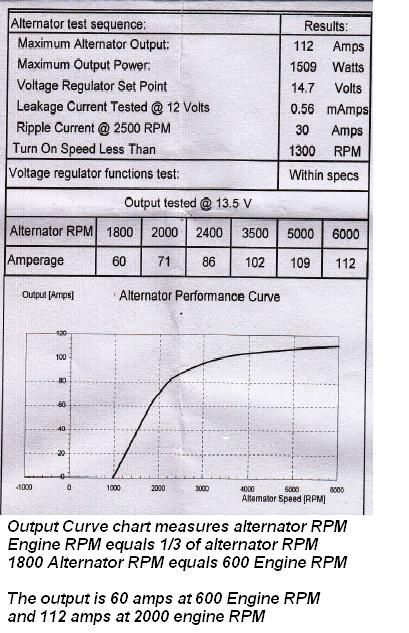
Here are some pics with info for the alternator.
Please let me know if I missed anything or if you need help.
I hope this helps whoever needs it. Good Luck!
Credits
Created By: spacemonkee23
Related Articles
1992 b2600i 4x4. Chevy 17 wheel custom fit center hubs
I could not find a write up on anyone doing a Chevy wheel swap onto a 4x4 so here it is. Wheels are...
How to: custom shifter boot
I thought i would make a thread about the shifter boot i made but although its really easy i wanted ...

How To Tighten Up Loose "Tow Mirrors"
This fix is for the members that have the "tow mirrors" or "large mirrors" on yo...

Suicide Hood Hinge How To, with complete captioned photos
Chris Frye and I decided to make a tech how to out of our hood hinge install day and we chose to ha...