Street Source is shutting down April 30th, 2026. Read the announcement
1961 Ford F-100 Driveway Build

theinternetkid
+1y
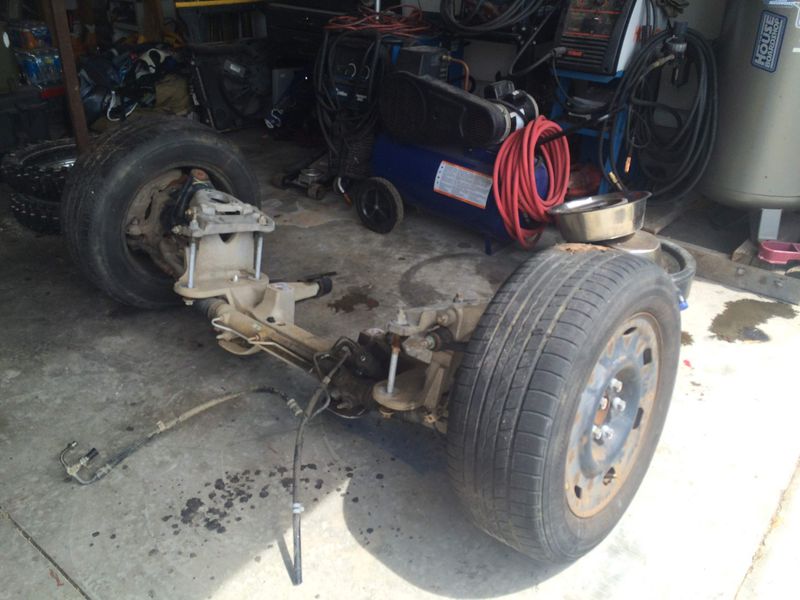
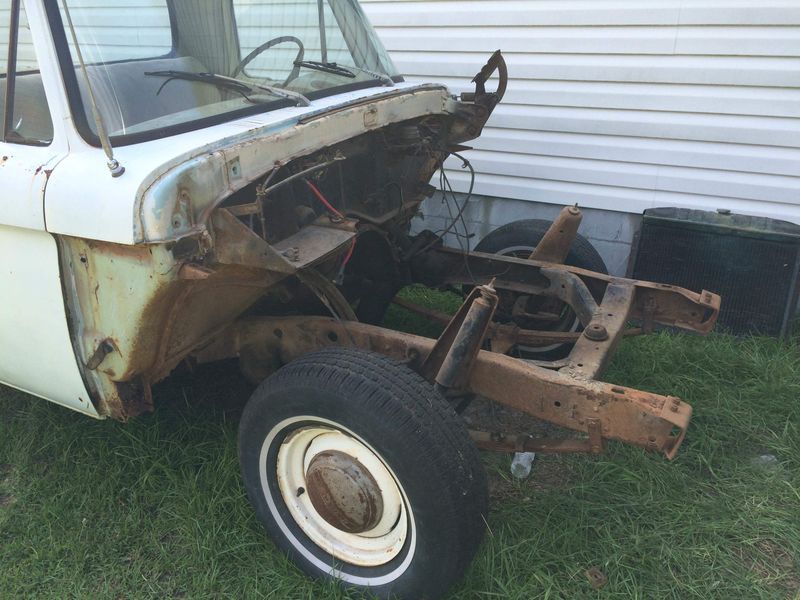
I picked up this truck almost a year ago. I bought it sight unseen from a guy on craigslist in Oklahoma and had it shipped to NC. After some research, I decided to go with the 03+ Crown Vic suspension swap. Using a complete donor car has given me not only the independent control arm front suspension, but also rack and pinion steering, power disc brakes all around, and the 4.6 fuel injected engine. Seems like a good deal as I picked up the donor car with a bad trans for $800. The difference between the CV and F-100 wheel base is only a 1/4", so this whole thing fits the truck very nicely. There are a couple drawbacks. Although the stock wheels tuck, it's close. Any aftermarket wheels will have to have lots of backspacing. Additionally there is a lot of camber with these control arms. All in all, the good out weighed the bad for me, and my goal is to get this project on the road for under $5,0000. Pics to follow...
theinternetkid
+1y
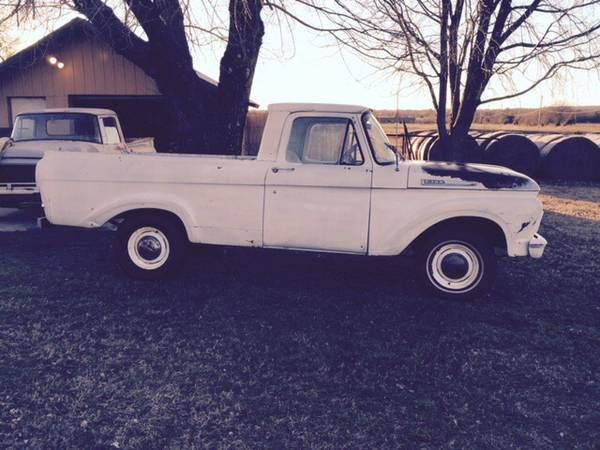
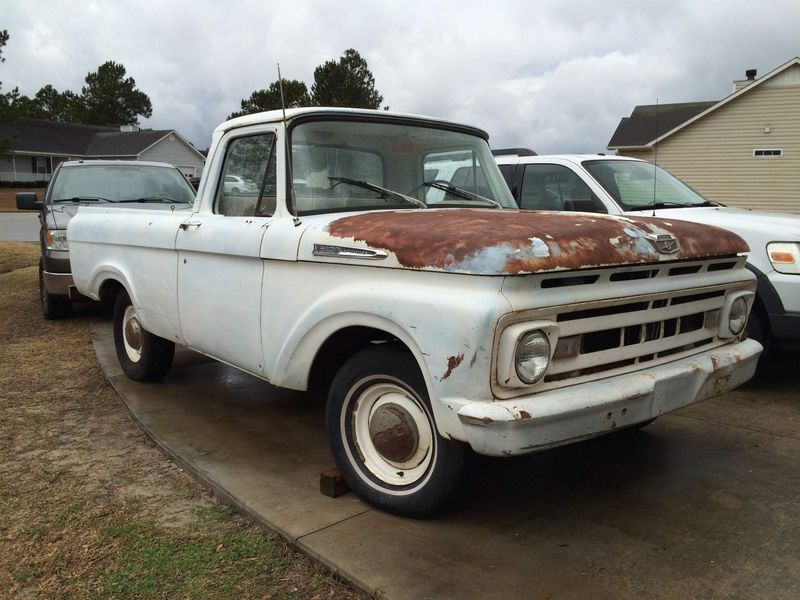
The first pic is from the ad and the second one is sitting in my driveway.
theinternetkid
+1y
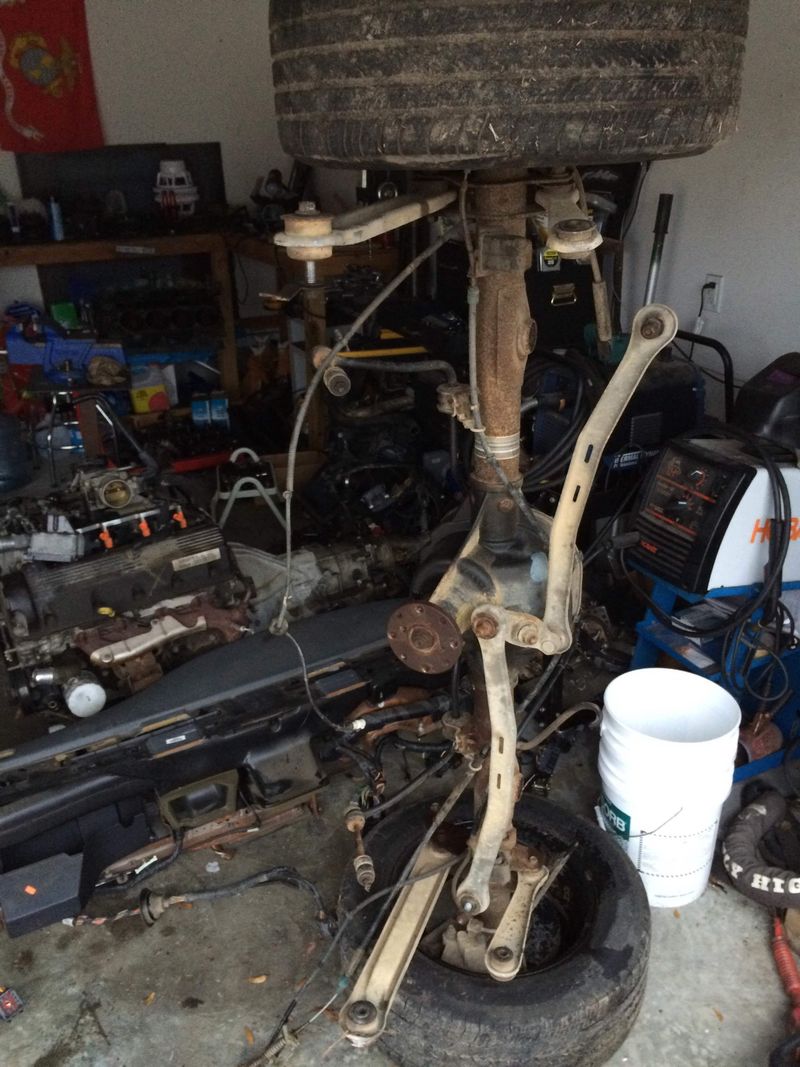
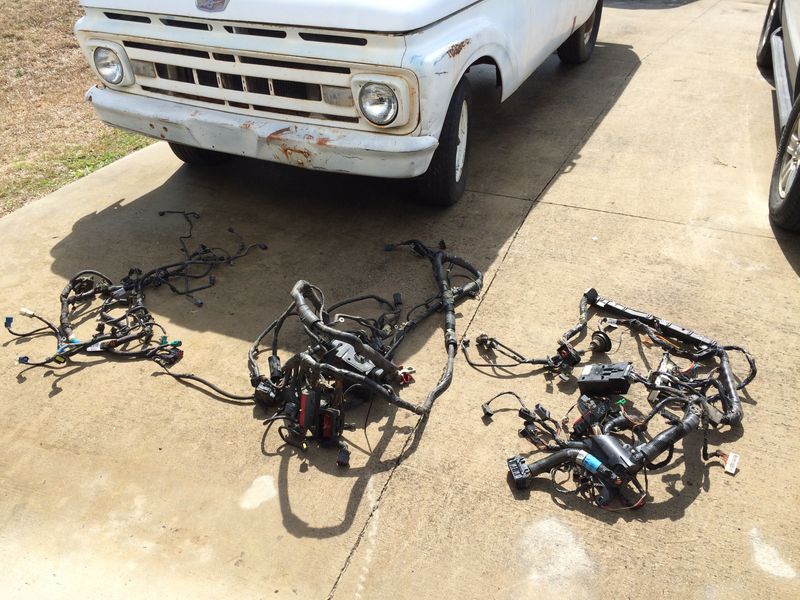
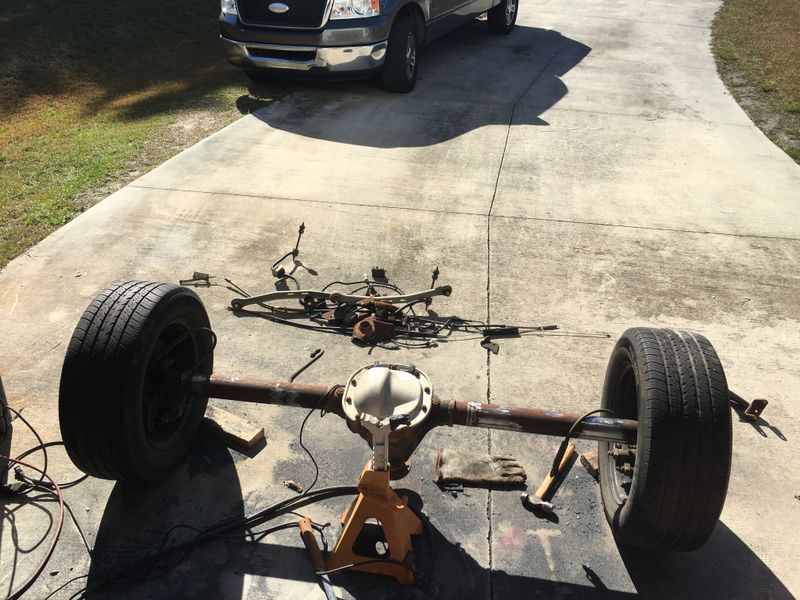
I don't have any pics of the donor car, but here's the pile of parts from the tear down. Everything is from a 2003 Grand Marquis that I picked up for $800, (with a bad transmission). That wiring harness looks like so much fun.
Post was last edited on Dec 25, 2015 04:24. Edited 1
time.
theinternetkid
+1y
Wiring harness
theinternetkid
+1y
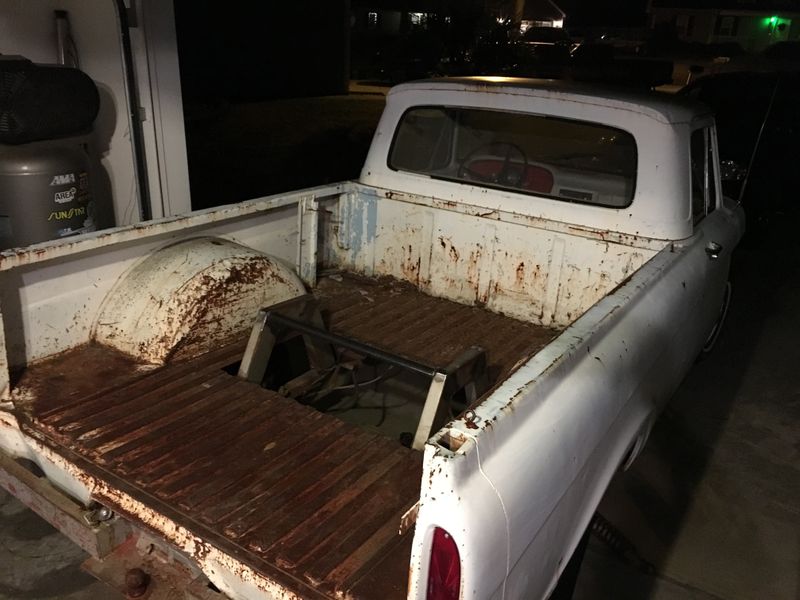
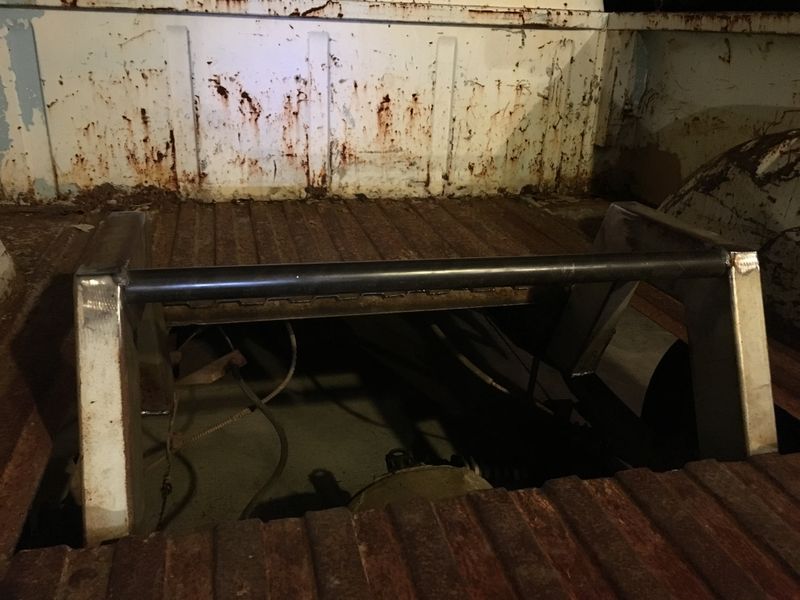
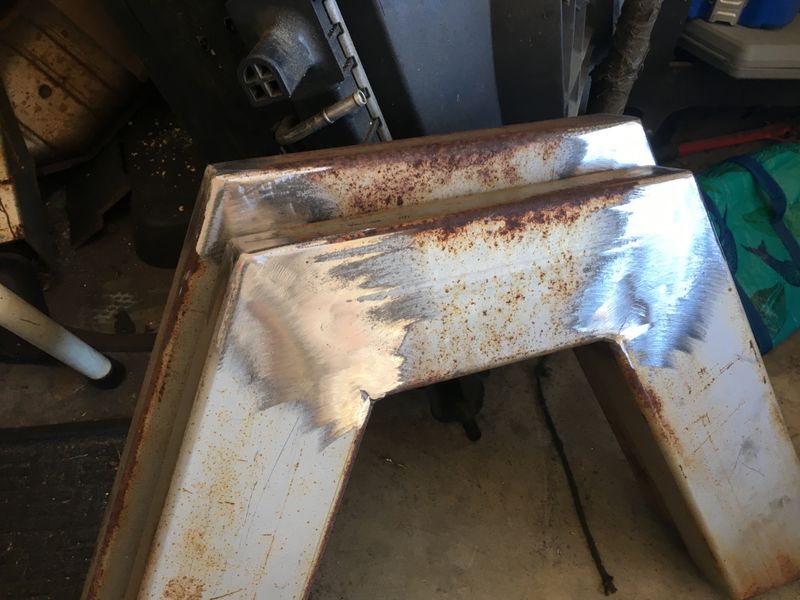
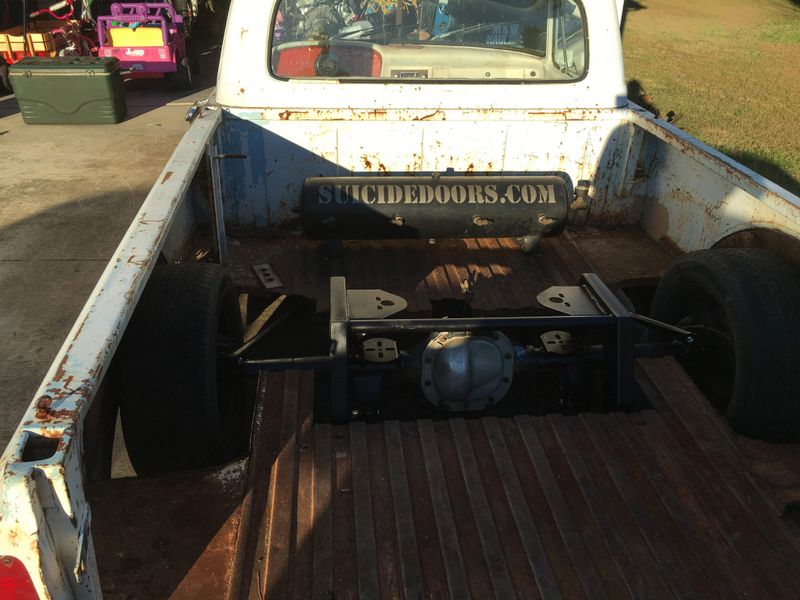
After I built the front bag mounts, (sorry no pics), I made the notch for the rear. It looks big, but the frame doesn't kick up much behind the cab plus I wanted to go a little bigger in case I want to throw big wheels on the truck.
theinternetkid
+1y
After I installed the notch I put the 4 link in. The Grand Marquis rear end was a pain in the ass to clean up with all the stock brackets. I went with a triangulated 4link and bags over the axle for simplicity. I may change it up later, as I'd prefer a parallel 4 link and watts link setup.
theinternetkid
+1y
more photos
theinternetkid
+1y
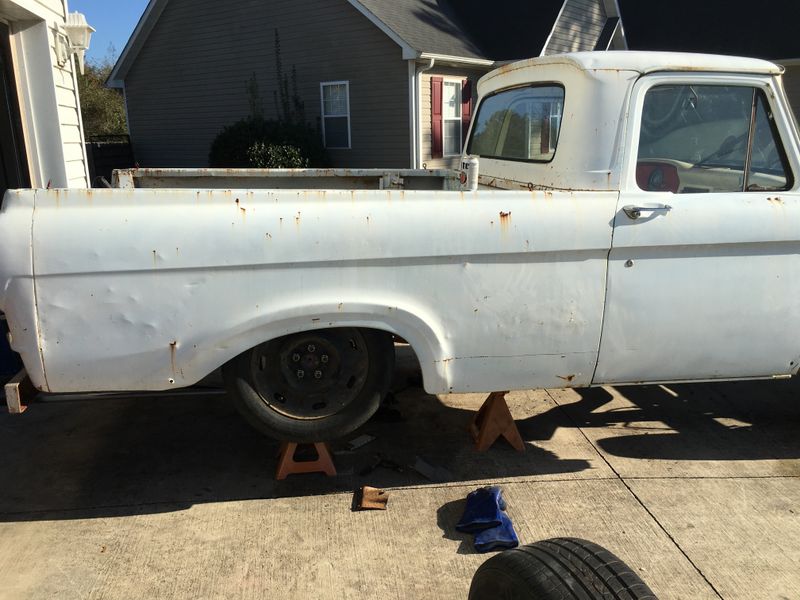
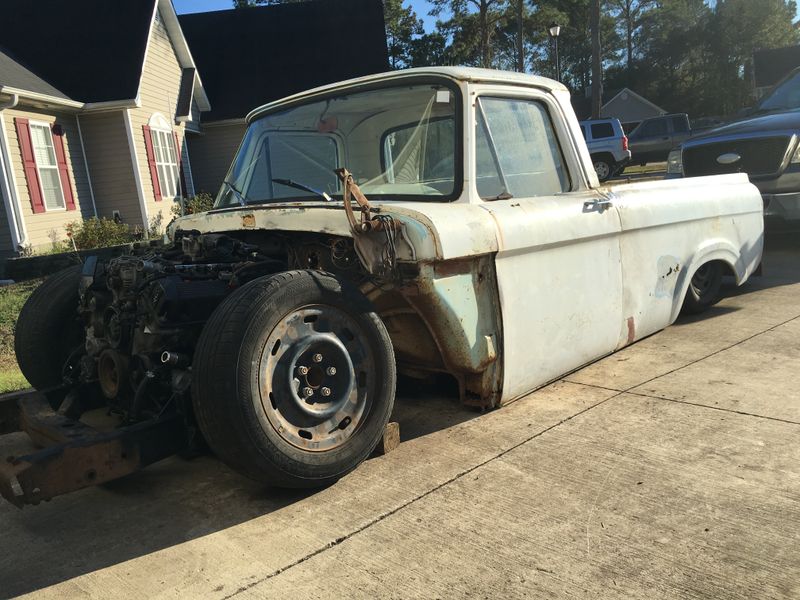
The front was pretty simple as the CV crossmember just bolts on with all the control arms in place already. I should've taken more pics, during the process, oh well. Once the crossmember was in place and bolted up, I had to do a 3" Z for the body/frame to lay, (no body drop required).
theinternetkid
+1y
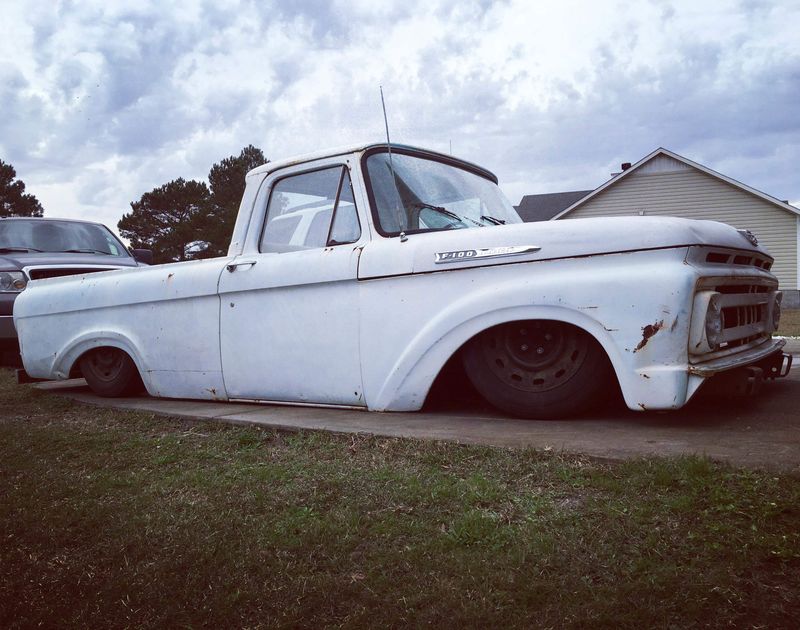
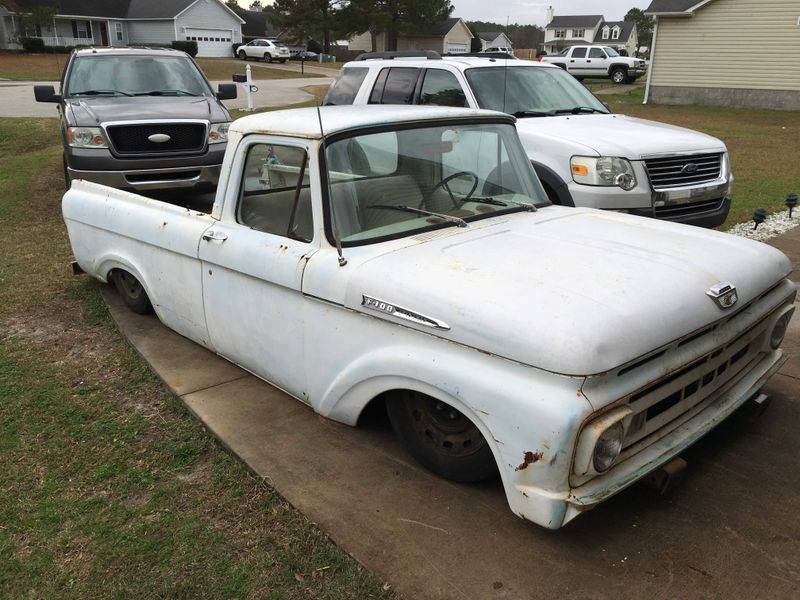
Here's the truck with the front clip mocked up (not bolted down). I threw in the pic of the stock set up because I forgot to put it in earlier. Leaf springs and a straight axle up front.
theinternetkid
+1y
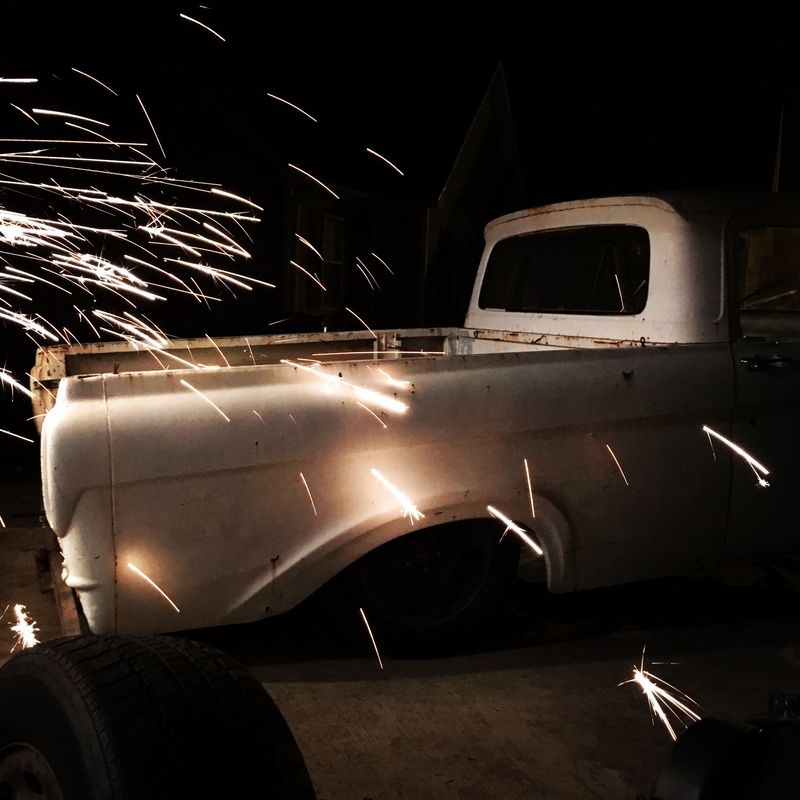
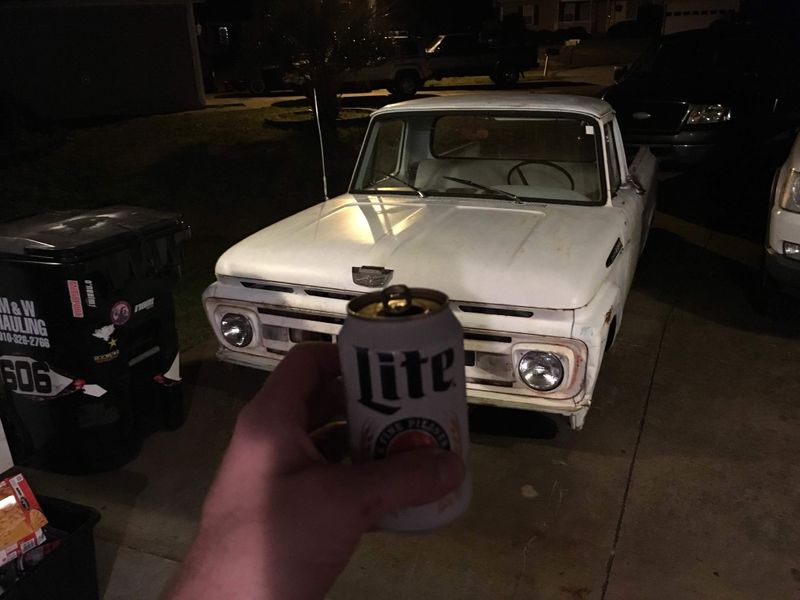
So that's where I sit for now. I'll have a couple more updates before I go overseas for work. Time for a beer.
Related Discussions in Build-Ups
Thread
Posts
Last Post
32

last post by
baha 5 mo
0
V
last post by
Vic 9 mo

168

last post by
truck action +1y