Street Source is shutting down April 30th, 2026. Read the announcement

Project D350 Build Thread

smithchassis
+1y
--------------------------------------------- Originally posted by crewcabondubs thats a very unorthodoxed way of bodydropping a truck! ---------------------------------------------yea no shit... lol it does look very neat though

puddin06
+1y
where did you get the rear wheel wells? they look like motorcycle ones. I am wanting to run mine without a bed with wheel wells like that on it.

D350
+1y
--------------------------------------------- Originally posted by puddin where did you get the rear wheel wells? they look like motorcycle ones.   I am wanting to run mine without a bed with wheel wells like that on it.     --------------------------------------------- Thank you all for the positive feed back and motivation to keep going.  It's much needed when the income starts to slow and the tedious work never seems to end. I just want to drive it, ya know? The wheel well is in fact a fat motorcycle fender for my bosses chopper project.  I just set it there for fun and it made all kinds of crazy ideas start flowing. Luckily I was able to tame my creative mind and get back on track with the simple bed with flared fenders... but we're not there yet. Thanks again guys. 

riddinlow99
+1y
very sweet project man
9
94NissanLaysDoor
+1y
This is bad ass!
D350
+1y
Edited: 2/10/2009 9:28:58 PM by D350
August 17, 2008Ok this sucked so bad it gets it's own entry with it's own date.
For those of you who have access to high quality plasma cutters... I envy you.
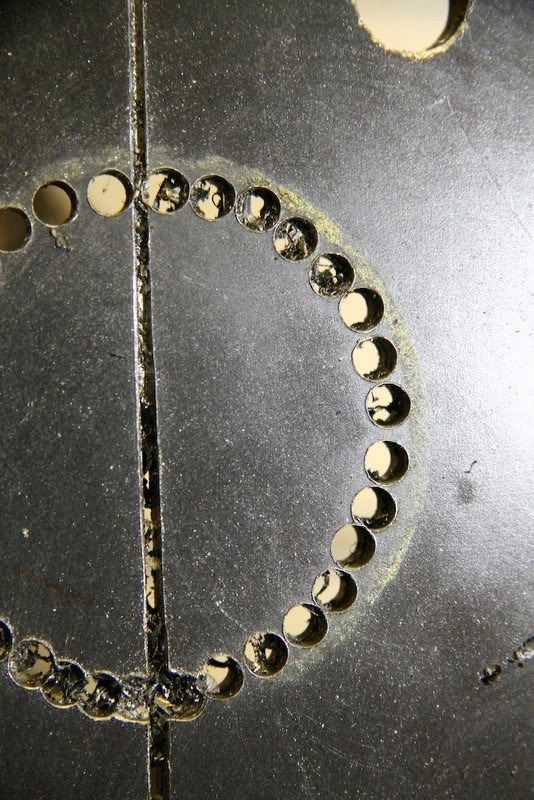
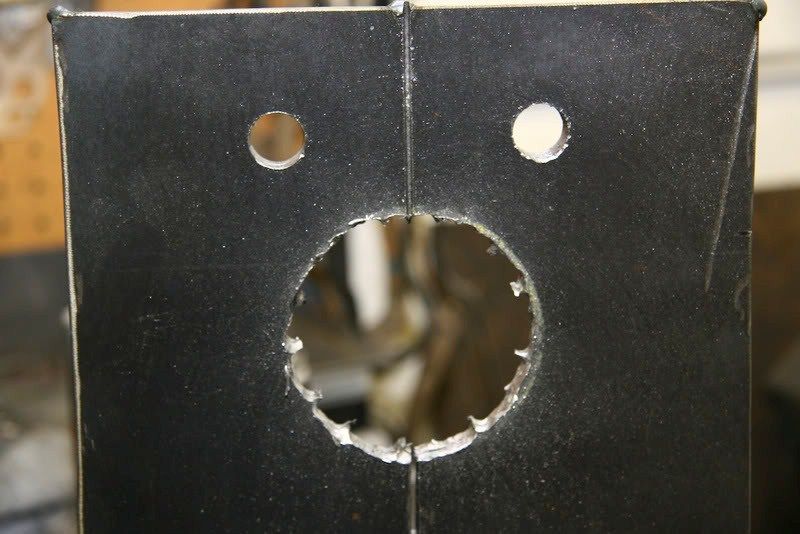
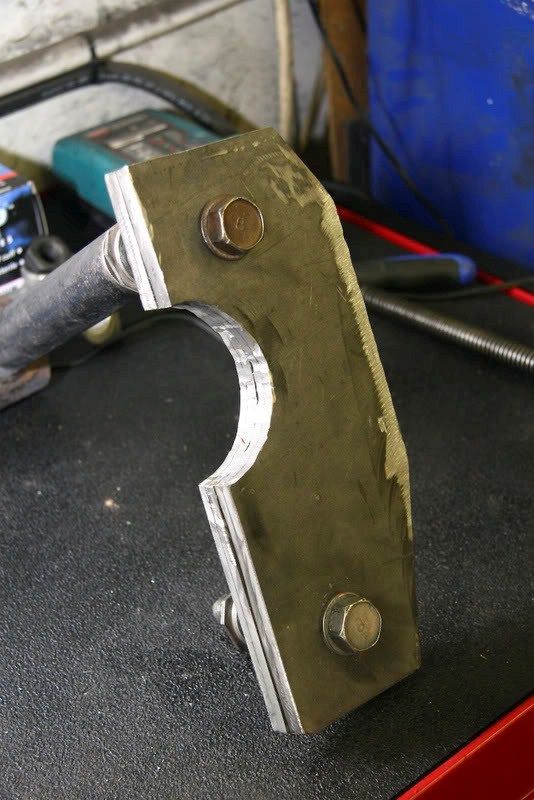
It took me 4 plus hours to make 4 rear axle four-link brackets out of 3/8 inch plate steel.  "Why didn't you just BUY brackets, Aaron?"  Because I needed brackets that are mathematically  correct with anti-squat in mind.  I intend to take this truck to the drag strip.  These brackets will give proper angle to my link bars at ride height and insure that my tires are forced into the ground on launch.  Maybe I'll be lucky enough to snap a drive shaft!  What better pat on the back is there?After making brackets, I was done.  I just wanted to go home.  Here they are.  Nothing exciting.This is two brackets, scored down the center but not cut all the way through.  Taking place of a plasma cutter was my handy drill press.Using a standard drill I connected the dots and beat the snot out of it with a hammer until I got a hole the size of my axle tube. Lastly I cut the brackets into their own pieces, bolted them together, and cleaned up the edges to be sure they will all be positioned on the axle accurately. And then I went home.  
August 17, 2008Ok this sucked so bad it gets it's own entry with it's own date.
For those of you who have access to high quality plasma cutters... I envy you.
It took me 4 plus hours to make 4 rear axle four-link brackets out of 3/8 inch plate steel.  "Why didn't you just BUY brackets, Aaron?"  Because I needed brackets that are mathematically  correct with anti-squat in mind.  I intend to take this truck to the drag strip.  These brackets will give proper angle to my link bars at ride height and insure that my tires are forced into the ground on launch.  Maybe I'll be lucky enough to snap a drive shaft!  What better pat on the back is there?After making brackets, I was done.  I just wanted to go home.  Here they are.  Nothing exciting.This is two brackets, scored down the center but not cut all the way through.  Taking place of a plasma cutter was my handy drill press.Using a standard drill I connected the dots and beat the snot out of it with a hammer until I got a hole the size of my axle tube. Lastly I cut the brackets into their own pieces, bolted them together, and cleaned up the edges to be sure they will all be positioned on the axle accurately. And then I went home.  
D350
+1y
August 18, 2008
A big thanks goes out to my brother Nate for this one.
I wanted a 5 lug Mustang axle with posi-traction and disc brakes... and I couldn't find one anywhere.  The one place that had one wanted $500 for it.  Screw that!
I nearly went with a Jaguar independent rear suspension set up with inboard disc brakes.  It would've been really cool if it wasn't rusted to hell when I went to pick it up.  It wasn't posi anyway.
So ANYWAY, my brother hears what I want and we set off to the junk yard once more.  I told him they didn't have what I wanted the day before but we went anyway.
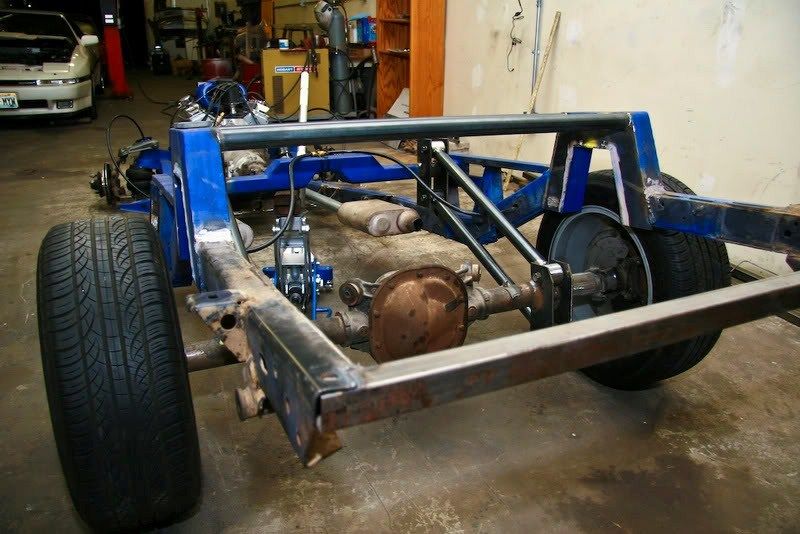
Sure enough... nothing.  So Nate, the Mustang whiz starts tearing apart an old 90s Fox Body Mustang GT posi axle.  He rips off the drum brakes and pulls out the 4 lug axles.  Then he locates a '04 V6 Mustang with disc brakes.  He takes off all of the disc brake parts and pulls out the 5 lug axles, and carries it back to the old Fox Body.  Amazingly, (to me) everything he just snagged from the '04 bolted right up to the old axle.  Abracadabra... we had the equivalent of an '04 Mustang GT 5 lug posi-traction axle.
The kicker... the scrap yard charged me $135 for it.
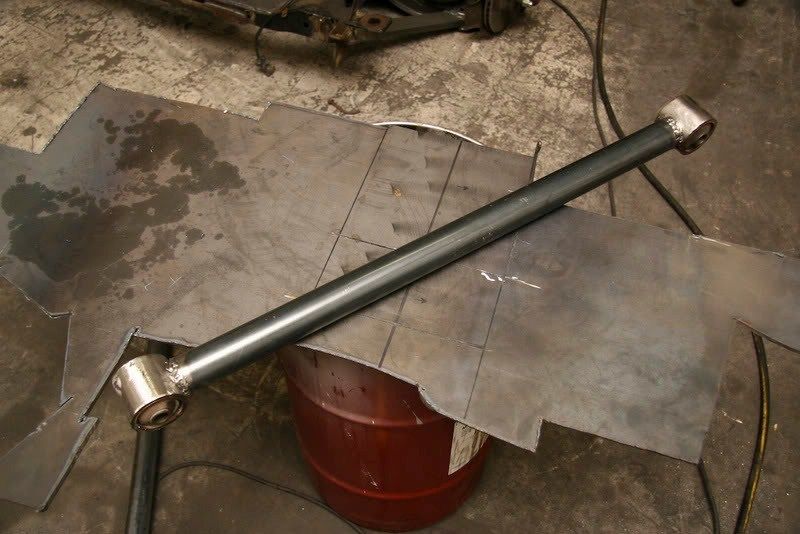
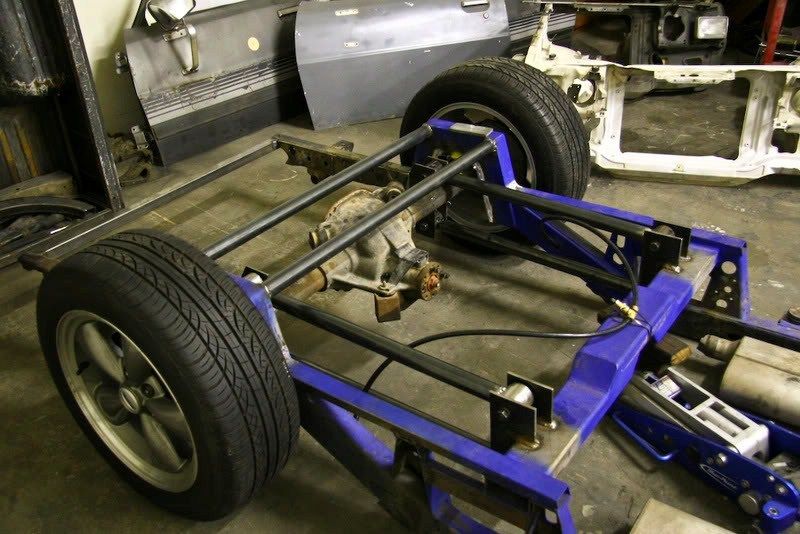
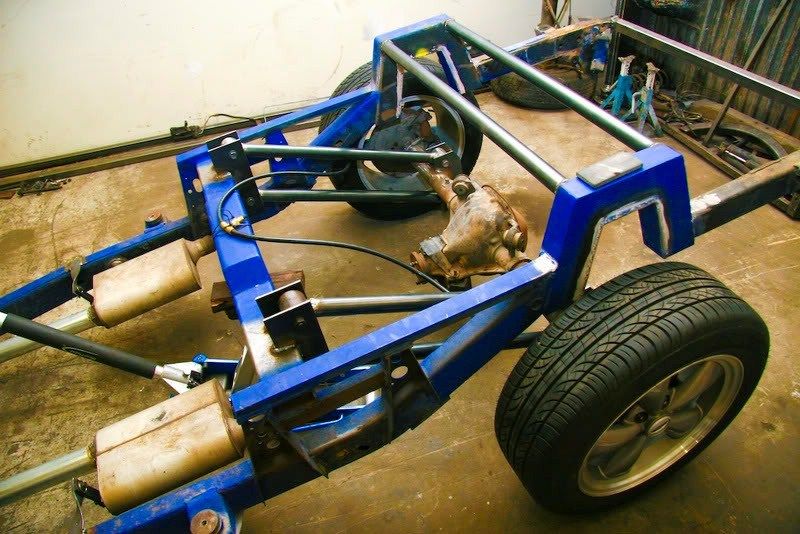
I couldn't wait to get back to the shop and put it all together... This is one of four link bars.  The ends are from a Toyota 4runner and they are elongated using very heavy gauge steel piping.  I choose to do it this way because the Toyota's link ends have proven themselves to be strong and I don't like the idea of adjustable links with jamb nuts.  The way I see it... if I make precise measurements, there should be no need to adjust them.  If I'm wrong I will make adjustments at the link brackets.   My method for mounting the axle was to temporarily weld the axle to the frame notch using my old U bolts.  This allowed me to slide the axle side to side and tilt the pinion angle up and down.  Once everything was perfect, I tacked the U bolts to the axle to keep it from moving.  Then I welded the brackets and link bars into place.   Once everything was welded I cut off the U bolts to free the axle from the frame.  I jacked up the frame far beyond the max height of the air bags to make sure I did my math right and make sure the pinion angle didn't change. 
Perfection.  Good thing too... I fully welded the brackets rather than tacking them.  It would've been a bitch to cut them off if I had messed up.
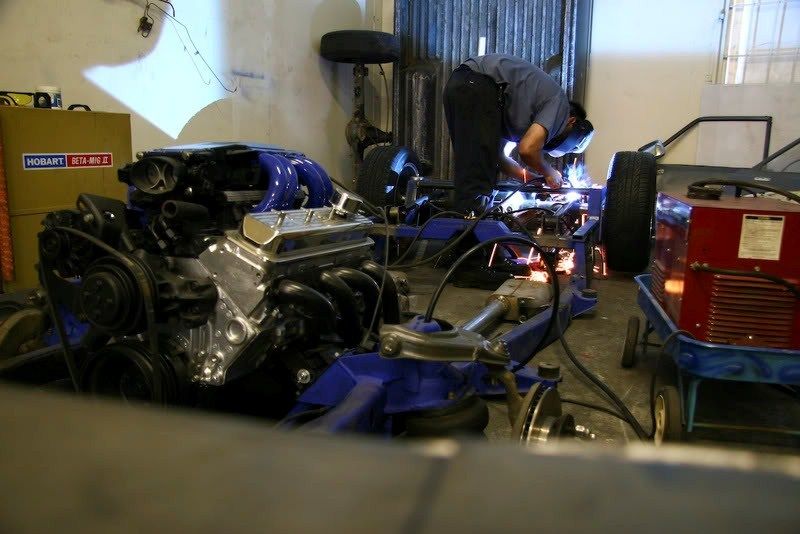
ALWAYS TACK WELD FIRST!   Here's me doing what I love.  
A big thanks goes out to my brother Nate for this one.
I wanted a 5 lug Mustang axle with posi-traction and disc brakes... and I couldn't find one anywhere.  The one place that had one wanted $500 for it.  Screw that!
I nearly went with a Jaguar independent rear suspension set up with inboard disc brakes.  It would've been really cool if it wasn't rusted to hell when I went to pick it up.  It wasn't posi anyway.
So ANYWAY, my brother hears what I want and we set off to the junk yard once more.  I told him they didn't have what I wanted the day before but we went anyway.
Sure enough... nothing.  So Nate, the Mustang whiz starts tearing apart an old 90s Fox Body Mustang GT posi axle.  He rips off the drum brakes and pulls out the 4 lug axles.  Then he locates a '04 V6 Mustang with disc brakes.  He takes off all of the disc brake parts and pulls out the 5 lug axles, and carries it back to the old Fox Body.  Amazingly, (to me) everything he just snagged from the '04 bolted right up to the old axle.  Abracadabra... we had the equivalent of an '04 Mustang GT 5 lug posi-traction axle.
The kicker... the scrap yard charged me $135 for it.
I couldn't wait to get back to the shop and put it all together... This is one of four link bars.  The ends are from a Toyota 4runner and they are elongated using very heavy gauge steel piping.  I choose to do it this way because the Toyota's link ends have proven themselves to be strong and I don't like the idea of adjustable links with jamb nuts.  The way I see it... if I make precise measurements, there should be no need to adjust them.  If I'm wrong I will make adjustments at the link brackets.   My method for mounting the axle was to temporarily weld the axle to the frame notch using my old U bolts.  This allowed me to slide the axle side to side and tilt the pinion angle up and down.  Once everything was perfect, I tacked the U bolts to the axle to keep it from moving.  Then I welded the brackets and link bars into place.   Once everything was welded I cut off the U bolts to free the axle from the frame.  I jacked up the frame far beyond the max height of the air bags to make sure I did my math right and make sure the pinion angle didn't change. 
Perfection.  Good thing too... I fully welded the brackets rather than tacking them.  It would've been a bitch to cut them off if I had messed up.
ALWAYS TACK WELD FIRST!   Here's me doing what I love.  

slammed89s10
+1y
good project man...you got some crazy ideas...cant wait to see more progress!
9
92zuzuman
+1y
This thing is ridiculous. Awesome job.

standardbyker88
+1y
wow...duuuude. and what about a plexi window?
Related Discussions in Minitruckin' Magazine
Thread
Posts
Last Post
29

last post by
e10pvmt +1y
Any Tri City, Wa Mini Truckers on here and want to hang out/ go to a show?

last post by
tacomatoy2001 +1y
0
0
last post by
tacomatoy2001 +1y
