Street Source is shutting down April 30th, 2026. Read the announcement

93 S10 Cummins 4BT swap

elbine69
+1y
Its been a little a bit since I've posted anything on the Bscene, here's what I've been working on lately.
We're swapping a 4BT into a bagged 93 S10 so it can pull the bagged camper faster than 60 mph haha.
Some specifics, engine is a ~99 with somewhere around 160k. Came with a Eaton 5 speed attached, we wont be using that. Transmission is a M5OD out of a 97 F150. Adapter plate is the OEM Cummins to Ford. We attempted to use the starter for the P30 stepvan that is listed in the sticky on the 4bt swap forum, but due to the way the starter motor is clocked it interfered with the upper control arm of the truck and wouldn't let it sit down as far as needed. To fix this we ended up with a starter for a 99 7.3 power stroke, this bolted right up with no issues once the spacer plate for the other starter was removed. We reused the oil pan by flipping it around to clear the crossmember, all that was needed was a rear sump oil pickup tube and to move the dipstick location. Extensive modification of the crossmember of the frame, firewall and transmission tunnel were needed.
Ill try to keep this updated as we get more accomplished.
Follow us on instagram as well for updates: @jpart84 and @flashmoto121
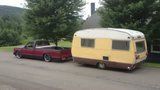
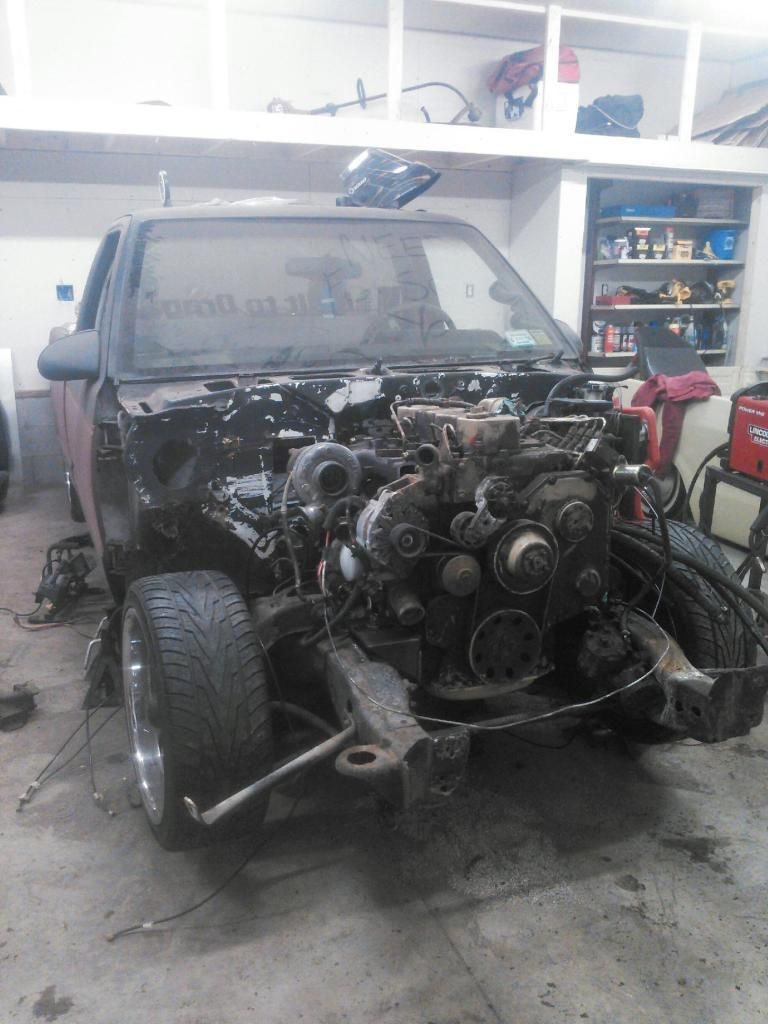
The truck and camper (the first one is a video if you click on it).
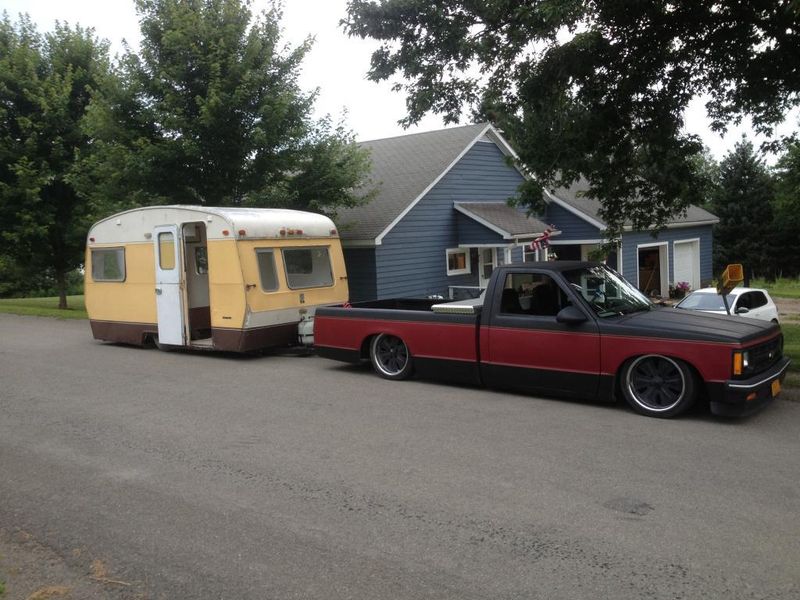
The engine after removing all the unnecessary parts.
Video of it running [url="]
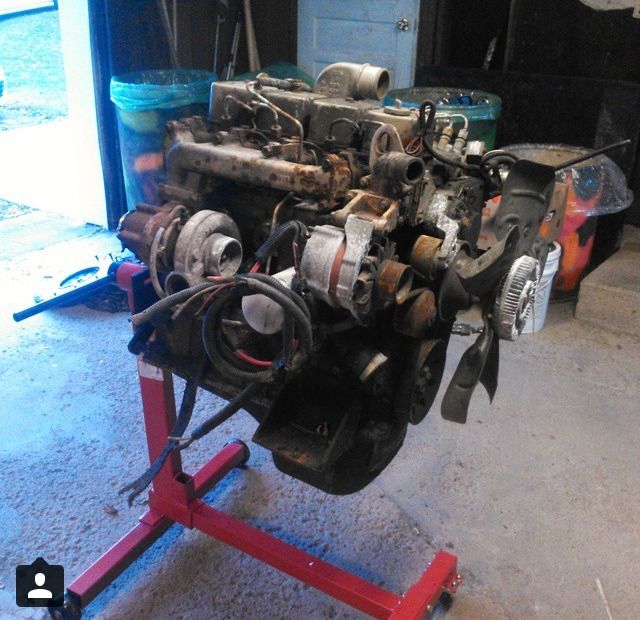
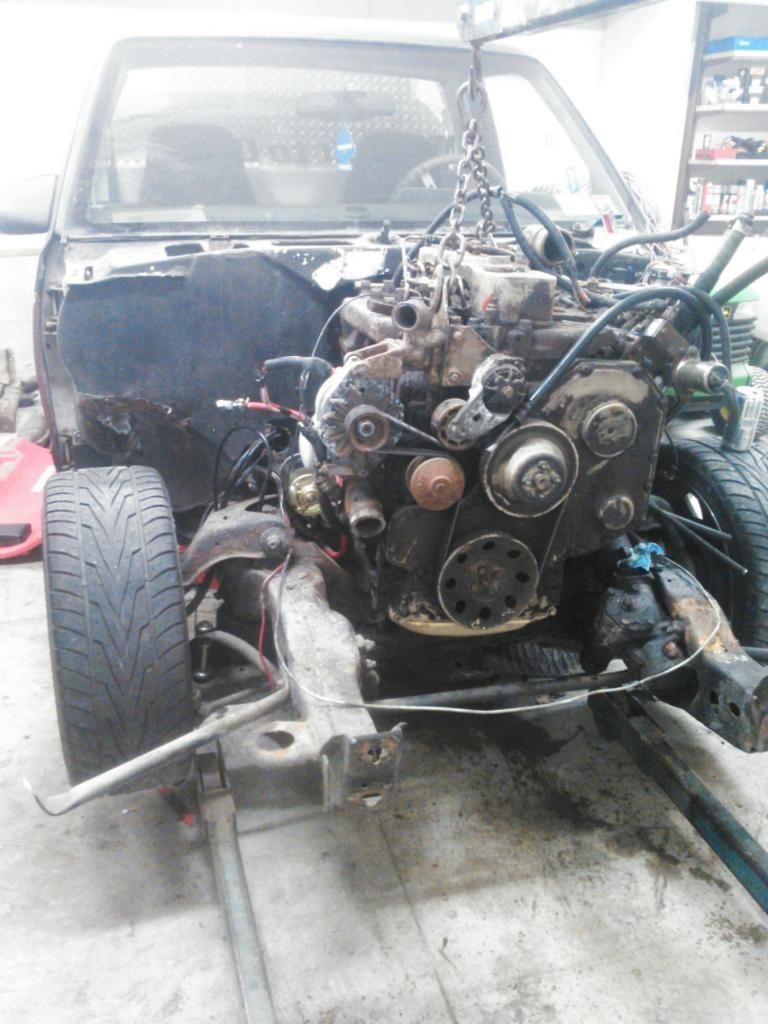
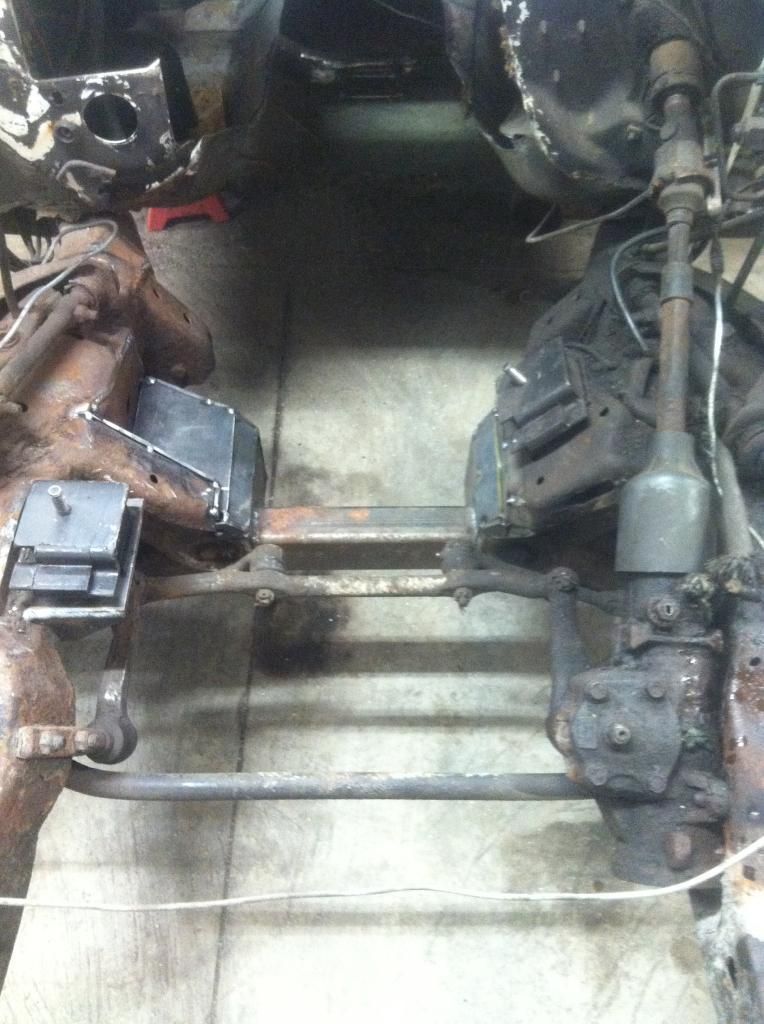
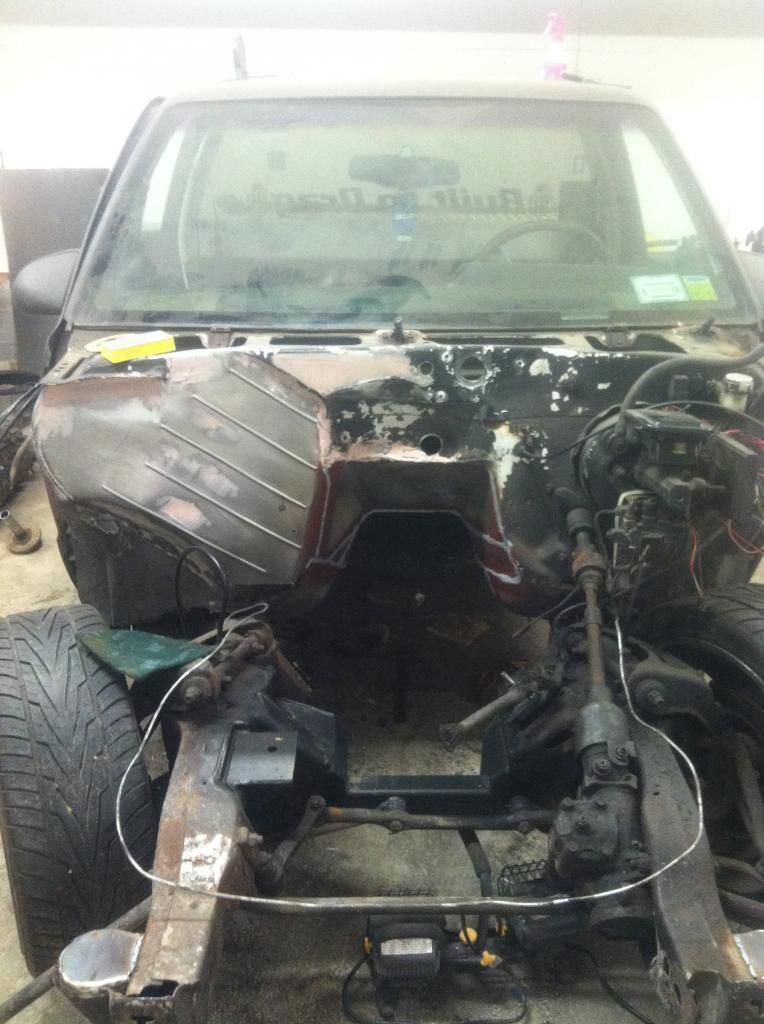
Start of the tear down.
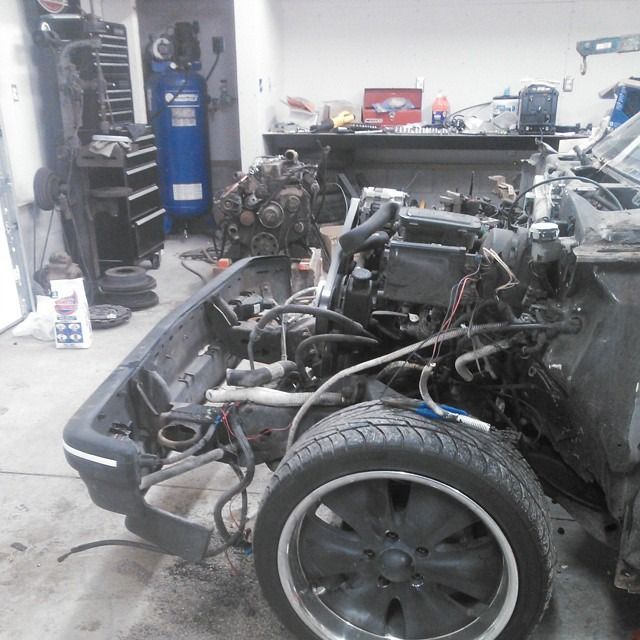
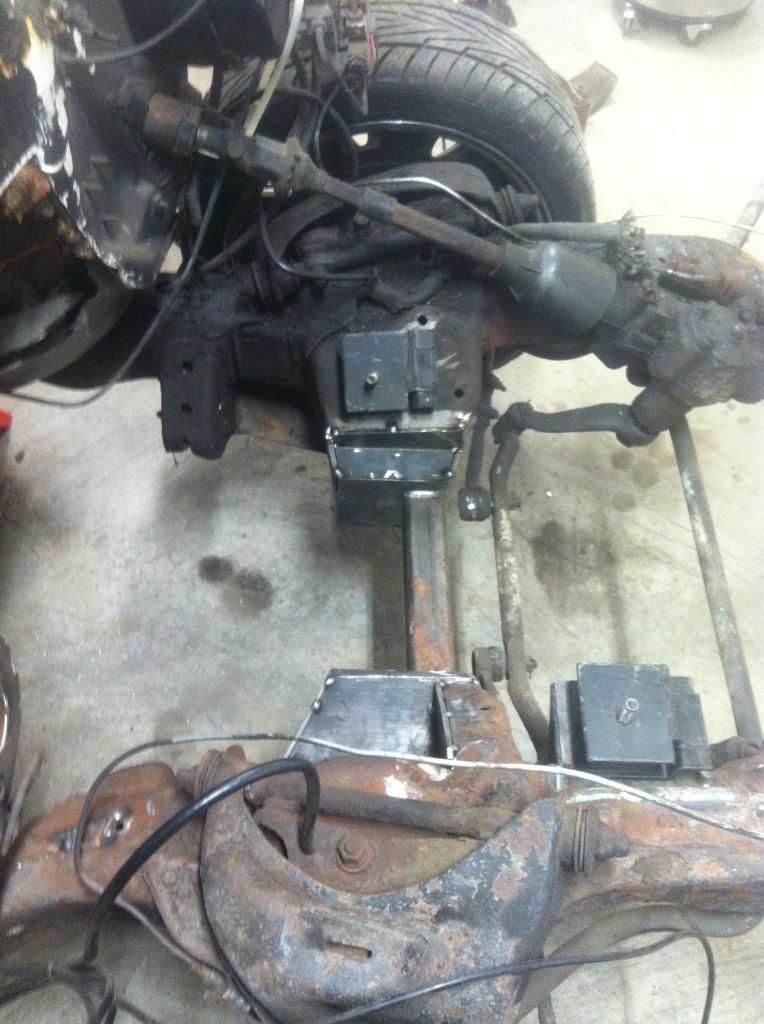
This was the first time the engine was set in, you can see the starter basically sitting on the passenger side upper control arm. The engine started to look a whole lot bigger at this point.
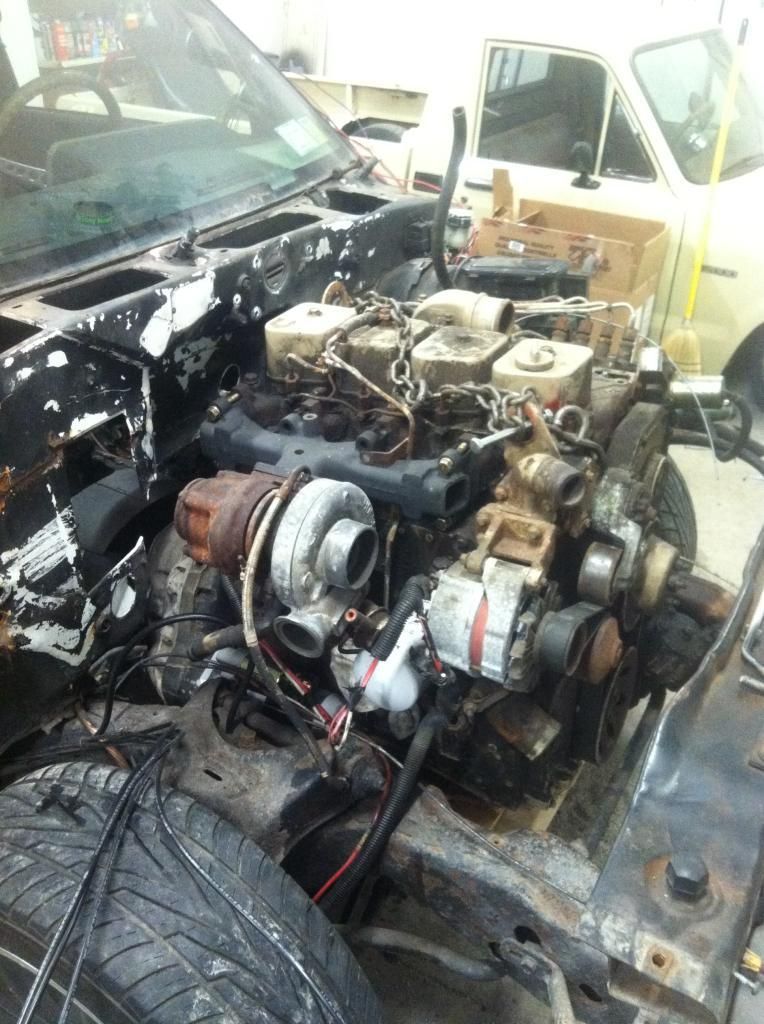
After a lot of taking the engine in and out and getting the powerstroke starter, we got everything clearanced and were able to get it low enough to make the stock hood work.
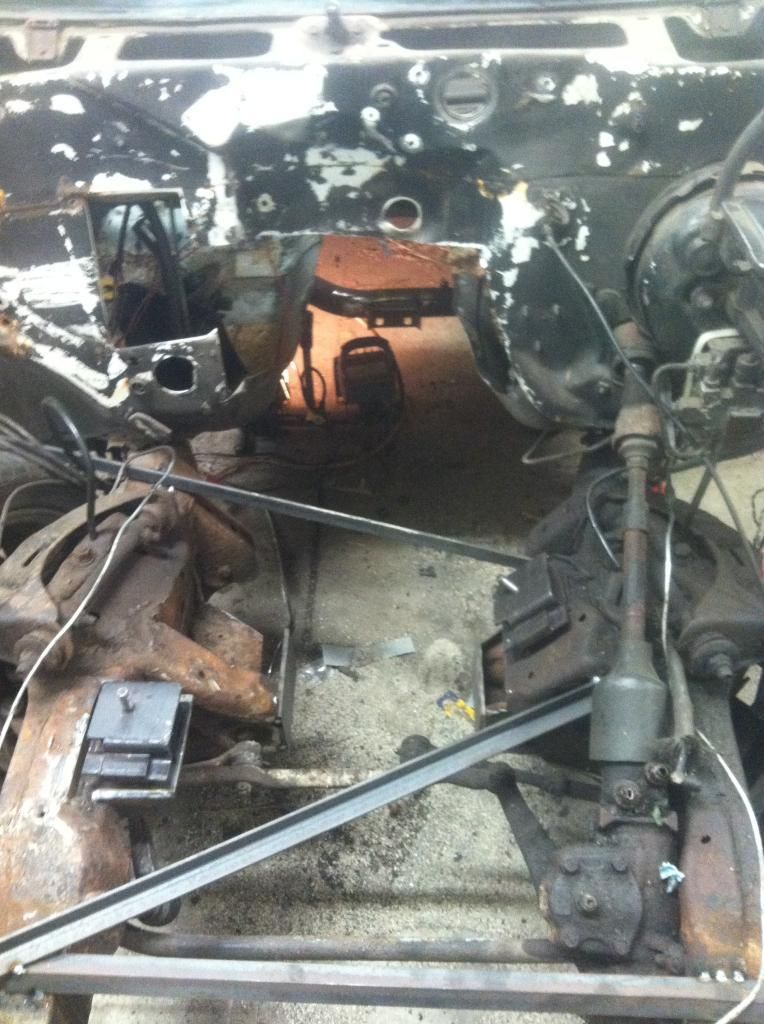
This shows the big hole we created that has to be filled back in haha. You can also see how much was taken out of the crossmember.

The clearance for the transmission, this one is quite a bit taller than what came stock. We may need to tunnel for the driveshaft, but that will wait until it is made.
With everything now fitting in, we started the motor mounts. Passenger side started.
We reused the original brackets that came with the engine, just cut them apart and made them fit to our needs. This is a shot of the passenger side.
And here it is sitting in the truck on the mounts. We modified the transmission crossmember and moved it back around 4 inches.
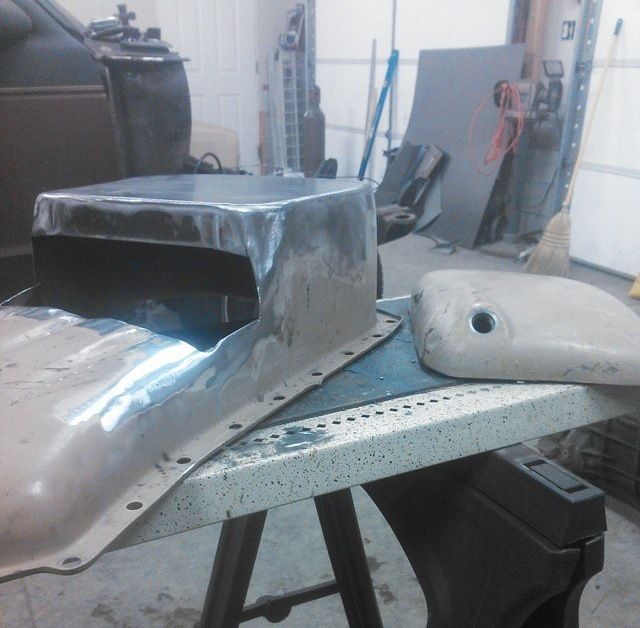
In order to get the engine to sit low enough, the pan needed to be clearanced.
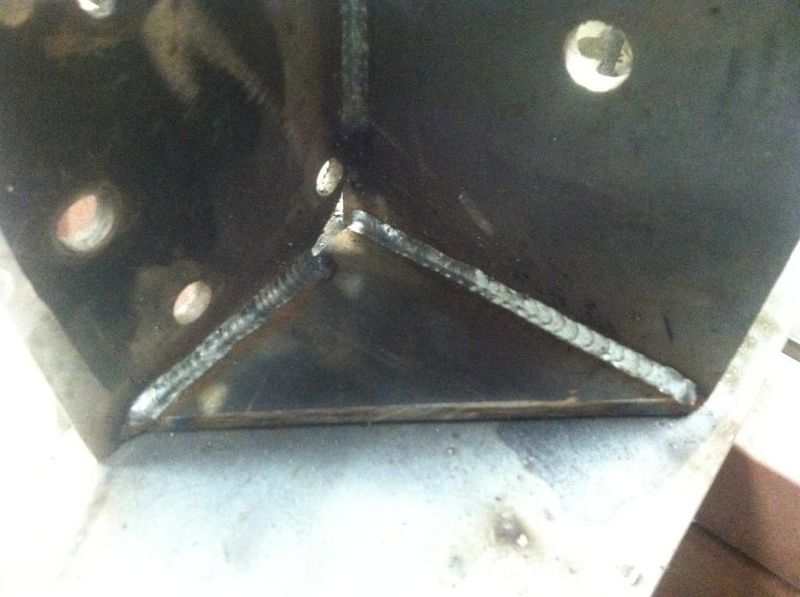
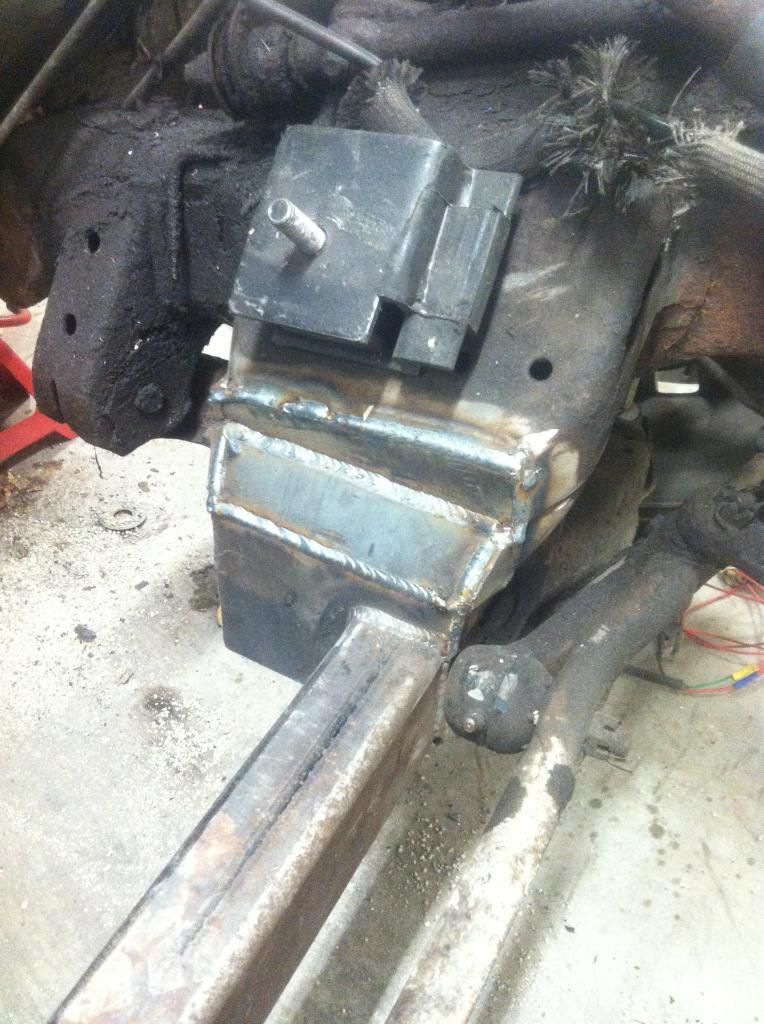
After the pan was finished, we could start boxing back in the crossmember. This shows it braced up and the center cut out.
A piece of 2x3 1/4" wall tubing was used in the center and the rest filled back in with 1/4" plate. The recess on the passenger side is for the starter.
Welded up.
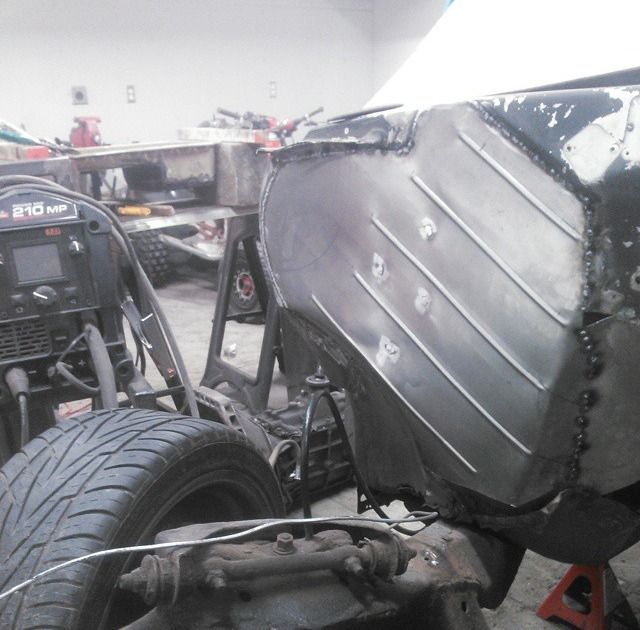
With the engine and transmission location set, the firewall started going back in. We made a panel for the blower box delete and added a few bead rolls.
Finished and seam sealed.
Primered and almost finished.

That is where the project is at this point, we are going to get the driveshaft measured and hopefully made this week. Today we are planning to get the new upper control arms on and the engine and trans back in. Ill keep this updated, thanks for looking!
We're swapping a 4BT into a bagged 93 S10 so it can pull the bagged camper faster than 60 mph haha.
Some specifics, engine is a ~99 with somewhere around 160k. Came with a Eaton 5 speed attached, we wont be using that. Transmission is a M5OD out of a 97 F150. Adapter plate is the OEM Cummins to Ford. We attempted to use the starter for the P30 stepvan that is listed in the sticky on the 4bt swap forum, but due to the way the starter motor is clocked it interfered with the upper control arm of the truck and wouldn't let it sit down as far as needed. To fix this we ended up with a starter for a 99 7.3 power stroke, this bolted right up with no issues once the spacer plate for the other starter was removed. We reused the oil pan by flipping it around to clear the crossmember, all that was needed was a rear sump oil pickup tube and to move the dipstick location. Extensive modification of the crossmember of the frame, firewall and transmission tunnel were needed.
Ill try to keep this updated as we get more accomplished.
Follow us on instagram as well for updates: @jpart84 and @flashmoto121
The truck and camper (the first one is a video if you click on it).
The engine after removing all the unnecessary parts.
Video of it running [url="]
Start of the tear down.
This was the first time the engine was set in, you can see the starter basically sitting on the passenger side upper control arm. The engine started to look a whole lot bigger at this point.
After a lot of taking the engine in and out and getting the powerstroke starter, we got everything clearanced and were able to get it low enough to make the stock hood work.
This shows the big hole we created that has to be filled back in haha. You can also see how much was taken out of the crossmember.
The clearance for the transmission, this one is quite a bit taller than what came stock. We may need to tunnel for the driveshaft, but that will wait until it is made.
With everything now fitting in, we started the motor mounts. Passenger side started.
We reused the original brackets that came with the engine, just cut them apart and made them fit to our needs. This is a shot of the passenger side.
And here it is sitting in the truck on the mounts. We modified the transmission crossmember and moved it back around 4 inches.
In order to get the engine to sit low enough, the pan needed to be clearanced.
After the pan was finished, we could start boxing back in the crossmember. This shows it braced up and the center cut out.
A piece of 2x3 1/4" wall tubing was used in the center and the rest filled back in with 1/4" plate. The recess on the passenger side is for the starter.
Welded up.
With the engine and transmission location set, the firewall started going back in. We made a panel for the blower box delete and added a few bead rolls.
Finished and seam sealed.
Primered and almost finished.
That is where the project is at this point, we are going to get the driveshaft measured and hopefully made this week. Today we are planning to get the new upper control arms on and the engine and trans back in. Ill keep this updated, thanks for looking!

dan woodland
+1y
I'm not pro but that work looks very good. Nice job!!
Related Discussions in Mazda Projects
Thread
Posts
Last Post
852

last post by
skrapinsask +1y
150

last post by
cherokeed +1y