Street Source is shutting down April 30th, 2026. Read the announcement
(HOW TO) TECH WRITE UP ON DRIVE SHAFT BRAKES: (HOW TO)
Last Updated: Feb 24, 2015
TECH WRITE UP ON DRIVE SHAFT BRAKES:
The idea here is to make the truck look cleaner
at the wheels without seeing the brakes behind them.
By adding a disk brake to the rear
it puts the stopping force at the drive shaft.
It acts as your truck does when you down shift
going down a hill.
And not at each of the rear wheels.
Keep in mind to, this requires some fabrication
skills on your part. If you don't think you can do
it take it to a shop.
Now you have 3 options here.
1. Make a rotor. tried it would work but looks
like hell and was a pain to do.
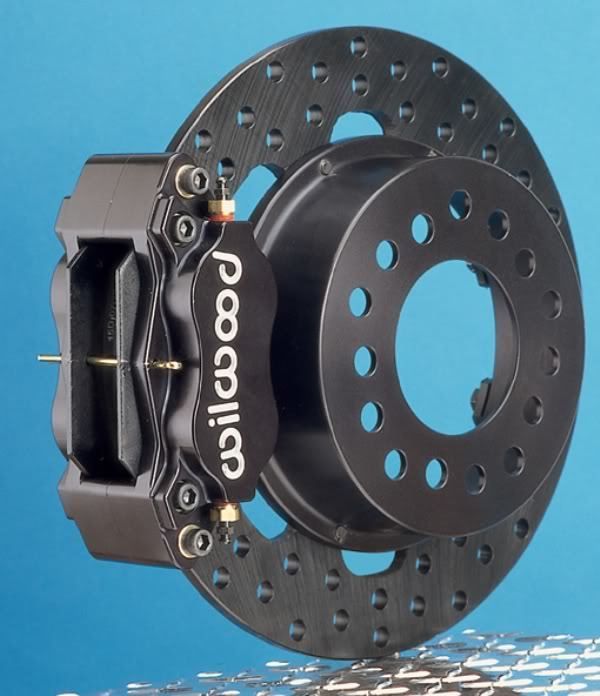
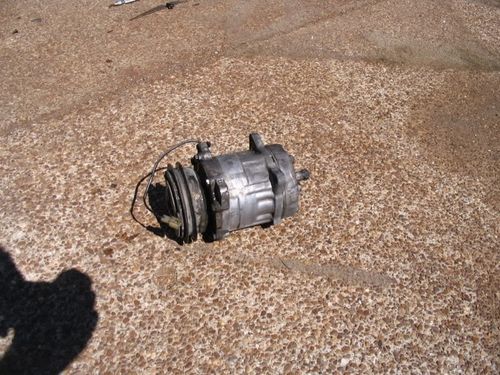
2. Use a rear rotor from a car or race car
like this one. (They cost a lot)
3. use a rotor from a big street bike,
yes one from a motorcycle. go figure ha ha.
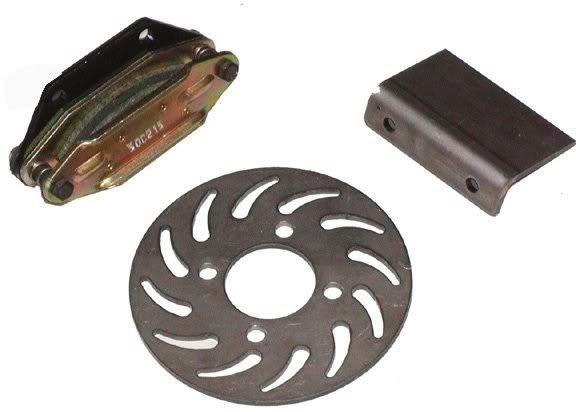
#3 is the way i went.
*NOTICE*
i didn't care about a parking brake.
but if you need or want one. you will need to
get a caliper with the parking brake lever on it
also with the place for the brake line.
If you use a caliper with it.
parking brake cable attachment must be considered,
THINGS YOU WILL NEED:
Rotor. (use one from a cycle that has the same
bolt patten as your rear-end.)
Caliper (buy new from a cycle shop)
Caliper mounting bracket (needs to be made)
(4) longer grade 8 drive-shaft bolts
with lock washers and nuts.
(2) bolts to mount caliper to mount
(2) longer grade 8 rear-end cover bolts
with lock washers.
new rear brake-line as they always break
when removing them.
OK lets get started:
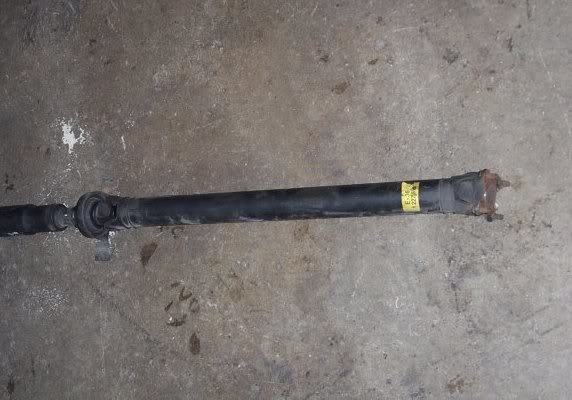
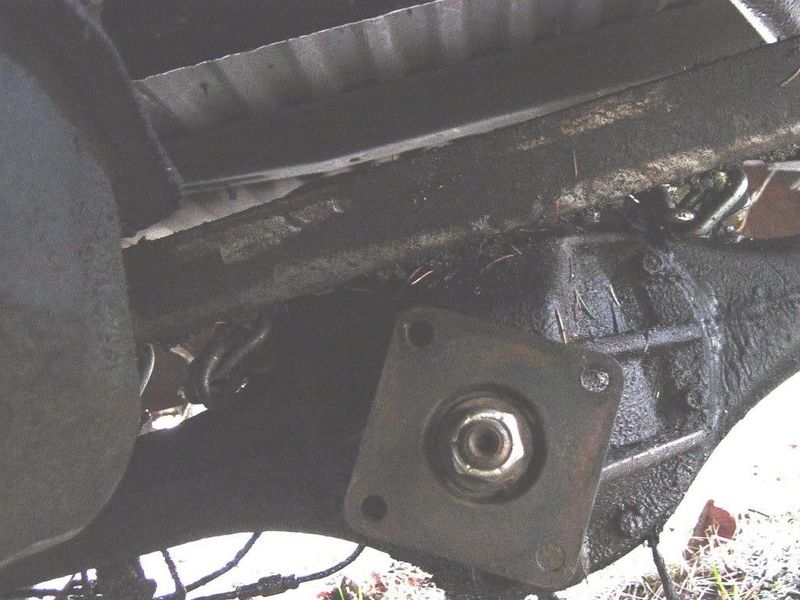
Remove your drive-shaft. From trans to rear-end
as a whole unit. and set it aside.
After drive-shaft removed measure your rear-end
flange bole circle or place cardboard over it and
cut cardboard around flange and poke holes in it
so it looks like a cardboard flange that you can
take to a cycle shop to match the bolt patten
for a rotor.(remember the big bolt in center.
The hole in rotor has to be big enough for
that bolt to go Thur it.)
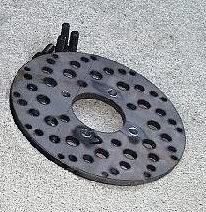
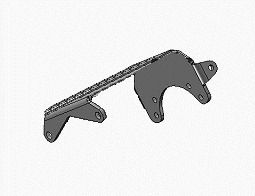
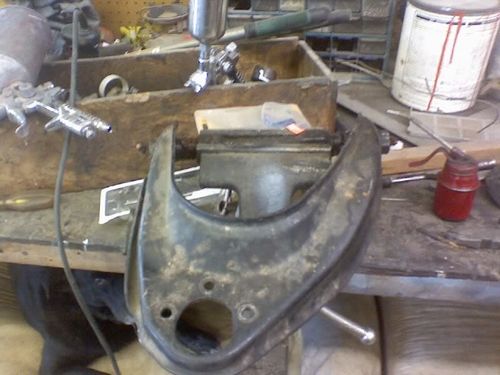
Next make the caliper mounting bracket.
it needs to match the caliper bolt patten on one
side and 2 of the bolts on the rear-end cover
(not two bolts next to each other) make it so
there is like a 2 bolt spacing so it bolts like
on the sides not the top of cover.
this is what mine looks like.
the tab on side of it is to hold the brake-line
if anyone was wondering.
The big side of mount bolts to the rear-end and
smaller side bolts to the caliper.
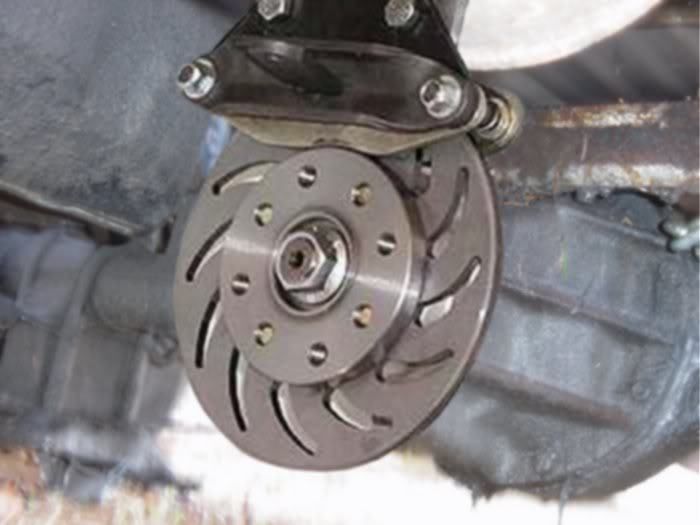
Next is to bolt it all together.
(I did mine a little different here as i am adding
a pulley to mine to drive a alternator from
the drive shaft also but that part is not done yet.)
...Coming soon...
Place rotor over rear-end flange.
Place drive-shaft over rotor.
Use the long grade 8 bolts lock washers and nuts.
Use RED locktight on these as you DON'T
want them coming loose.
Bolt it all together
Remove the 2 rear-end cover bolts talked about
earlier from rear-end.
Place the caliper mounting bracket on rear-end.
Use the longer bolts and lock washers here.
(locktight not needed on these)
Slide caliper with pads in it over rotor.
Turn rotor so caliper lines up with caliper
mounting bracket.
Bolt caliper with pads to caliper mounting bracket.
Remove old brake line and "Y" or "T" fitting.
Run new brake line to caliper.
bleed brakes and your done...
*side note*
The extra flange in picture was to be machined
on its edge to make it a pulley for a alt.
But i am going a different way now
by adding this flange.
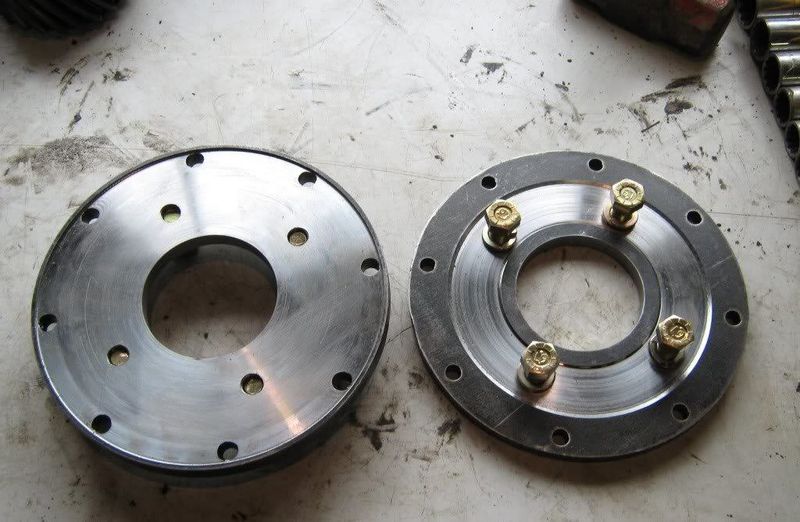
I can bolt a 2 piece pulley around the flange
so i can remove the setup later if i wish
or add something else under there
if a want without having to remove drive-shaft
and having the truck down to do it.
just thinking ahead.
Have fun with it. I know i did...
This type of brake is Not DOT Approved
and should be intended for off road use only.
DISCLAIMER:
This is as simple as i could make it.
But because there are so many variables
for this type of MOD.
You can add or make many things different
to make it work for you.
This is the way i did it.
If you do it this way
REMEMBER THIS IS JUST A GUIDE
and i am in NO way saying do this to your auto.
so if something gets messed up don't look at me..
Credits
Created By: dezionz
Related Articles
Tuning a weber 32/36 write up
I always see this ? Pop up so figured i would do my own write up on this. If i missed anything pleas...
Engine driven compressor, a/c pump, grease conversion
Well first off. . The require info. . . My name is Joshua Hoard Location: Millington, TN This is ...
How To: uca bushings and shaft
Well i was in need of changing my upper control arm bushings and shaft so figured i would take a few...
Updated Custom Door Panel w/ buildout Tech
Some people have been asking for the photos of this tech article so I have updated the post with the...