Street Source is shutting down April 30th, 2026. Read the announcement
86-93 Brake Rotor Replace/Hub removal from spindle
Last Updated: Feb 24, 2015
So i replaced my brake pads, rotors, and got my calipers back into working order today, and it was semi involved so i decided to take pictures while i did it so if anyone doesnt know how to do it this should be a simple enough picture guided walk through on how you can do it yourself. was very simple, i had never changed rotors before that required removing the hub from the spindle and this was a good experience.
Note: i did do each side one at a time
i only took pix of the passenger side, instructions will be the same for the driver side...
and i am missing the last shot with the pads and caliper back on...
this is the only bolt on the caliper(pictured above), the top of the caliper is just a slide bar, remove the bolt and the cailper will lift out (pictured below) of the way and once clear of the rotor and pads can be slid off the slide bar(pictured second picture down)
my upper bump stops that keep my truck from sitting any lower have been removed and made a handy open place on the lower control arm to be able to place the caliper on each side while i did the brake job
pop out your old pads and toss them aside
there are 2 big 21mm (same size as the lug nuts, and pictured above) bolts that hold the caliper/pad mounting bracket to the spindle, remove these and the mount comes out (pictured below)
pop off the wheel bearing dust cap, remove the cotter pin and metal nut cap from spindle, do not remove spindle nut at this time, it will be finger loose, not uber tight, doesnt need to be, the metal nut cap and cotter pin keep it from coming off while driving
pictured above is the poor man's air impact gun, and this is why you dont remove the spindle nut yet, 14mm bolts keep the rotor attached to the hub and if you crack them loose now its easier to do, unless you have an impact gun, then pull the hub off and just pop all the bolts loose.
if you leave the hub on the spindle and pop all the bolts loose it makes popping the rotor off the hub real easy, i used a hammer and tapped on the rotor once i had loosened all 6 bolts that mount the rotor to the hub and it separated from the hub
now remove your spindle nut
and remove your outer bearings and pull off your hub
remove the 6 bolts retaining the disc rotor
put new rotor on and snug up the 6 bolts
put your hub back on the spindle, repack the bearings or replace them (i just repacked mine, as i'm broke, and they were still intact and the grease was still pretty clean surprisingly)
the caliper slides on the mounts on both sides i cleaned up with some sandpaper, as these sticky slide points caused the calipers to close more at the bottom and not so much at the top causing uneven brake wear
cleaned up caliper mounting slide bar bolted back in, at this point pop your pads back in, use a c clamp to open the caliper piston back up and remount the caliper and button everything up.
i know this isnt a hard job, but the idea of pulling the spindle for the first time frightened me a little, and thats why i didnt change or resurface my rotors last time i did my front brakes, this time i wanted it done right... and thanks to autozone rewards i got my pads, a package of grease, brakleen, and 2 rotors for about $47
Credits
Created By: 91extcab
Related Articles
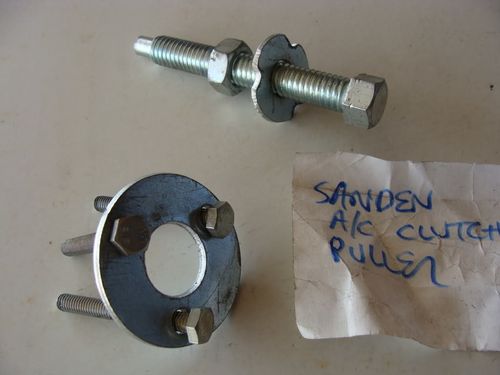
Sanden 708 AC compressor clutches removal (AC clutch)
The Sanden 708 AC compressor clutches on these can be removed without releasing refrigerant. The AC...
(HOW TO) TECH WRITE UP ON DRIVE SHAFT BRAKES: (HOW TO)
TECH WRITE UP ON DRIVE SHAFT BRAKES: The idea here is to make the truck look cleaner at the wheels ...

How To: Build a tag box from scratch
this is a great way to start getting a feel for sheet metal work, plus it's simple and saves you som...

rear proportioning valve removal...
Ok...here is what I did to remove the rear proportioning valve on my 91 2wd extra-cab truck. Most of...