Street Source is shutting down April 30th, 2026. Read the announcement
How To: Tubing Bender
Last Updated: Feb 22, 2015
If most of you are like me, the cost of a tubing bender makes you cringe. $1000 plus once you have a die or two, and its still manual. Well theres a way around the big cost. I spent under $350 building mine, and its completely hydraulic.
Plans can be had from [url=:2xukbwft]this eBay seller.
The best prices on the dies needed for this bender can be found at [url=:2xukbwft]Rock Buggy Supply. The guy is great to deal with, and very fast to ship.
The air over hydraulic ram can be had at Harbor Freight for $60 with tax if you catch them on sale and use one of the coupons.
[url=:2xukbwft]8 Ton Ram
[url=:2xukbwft]Harbor Freight Coupons
Now onto the bender itself. Some stuff needs to be machined. It could be done on a drill press if you're patient. I did mine on the mill at school, and it took me 3 class periods. So it could be done on a weekend easily. I was told it would be roughly $100 to have it done at a machine shop.
*If anyone plans to use a 1" or smaller die, with a CLR smaller than 3.5" let me know. I have some revisions for the die puller arms to make it fit. The plans will not work well with the smaller dies, as I found out the hard way. Email to as "Bender Revision"
To start, I clamped together the die puller arms, and aligned them with bolts and tubing prior to welding the support in place.
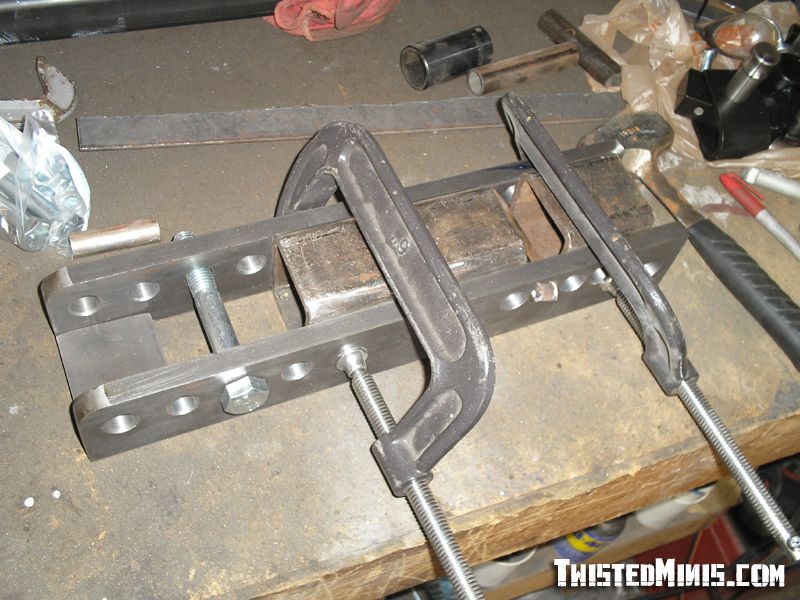
I beveled the edges and slowly welded the pieces together to keep warpage down.
Once it was cool to the touch I pulled everything apart.
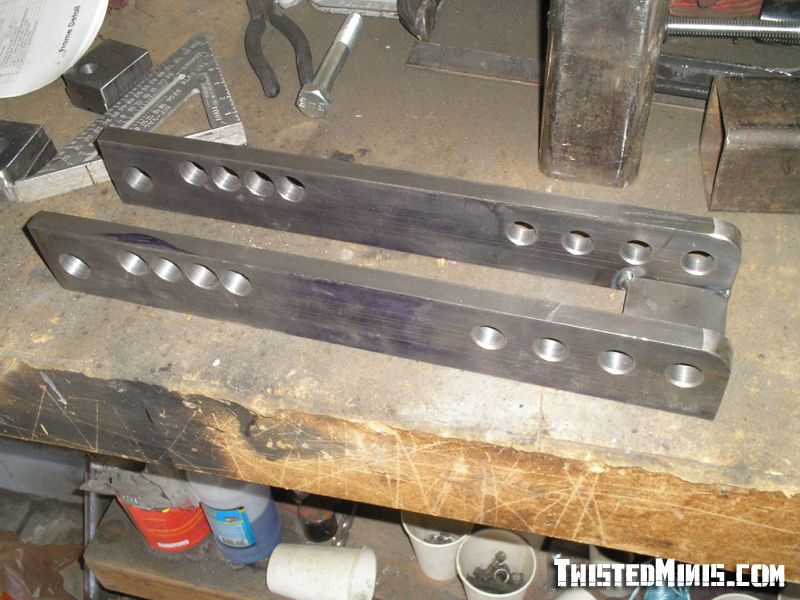
A word of caution, the edges of cold rolled flat stock are razor sharp. I'm currently bleeding profusely.
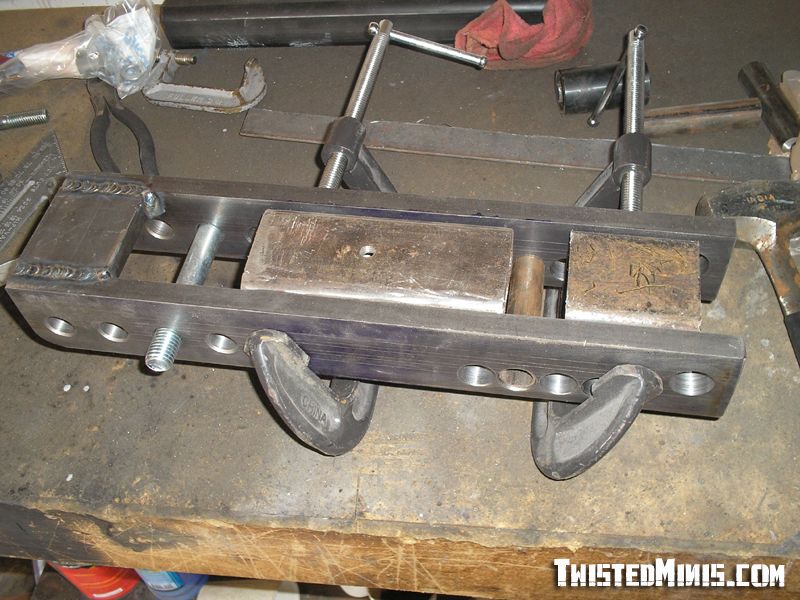
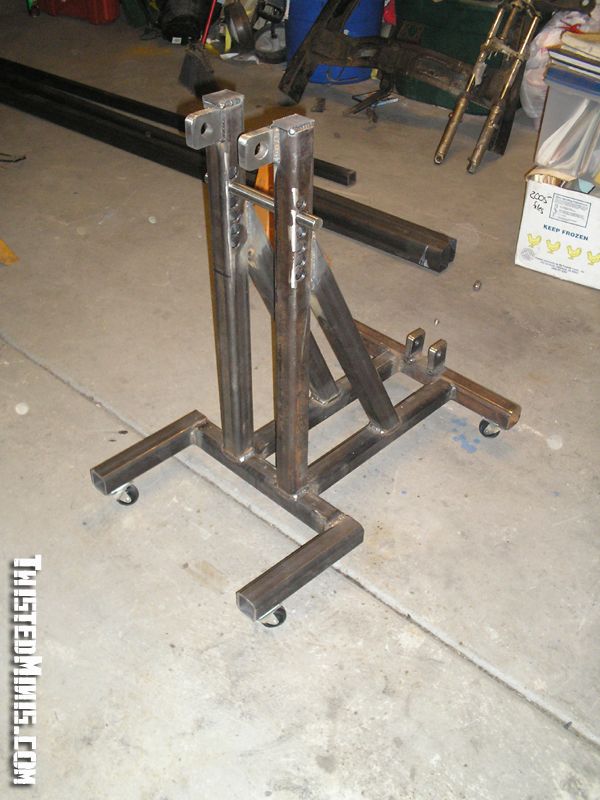
Next, put together the base of the frame, which looks like an I. Square it up and weld it. Try to keep it from warping as best you can. Think about where you weld first.
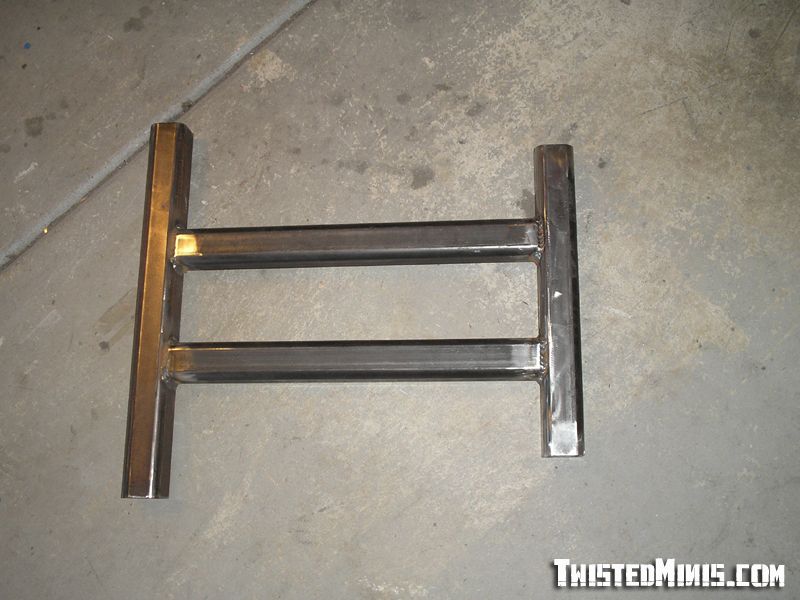
Align the uprights with tubing, and clamp together.
Ad the braces towards the back (make sure they don't hit the ram) and then weld everything.
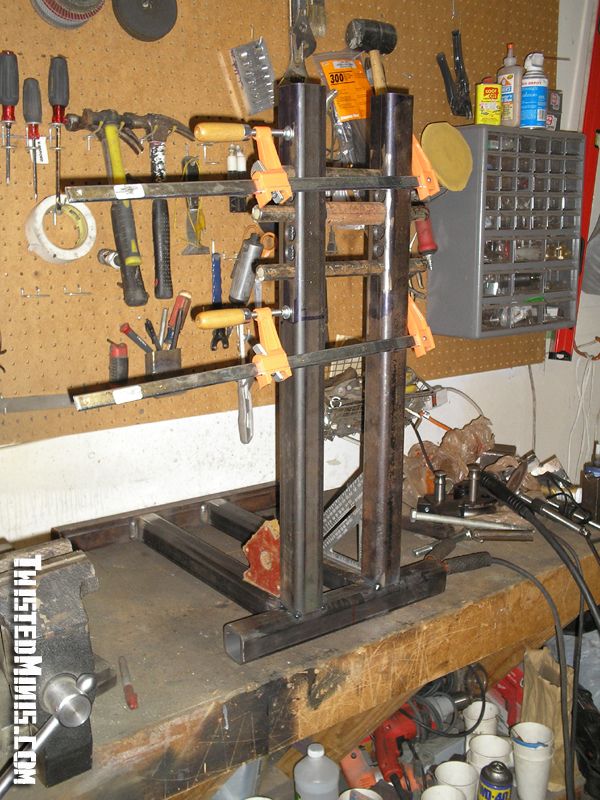
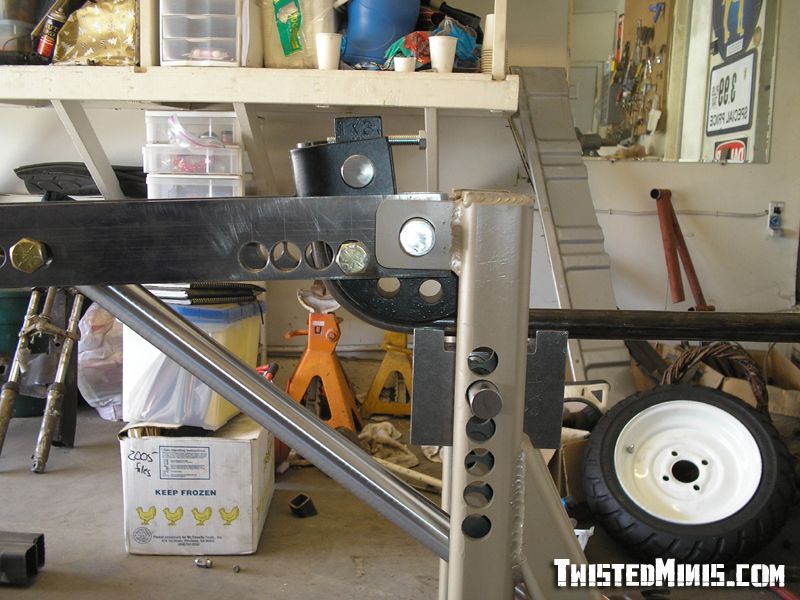
The next step is to align the tabs that the die, and die puller rotate on. I bolted everything together, and stuck the die puller arm on a jack to easily adjust the height.
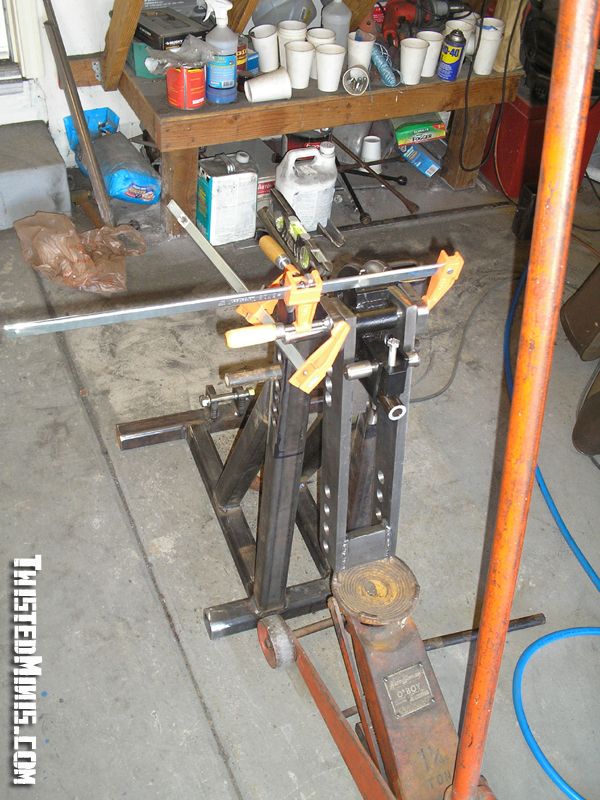
I put a piece of tubing in the die, and adjusted the arm/tab placement until the tube was level.

The measurements in the plans are a bit off, so you need to fine tune it yourself.
Now you're pretty much done. Add the two front legs for balance, and add some swivel casters to make it easy to move (this thing is heavy by now).
Throw some paint on it and slap it together, top off the ram (I was surprised to find out it comes with fluid). ATF works great, and is easily available. You'll need a half quart to top it off.
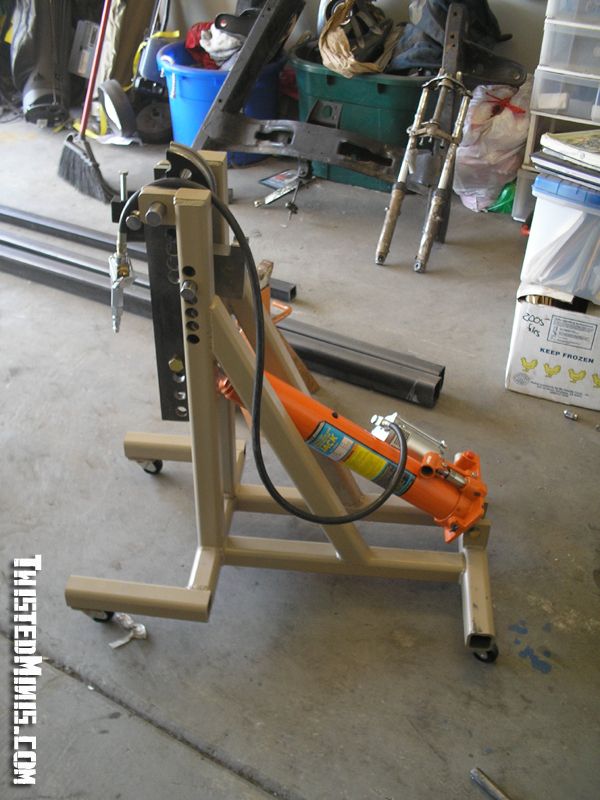
Now give it a shot. One stroke gets almost a full 90 degree bend. Re-index the die and you can do much more.
I went ahead and tried a 180 just for shits and giggles. Turned out quite smooth.
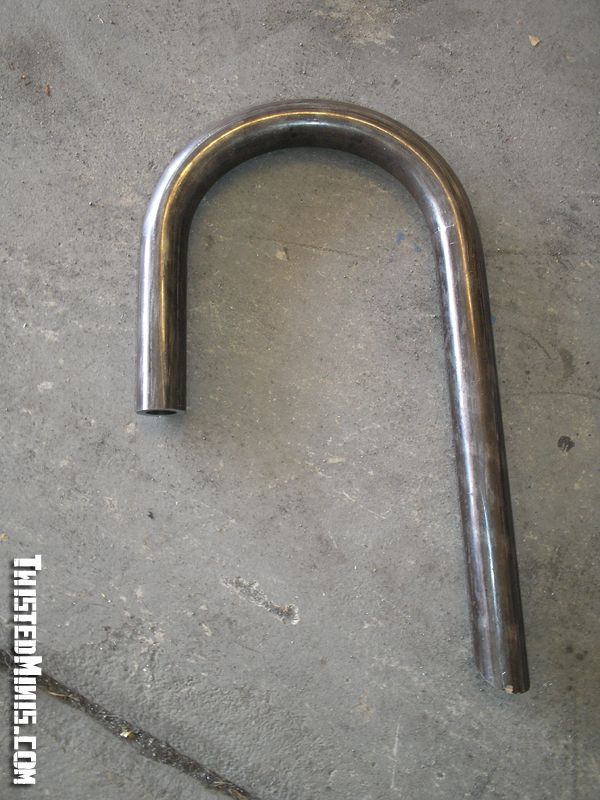
It has no problem bending 3/16" wall tubing.
Any questions, let me know.
Now you can go toss your Harbor Freight pipe bender, and use the jack in it to build a press.
Credits
Created By: twisted minis
Related Articles
How to: custom shifter boot
I thought i would make a thread about the shifter boot i made but although its really easy i wanted ...

How To: Chevy 105amp 3wire Alternator Swap
A.J. "SpaceMonkee" Demiar Bay Area, California 1992 B2200 (2.2 EFI) Standard Cab As t...

How To Tighten Up Loose "Tow Mirrors"
This fix is for the members that have the "tow mirrors" or "large mirrors" on yo...
Capping Radius Tubing
Okay so i was working on a gate the other day and figured while i was doing it i would snap a few pi...