Street Source is shutting down April 30th, 2026. Read the announcement
How To: Bodydrop
Last Updated: Feb 24, 2015
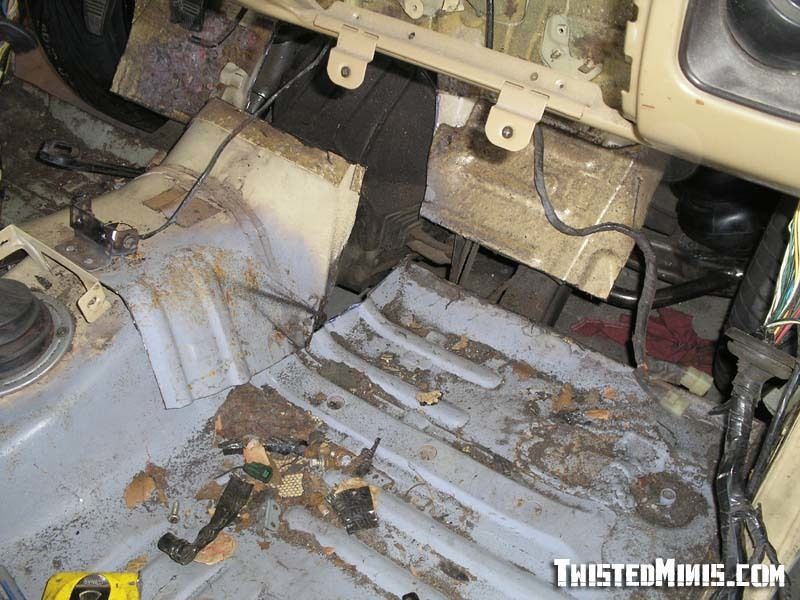
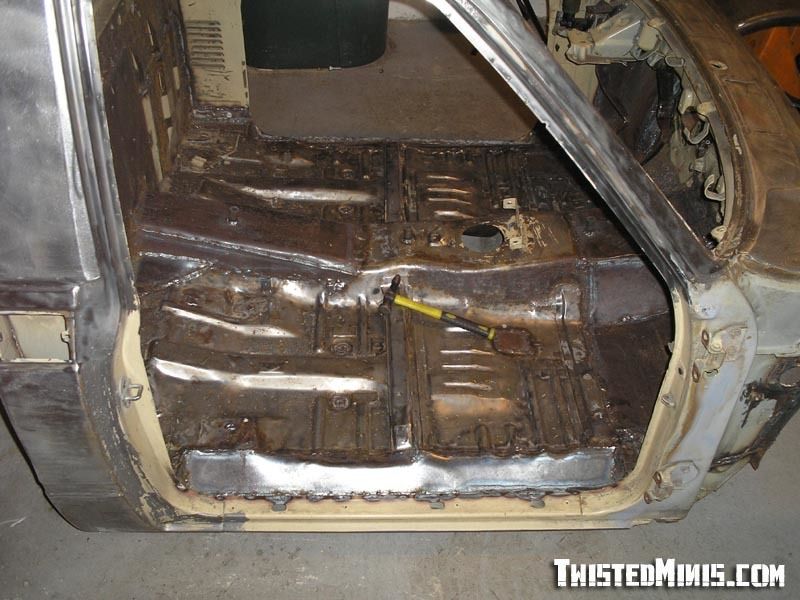
This is in a nutshell, how to perform a body drop. I have left out relocating things because it will be very different for each truck. But this shows where to cut the floor on your average mini truck. The front will vary from truck to truck, but this should be a good place to start.
Okay. Its a 2" body drop. I cut a 1.5" strip out of the back of the cab to allow for an overlap.

Then cut out a 2" strip on the front of the floorboard, and above the tranny tunnel.
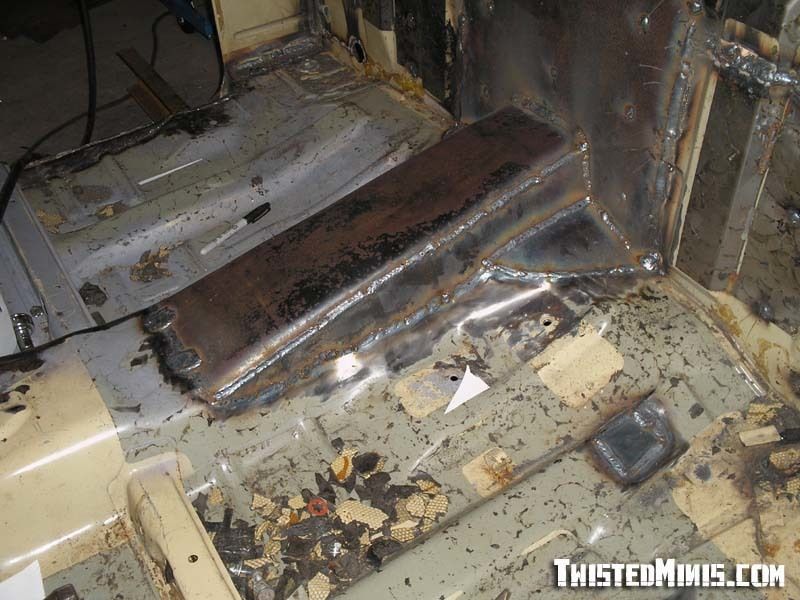
I ended up building a low profile tranny tunnel to keep the stock heat.
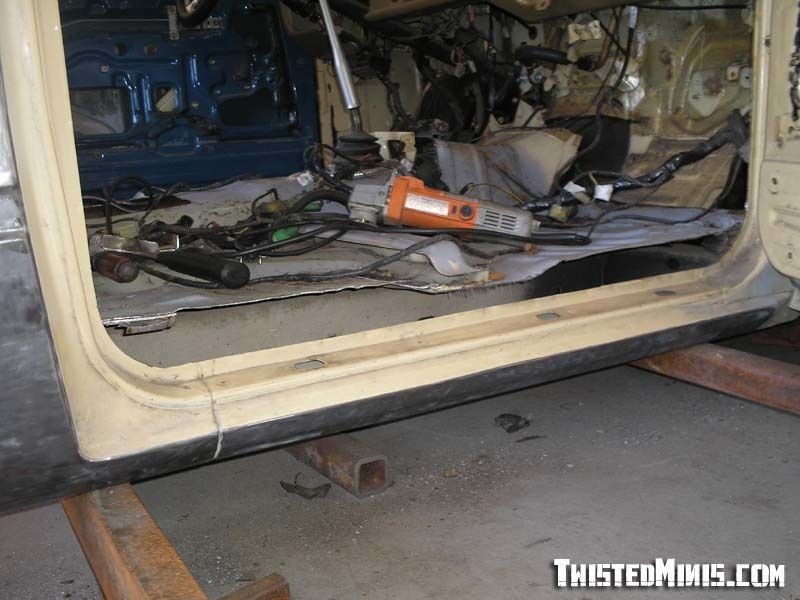
Then cut straight down the side of the floor to connect the front and rear cuts. Then, let it drop.
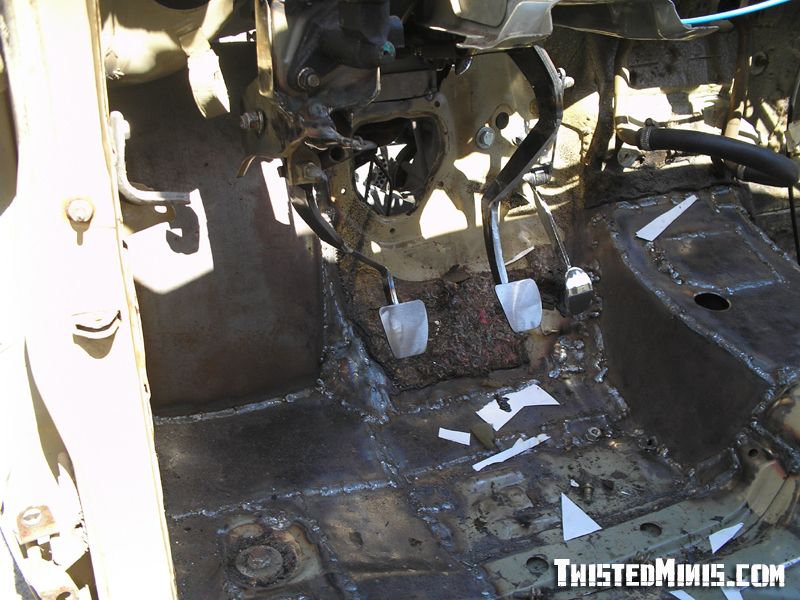
You'll have to cut through some body mount supports. Brace them later on.
Rather than do this on the ground, which was quite wavy, I welded some heavy wall square tubing to the bottom of the frame to rest the body on.
Line it back up (I made some referrence marks with a marker) and weld the rear panel together, and start making filler panels.

Don't forget to tub the firewall.
Now is also a good time to replace any rust floor panels. Lol.
Its not necessary to remove the cab, but I chose to do so. I wanted to weld up the underside, and coat it in Por 15.

If you dont, lay down some paint on the other side of the new panels best you can to prevent rust.
I would recommend taking the areas to be cut down to bare metal before you make the cuts. It is much easier to remove paint when the panel isnt moving around.
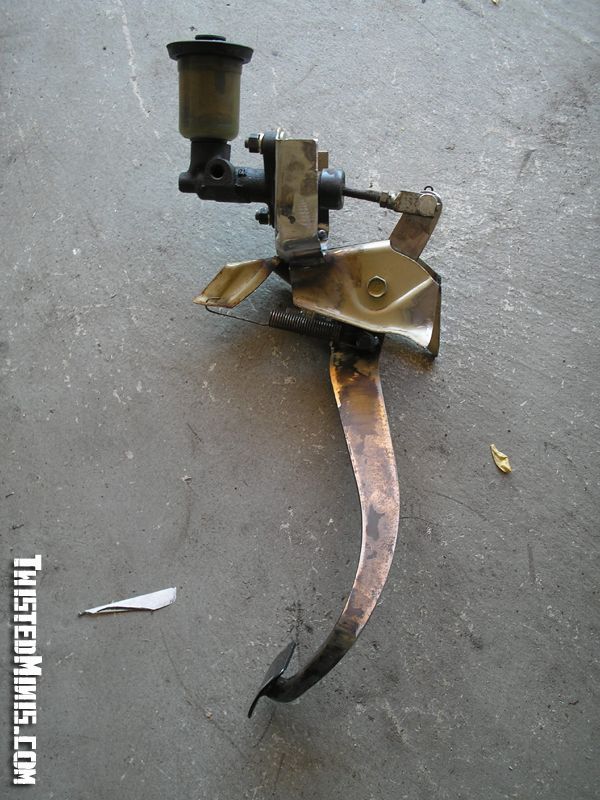
One last thing that may help out, the clutch master. Where to put it? Well, theres plenty of room under the dash. I made up a simple lever setup on the stock pedal that worked in reverse. It is actually easier to press now. Here is a shot before it was installed.
And here it is under the dash, the frame welded to the dash support.
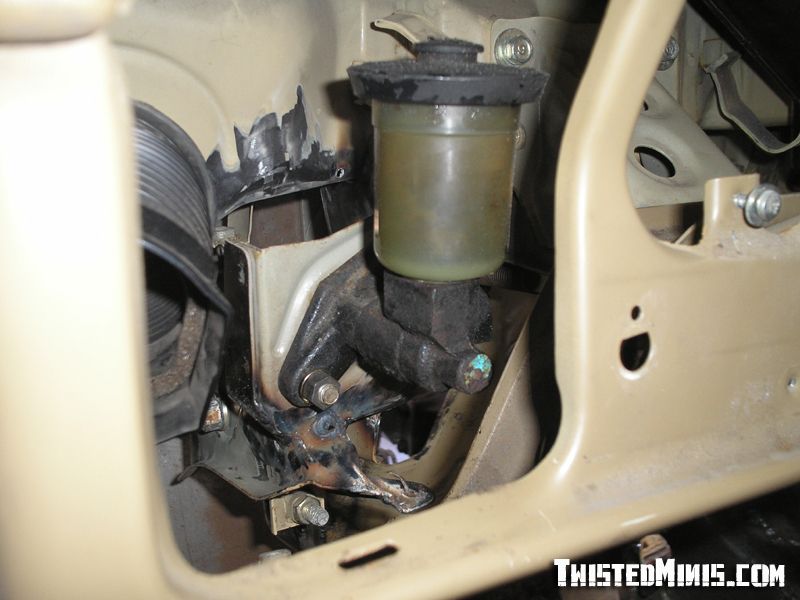
I located it off to the side of the AC vent, where it does not interfere with anything. It can be filled by simply removing the AC vent there.
Hope this helps.
Credits
Created By: twisted minis
Related Articles
How to: custom shifter boot
I thought i would make a thread about the shifter boot i made but although its really easy i wanted ...

How To: Chevy 105amp 3wire Alternator Swap
A.J. "SpaceMonkee" Demiar Bay Area, California 1992 B2200 (2.2 EFI) Standard Cab As t...

How To Tighten Up Loose "Tow Mirrors"
This fix is for the members that have the "tow mirrors" or "large mirrors" on yo...

Suicide Hood Hinge How To, with complete captioned photos
Chris Frye and I decided to make a tech how to out of our hood hinge install day and we chose to ha...