Street Source is shutting down April 30th, 2026. Read the announcement
Right Hand Drive pt 1
Last Updated: Feb 24, 2015
Okay for the record, I am not responsible for those who decide to do this and have problems with there trucks. This is simply how and what I did to make my truck steer on the right side..I am no mechanic, just someone having fun.. I apologize for mislabeling parts/tools and my truck is NOT the cleanest (for the record).
I did this with all stock parts except for 2 thick washers which were like 26 cents a piece, and I am doing this with intentions on throwing a 350 c.i. chev. motor in.. I am not too sure if this will work with a stock motor..
My truck is a 1987 Mazda B2000 Cab Plus..
I used a LOT of tools for this job. I apologize for any I forget to mention..
Tools:
10mm socket, 12mm socket, 14mm socket, 17mm socket, 21mm?(lugnuts)
^^Ratchet and some extentions 3" and 6"
phillips #2 screwdriver
Flathead screwdriver
Sawzall
Angle Grinder
Body saw (cutting fender wells)
Cut off wheel
Welding equiptment
Needle nose pliers
Pliers
Vise Grips
Combonation wrench set in MM or crescent wrench(2)
Hammer
Step one: Parts to take consider of
It was a lot easier for me because I had my motor/tranny pulled and I stripped my firewall for this...
Step two: Removal
The interior was stripped of almost everything, the seats made it a little easy to get the pedals and steering column out. I already pulled out my heater and I pulled my wiring out too.
[IMG][/IMG
BE VERY VERY SURE TO LABEL ALL YOUR CONNECTIONS, WITH WHATEVER YOU CAN, I simply took a marker and wrote on a peice of paper i ripped off, then stapled it around the connector.
With the dash, heater, wires, seats etc. pulled now you can work on the steering column and pedals. I started with the steering column, It was simply 6? nuts and it pulled right out of the powersteering gearbox and out the firewall...
Then the clutch and brake pedal cluster was remove with about 8? nuts. two of which removed the hydrolic clutch master cylinder. and four nuts and a pin removed the brake booster. Pull out c&b pedal cluster and set a side, then remove gas pedal and e-brake. Then pull all the sound dampening material out.
Im sure you can tell that "all the wires are gone". I plan to remove a lot of wires do to the motor swap... But your interior firewall should look pretty close..
To make life easier for myself, and to one day tuck 20's I cut my fenderwells, I don;t believe this is completely necessary but it made it a lot! easier to do..
Next you will remove your power steering gear box.. BE VERY SURE TO USE A PICKLE FORK ON YOUR STEERING BALL JOINTS! DO NOT HAMMER ON THE ENDS OR YOU WILL HATE YOURSELF, THEY BEND/WARP VERY VERY EASILY!!! *****NOTICE THE THIRD MOUNT FOR THE GEARBOX ON TOP OF THE FRAME, IT WILL BE REMOVED AND REUSED!!!*****
Next remove the secondary pitman arm( i dont know the real name for this part..) AGAIN USE A PICKLE FORK ON THE STEERING/BALL JOINTS!!!!
Step three: Install
Same pic I know... I already have the third gearbox mount cut off, but we will get to that in a bit....Install the secondary pitman arm on the old drivers side....use a new kotter pin on castle nut....
Here I cut off the sway bar bracket (in yellow), becuase I removed my sway bar when I bagged my truck, ****BE SURE TO CUT OUT AND KEEP THE THIRD MOUNT FOR THE GEARBOX (IN BLUE)****CUT AROUNT THE TWO MOUNTS IN THE MIDDLE OF THE FRAME FOR THE GEARBOX. CLEAN THEM UP AND REWELD THEM TO THE FRAME****
Here is another look at it, everything was cleaned up and welded to the frame...
I did the same for the the old passenger side, and again I kept the third gearbox mount that was on the otherside, incase i ruined my first one, i had a spare, not really necessary but better safe then sorry. I bolted the third mount (from old drivers side) TO the powersteering gearbox and tightly bolted the gearbox to the frame using the bottom two mounts. Using a hammer, tap the third mount to the frame to get it square and tight the frame, then tack it into place...
Remove the gearbox and fully weld the third mount to the frame....
Picture of gearbox mounted and third mount fully welded to frame..
Next move secondary pitman arm to the "twelve o'clock" position (when standing at front of truck)...
Then with your powerstearing gearbox mounted, move the pitman arm to the "twelve o'clock" position, and mark your center link where the steering/ball joint meets the middle of your link. Drill a hole through your center link where you made your mark. This steel is very very hard, I broke three drill bits and burnt up my (cheap) drill.. I used a 1/2" bit, but it was a little small. I will have to bore it out a lil more but that is about where I called it a day...
Be sure to get some paint on the metal before it rusts because the last thing you want to do is redo it! haha
If I didnt cover anything Im sorry and let me know, I have a lot more pics, so if you want a different angle let me know, or if you have questions let me know!...
(again)
Okay for the record, I am not responsible for those who decide to do this and have problems with there trucks. This is simply how and what I did to make my truck steer/drive on the right side..I am no mechanic, just someone having fun.. I apologize for mislabeling parts/tools and my truck is NOT the cleanest (for the record).
*SUDKRAP 2-20-07
I will be doin the best I can to continue this conversion, I plan to do a tech on the rest
Credits
Created By: sudkrap
Related Articles
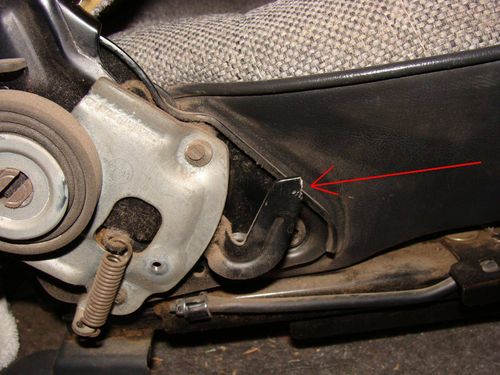
Bucket seat release handle repair
I had this happen on mine, and I fixed it Home Depot style. [pid]18249[/pid] I used an L-shaped m...
(HOW TO) TECH WRITE UP ON DRIVE SHAFT BRAKES: (HOW TO)
TECH WRITE UP ON DRIVE SHAFT BRAKES: The idea here is to make the truck look cleaner at the wheels ...
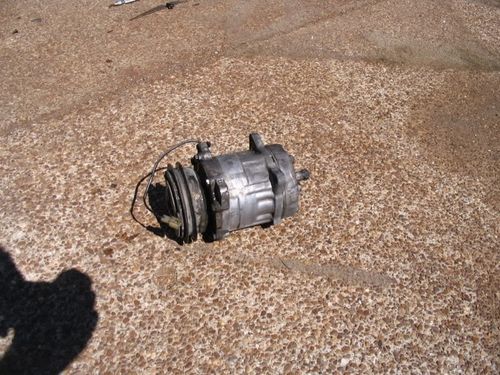
Engine driven compressor, a/c pump, grease conversion
Well first off. . The require info. . . My name is Joshua Hoard Location: Millington, TN This is ...

The $free (well realy cheap) tailgate handle relocation
okay I was going to do this earlier when I did it but lost some in progress pics but nothing to impo...